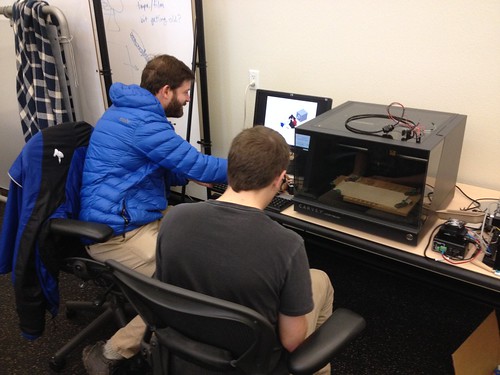
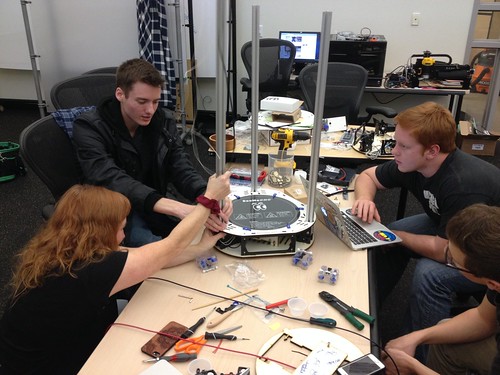
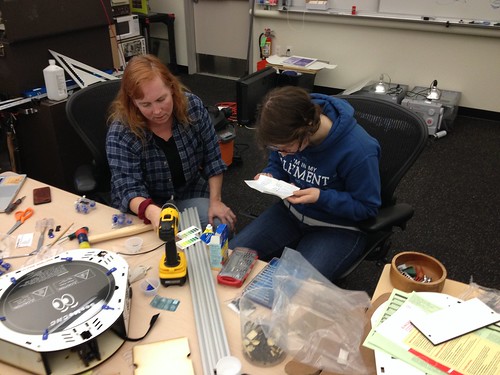
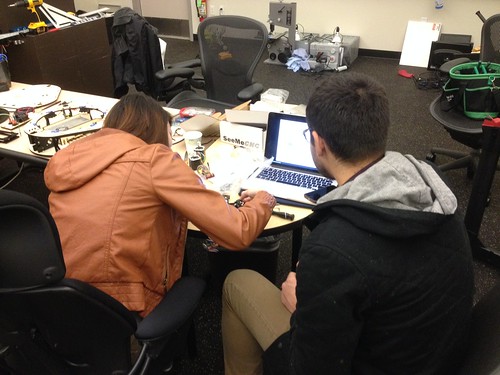
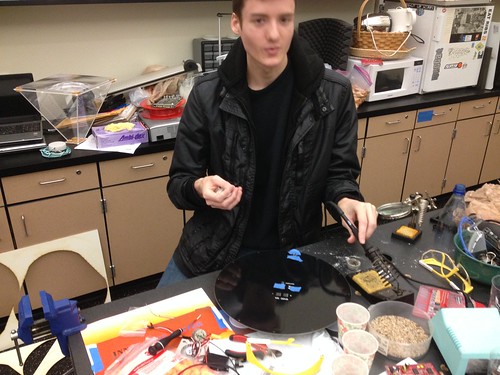
Assembled a team of faculty and students to continue work on the Rostock Max v3 (part 1, part 2). As before, the project is nicely modular, so while Max (Chemistry) and CJ (student) worked on the electronics…

Max and CJ Back At It

…Diane (Sociology), Alex Hartigan (student), and Thomas Schmitt (student) focused on the main assembly.

Untitled

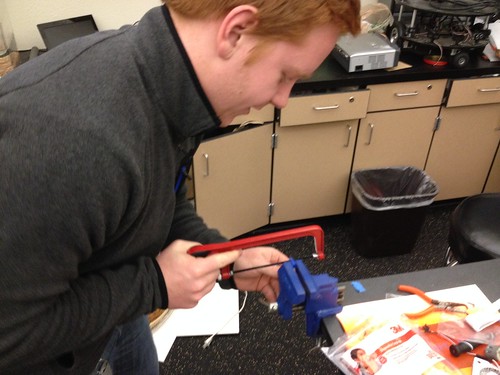
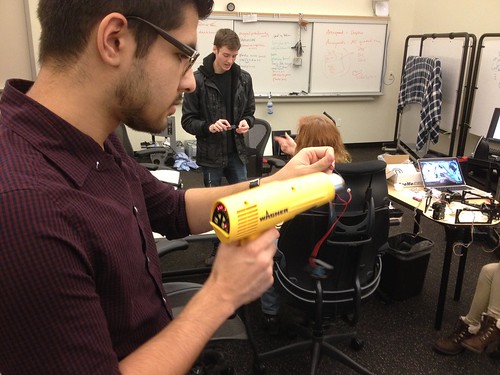
As it turns out, instead of three each of the inner and outer bits that hold the bearings for the carriage, the kit included four and two.  We talked about some options, and the crew decided to mod one of the errant parts to make it work, which involved sawing off a bit of it…

Thomas Monifying a Rostock Max v3 Part

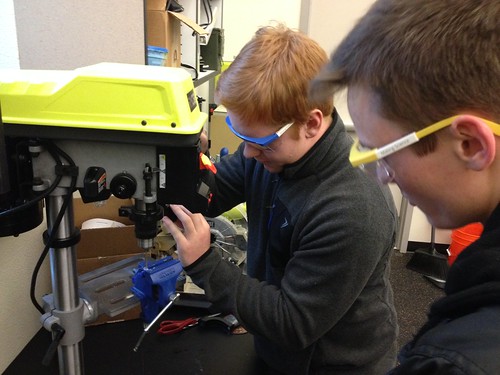
…and drilling a couple of holes…

Thomas and Alex Modifying a 3D Printer Part

…while I contacted the vendor about sending a replacement. We think our modified part will work, but I’m working on getting the right part sent, just in case.

Meanwhile, Taylor (student) dropped by to test the water chemistry of the in-progress aquaponics installation.

Diane and Taylor Talk About Ammonia

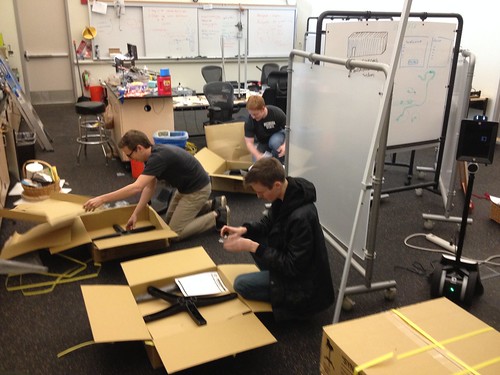
We’ve probably got at least another day of work before the printer is finished, and as folks began drifting away, Levi (receiving) delivered 12 new lab stools.  CJ, Alex and Thomas hung around and helped assemble them.

The Crew Gets to Work Assembling the Lab Stools

Still waiting on the workbenches, which should be here in the next couple of weeks.  Lots of energy, and lots of making!

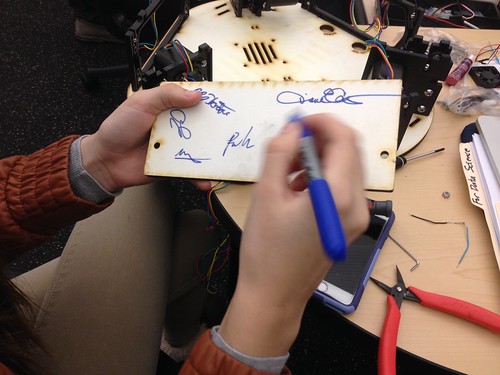
Hosted the second Rostock Max build day today. The crew – mostly the same folks from the first build day – put in a good day of work, and we got much of the hot end done, finished up the base, and made good progress on the top assembly.  We decided to adapt the topping out tradition, aka “signing the beam,” though we aren’t actually finished with the build.

Untitled

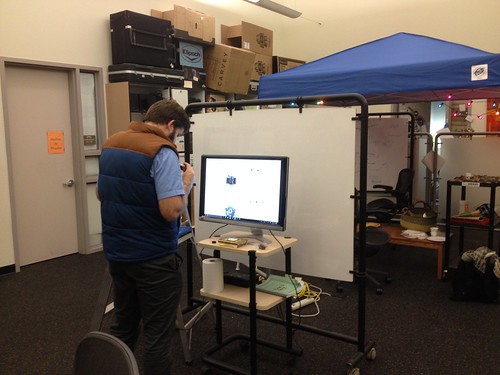
More photos from today’s build…

Max Working on the Hot End

Nathaniel and Rebekah Building

Nathaniel Heat Shrinking

Alex Soldering

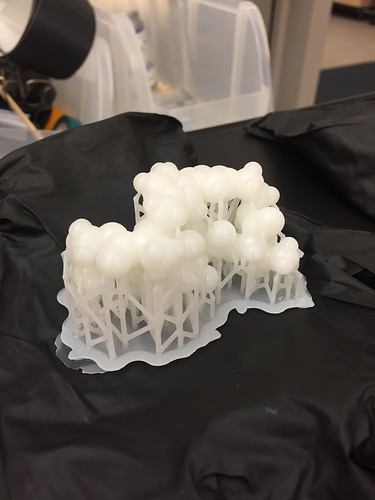
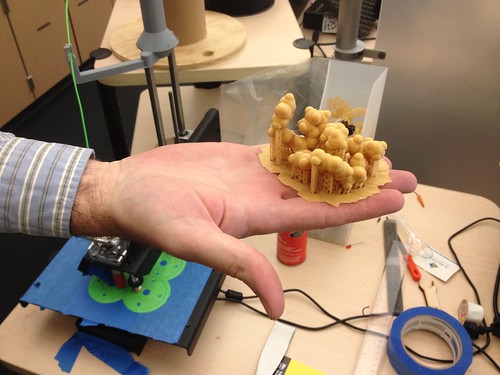
Max Mahoney (Professor of Chemistry) had an idea about using the Innovation Center’s 3D printer to create some manipulatives to help demonstrate to chemistry students concepts of atomic bonding.  Something like this:

Here’s what Max has to say about it:

The nature of chemical bonds is rooted in complex physical forces. These forces result in atoms being both attracted and held apart at a specific distance. We hope to develop a hands-on model for students, which conveys this important chemical information. Currently available designs of molecular model kits allow the construction of complex molecules in 3 dimensions, but do a poor job of representing the exact nature of each chemical bond. Our goal is to create a model that will allow students to feel the chemical bond and see the bond lengths. The recently discovered ‘inverter magnets’ have the property of both repelling and attracting each other, so that the atoms seem to hold each other in a ‘tractor beam.’ The distance they are separated represents the bond length.

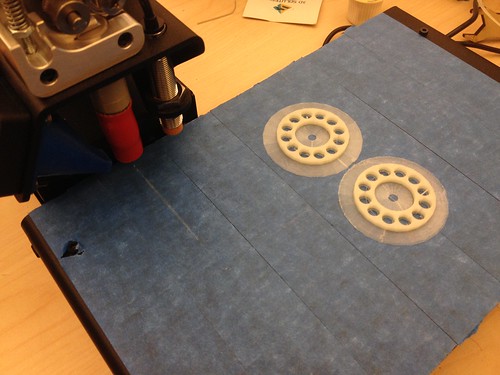
Initial designs will focus on demonstrating the principle of bond length and bond vibration between two atoms. Enclosures for the inverter magnets are currently being 3D printed and their shapes optimized. These models use strong neodymium magnets so that students can feel the significant push and pull of the two ‘atoms.’ Magnets of different strengths will result in varying degrees of bond strengths (and vibrational rates), which can be measured by the student using force gauges.

Subsequent designs of these models will demonstrate each atom’s unique bonding pattern. Specialized cases for the inverter magnets will be 3D printed to mimic an atom’s ability to form multiple bonds.

The key aspect of these models is that the magnets do not touch and can be made to vibrate at a specific frequency so that the model is dynamic. Currently, students are taught these concepts with either static models, or with video animation. The strength of our model lies in the ability for students see and feel tangible objects displaying atomic principles on a macro scale.

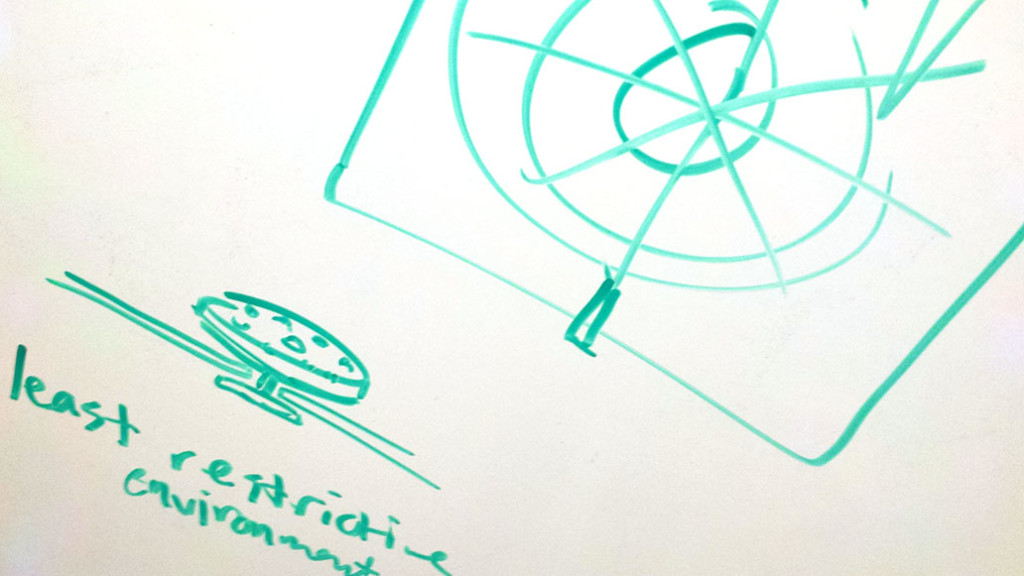
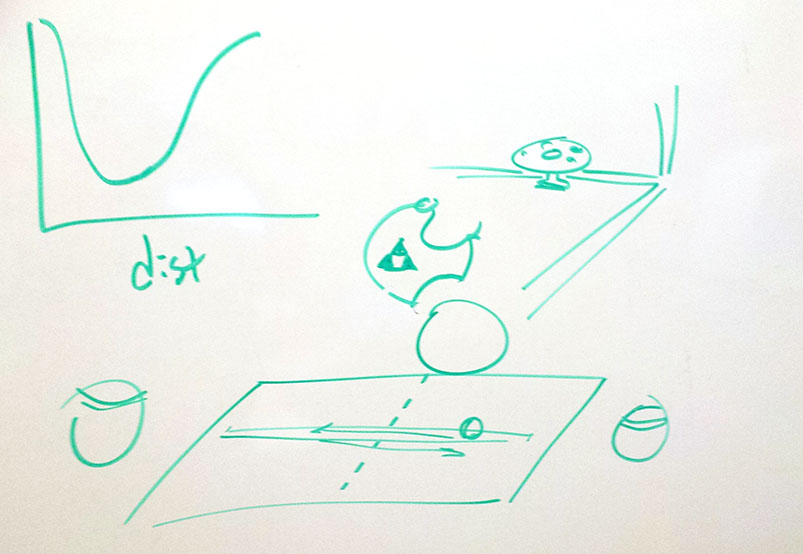
We did some design talking/drawing:

Magnet Thought Process 1

Magnet Thought Process 2

Max went home, bought some magnets, taught himself SketchUp, and has printed a few different prototypes.

Magnets - How do they work?

Stay tuned…

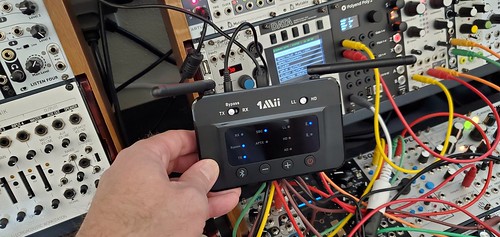
Years ago Max Mahoney (Chemistry) and I did some work with Chladni plates, but ended up breaking the speaker motor we were using. Lately I’ve been dreaming of different ways to visualize sound as part of ongoing data sonification efforts, so I knocked together a little prototype using a Bluetooth transmitter connected to the modular synth:

Bluetooth transmitter/receiver

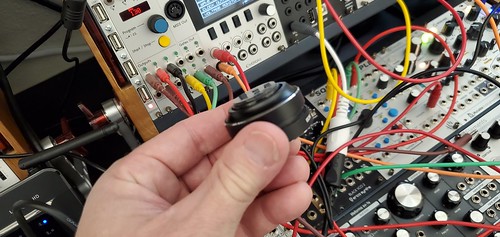
and a little Bluetooth speaker driver thing:

Bluetooth speaker driver

Nothing spectacular, but the sand did indeed dance!

We’ve been doing a bunch of work and prototyping in data sonification, for example playing weather data on music boxes, and building out a modular synth rig to provide realtime sound of sensor data. Max Mahoney (Chemistry) has been a key partner in the work, and has ideas about how we might sonify various chemical processes. The other day, we had the opportunity to do a rough prototype of sonifying liquid color change.

2022-01-14_12-06-18

The first prototype (above) involved simply adding food coloring to a beaker of water, and using the ADDAC 308 module to transform light data to CV, which when fed to the modular synth lowers the frequency of the audible sine wave. The second prototype involved more carefully controlling the light by placing the apparatus in a box, sticking a battery + LED on the outside of the beaker, and poking a hole in the side of the box for the light sensor and another in the top so we could use a syringe to introduce the food coloring. Here’s version 2:

Lots yet to do, but we think we’ve got a functional prototype that Max intends to use in the classroom this semester.

Brewery Build Day

Spent the day with CJ (Lead Makerspace Facilitator) and Max (Chemistry), remodeling the Spider Shed (site of our picobrewery) and assembling our new 15 gallon Spike+ System. Lots and lots of tri-clamps.

Pumps

We also finished up one of two new fermenters.

New Fermenter

So much gleaming stainless steel.

15 Gallon Spike System

The electricians should be by this week to finish up the power, and we hope to get our first brew day over the break!

Jason Pittman (Geosciences), Max Mahoney (Chemistry) and I took the new quadcopter out to Lava Cap Winery to do a test flight.

Flying

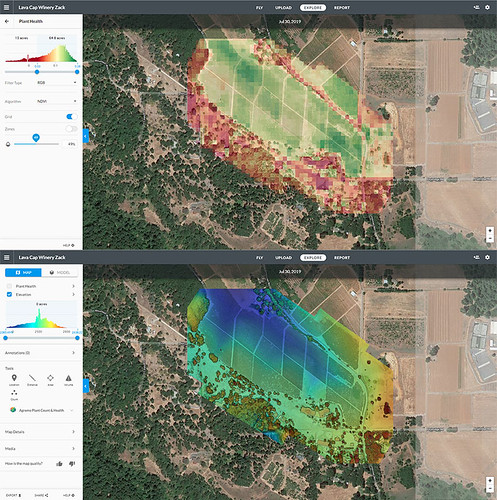
Dronedeploy (the system we use for flight planning and analysis) offers some interesting post-flight map creation and analysis. Here are the Plant Health and Elevation views.

Plant Health and Elevation

We were stoked to see the Model view for the first time.
Model

We’re still figuring out what it all means, but we’re excited about the preliminary results!

Following our first successful public pour, we have committed to a quarterly brew, to be served at a series of “Art of Wine” events for Harris Center for the Arts members. The first of these will be in late August, so we gathered in the Innovation Center to brew another batch of our Kveik Pale Ale, and a Dry Irish Stout. As it happens, our hops were ready for harvest, so we started the day up in the bines, gathering flowers from our Cascade and Willamette plants.

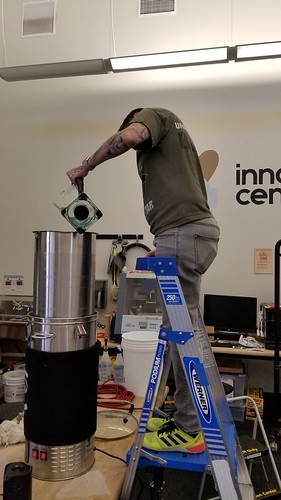
Hops Harvester

We weighed and measured these, reserving some to be added “wet” to the pale ale, and the rest we put in the dehydrator to use in some future brew. 564 grams in total.

Cascade of Cascade

The water built – we start with DI water, and Max adds salts and things to create the ideal water for the particular recipe – we set about brewing. Brewing beer is a lot of waiting around, and a lot of cleaning and sanitizing. We got a chance to try out the new keg washer, which works a treat.

Keg Washer

We were joined this brew day by Nicole and John, both students and Innovation Center staff.

Also Sparging

Each of them had sparging duties.

Sparge!

Here are the hops in their natural habitat.

Hoppin'

Of all the gear we’ve been able to acquire, the counterflow chiller – the black coil below, just left of the Robobrew, which is used to bring the hot wort down to pitching temperature – has done the most to improve efficiency, and to reduce the amount of water required as part of the brewing process. An absolutely essential tool!

Counter Flow Chiller

With the beer into the fermenters, and safely housed in the Spider Shed, and with all the brewing gear clean and stowed, Max and Nicole took samples of our prior batch of lavender kombucha and beer…

Beer in Glass

after which Max entombed them in glass.

Sealed

We’ll do this for each of our brews, and put them in a yet-to-be-designed UV-resistant display case.

More photos from the day…