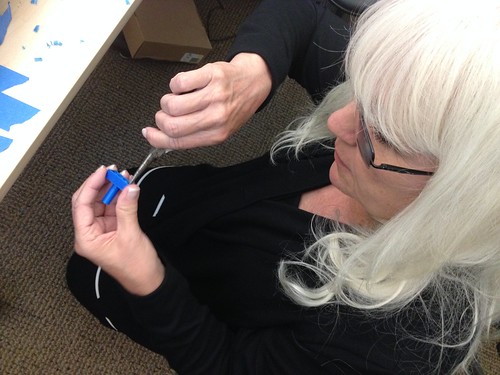
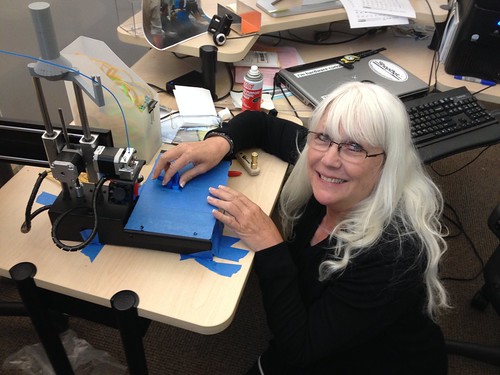
Max and I spent some time in the shop this afternoon, brainstorming Chemistry activities that will make use of the new X-Carve and vinyl cutter, and working on the new Ultimaker 2 Extended+ that arrived the other day.  After some tweaking, we got the printer running, and decided to print this Dewalt DWP611 Thread-On Dust Shoe from Thingiverse (CC BY Noah Mackes).  Up until now, we’ve been using the X-Carve as a plotter, but Marisa Sayago (Professor, Art) and I have been talking about some printmaking ideas that involved cutting and engraving, hence the need for the dust shoe.

The printer reported that the job was going to take 17 hours, so Max and I decided to set up a webcam and do some R&D on Open Broadcaster Studio, which I have been considering using for the live fishcam that will be part of the aquaponics project.  We installed the software, plugged in the camera, put in the YouTube live streaming information, and it all worked perfectly right out of the gate.

Streaming Video of Ultimaker 2 Extended+ Printing Parts for an Inventables X-Carve

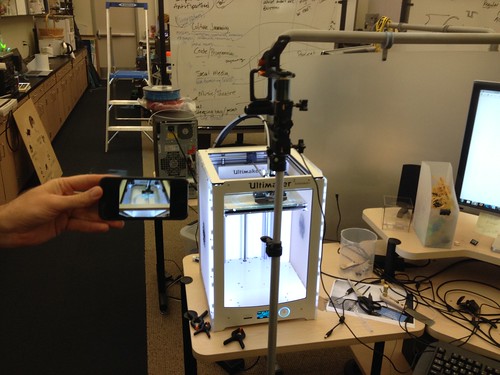
By the time I got home, the camera had slipped or been knocked sideways, but the print is still visible!

Open Broadcaster Streaming Ultimaker 2 Extended+ Printing a Dust Shoe for an X-Carve to YouTube Live

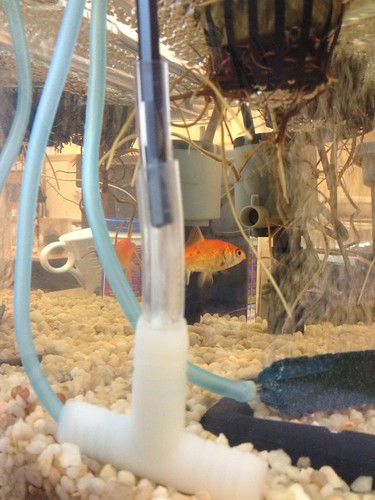
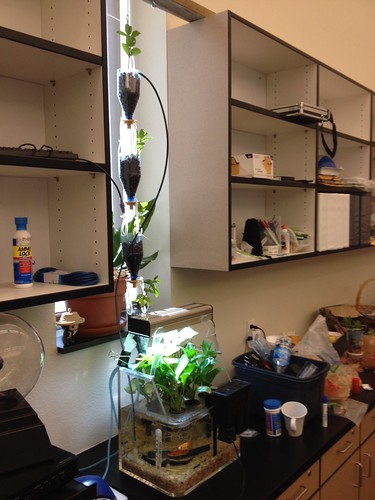
I’ve been working with technology for many years, but the idea that I can relatively easily monitor from home a 3D print job of a part I need and was able to download for a CNC machine that can be used to support (among other things) hands-on student activities in Chemistry and Art, while simultaneously testing a software program and a streaming service for another project that combines Library, Chemistry, Biology, Theater Arts, fish, and plants is, frankly, pretty neat.

I almost forgot – I made a Voronoi Totoro on the X-Carve (in plotter mode):

Voronoi Totoro

X-Carve Build Day 2 - All Hands on Deck

Back to the build…  After a successful build day last week, we started Build Day 2 with some goodies, including Diane’s home-roasted coffee, egg and cheese sandwiches, homemade scones, muffins and pastries:

X-Carve Build Day 2 - A Light Brunch to Start the Day Right

Today didn’t go quite as smoothly as I’d hoped, mostly because I mistakenly believed that one of the rails had not been tapped, which triggered a mad dash to the local hardware store for a tap and die set that turned out to be unnecessary. My mistake transformed into a learning experience and some skill building, so it wasn’t all bad:

X-Carve Build Day 2 - Jennifer Drilling

We were able to get the Z-axis assembled:

X-Carve Build Day 2 - Jennifer Adjusts the Z-Axis Drive Screw

And all of the motors wired:

X-Carve Build Day 2 - Diane and Jennifer Wiring the Z-Axis

We’re planning on finishing up the project after the weekend, and then we’ll get to carving!

X-Carve Build Day 2 - Max Wiring

Additional photos…

Helping students rig the balloon, with the 3D printed picavet in the foreground:

Preparing for Launch

Lowering the rig to clear the canopy:

Bringing the Balloon Down to Clear the Canopy

Nothing better than doing real science in the field with students (plus wearing a sweet safety vest):

Dowell and Pittman: Men of Science

Additional photos and datasets at the project blog dolookdown.org

Max Mahoney (Chemistry) and I have been collaborating on a volumetric display for the 3D visualization of molecular models. We developed a pretty sweet prototype, and then Max had the idea that instead of one big monitor, wouldn’t it be easier to just have 4 identical small monitors?

Sketch of Molecule Visualizer

Indeed I think it would be.

holo3000 Molecule Visualizer

The video can be sent from the computer to a 4 way HDMI splitter, then sent to 4 identical monitors – maybe 7″? – each rotated 90 degrees. No special software to deal with, no creation of a special 4plexed version of the video. An elegant volumetric appliance, at least on paper…

Jennifer Kraemer (ECE) Removing Support Material from 3D Printed Parts from the Free Universal Construction Kit

Jennifer Kraemer (Early Childhood Education) was in the lab today, printing up some new connector pieces from the Free Universal Construction Kit.  I used the K’NEX-to-Lego connectors in a workshop over the summer, and Jennifer is planning on printing many more pieces for use next week for activities with her ECE students.

Jennifer Kraemer (ECE) Printing Parts from the Free Universal Construction Kit

Side note – I’ve been really impressed with the performance of the Printrbot Simple Metal. It’s been getting a fair amount of use lately, with the aquaponics nozzles and Max’s molecules and molecular visualizer and the picavet parts, and it just seems to go and go without being fussy. That said, I have my eye on a Formlabs Form 2. I’m especially interested in the castable resin. It would be great to get a metal pour going in the fall!

Working with Max Mahoney (Chemistry) on a molecule visualizer, and we had the opportunity to throw the prototype on a 30″ monitor. The results are encouraging!

30" Monitor-scale Volumetric Projection Prototype

30" Monitor-scale Volumetric Projection Prototype

30" Monitor-scale Volumetric Projection Prototype

Next up: Max is going to render a custom molecule video.  We’ll format that for the system, and assuming all goes as planned, work out the enclosure issues, which will likely involve some CNC work.

Max Mahoney (Chemistry) and I met today to do some preliminary sensor calibration for the aquaponics system.  Max brought over various solutions of known pH and µS/cm.

Solutions of known pH for aquaponics sensor calibration

We connected the pH sensor to the Cooking Hacks Open Aquarium shield, and went through the procedure of calibrating the sensor, which involved basically sticking the sensor into a beaker of various solutions, recording the values, and tweaking some variables in the Arduino sketch.

pH calibration for aquaponics sensor

The process for the electroconductivity sensor was much the same. Both worked without a hitch, and once the calibration procedure was complete, we tested the water from the experimental system – 7.54 ph/298.24 µS/cm – and from the quarantine tank – 7.07 pH/176.83 µS/cm. There’s something up with the temperature sensor, which gives a zero value no matter what, so we’ll need to get that sorted, but overall a very successful work day. To top it of, the power and Ethernet should be installed out in the library tomorrow!

Max calibrating pH sensor for the aquaponics build

Still waiting for the power and some other critical infrastructure pieces for the library aquaponics system to line up, so I’ve been working here and there on an open source, 3D printed drip system that uses recycled soda bottles as plant containers.

I was never quite able to get the venturi – the piece that uses air from an aquarium air pump to push water up a tube to water the plants – to work properly. It would work for a few hours, and then quit, I think because of clogs in the tiny air courses, so I set out to explore other solutions. Working off of an idea I found on Instructables for a bubble lift hydroponics setup, I headed to the hardware store for a few items, and was able to cobble something together.  Science!

Aquaponics Drip System - DIY Venturi

It’s been running all day, and seems stable. I’ll let it run overnight just to be sure, but I felt confident enough to stick some mint cuttings into the bottles, and hope they’ll root.

Aquaponics Drip System, Dripping