DIY channels on YouTube are a source of inspiration, and lately I’ve been watching one in which the maker creates figures and environments inspired by Sylvanian Families.

https://youtu.be/_Ti2hTKZnmE

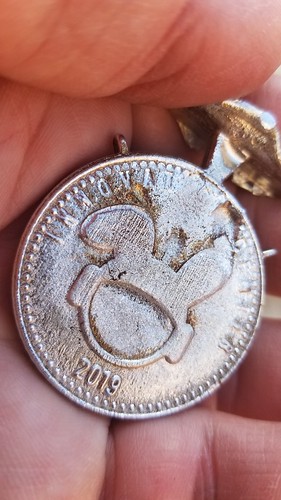
In one episode, the maker uses a DIY vacuum former (made from a plastic jar) to create little bottles. We have a commercial thermoformer in the lab – Sophie most recently used food safe plastic to create candy molds for our holiday party, and made this lovely Nova (our space bunny mascot) lollipop.

20221201_141500

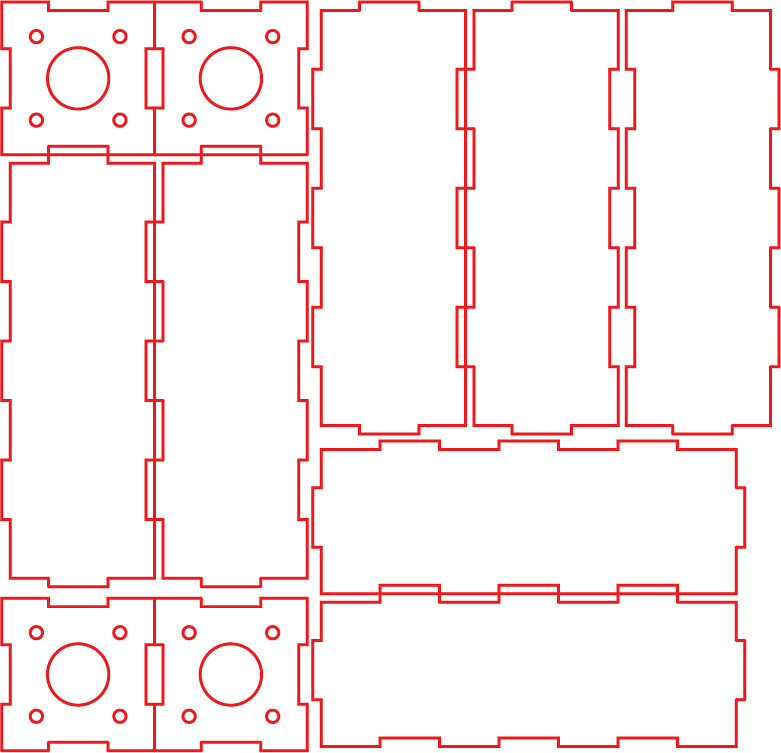
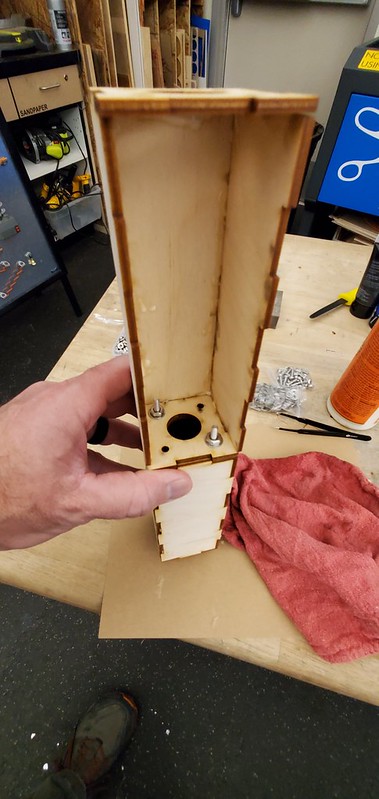
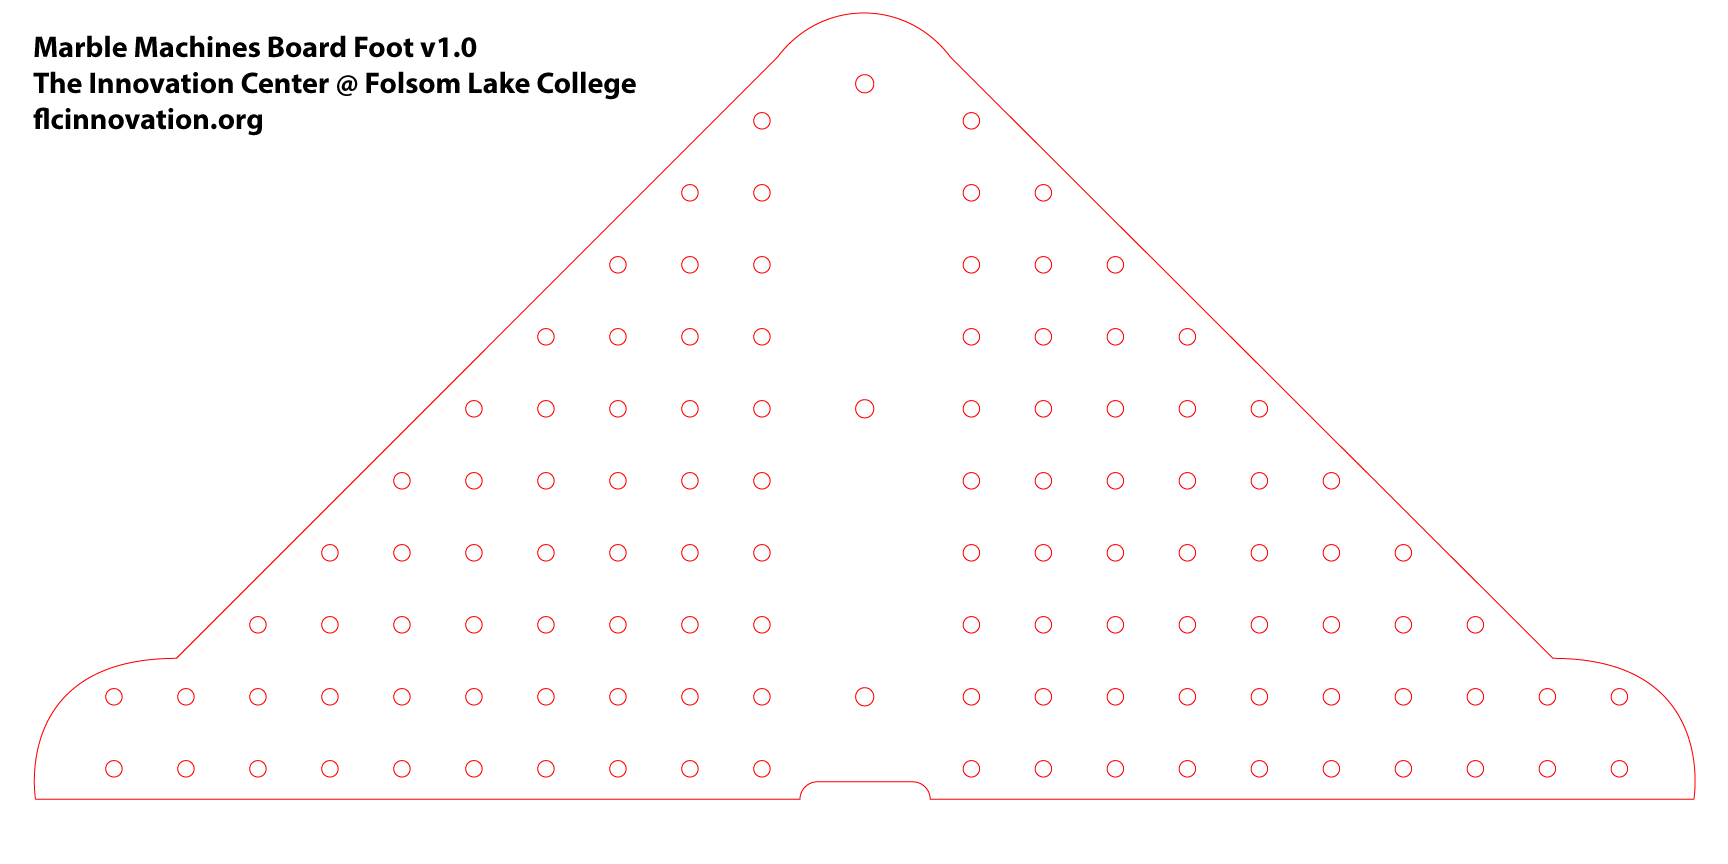
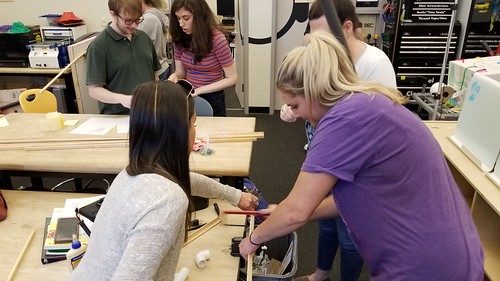
I thought it would be fun to prototype a little DIY version, and so set out designing it, starting with a simple box (using Makercase, certainly in the top 10 of most useful makerspace software) to which I added holes for the vacuum hose and the top surface. A couple of iterations later, all glued and clamped up.

20221228_120206

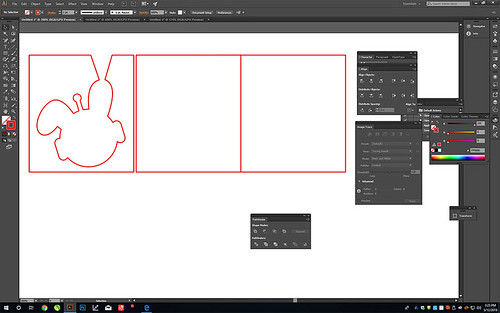
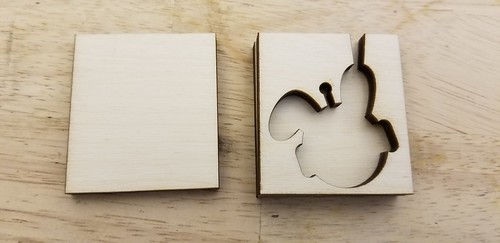
Though I think it would have worked fine, I decided that the grid of vacuum holes needed to be smaller, so I altered the file in Illustrator and re-cut that piece with the laser cutter.

20221228_130520

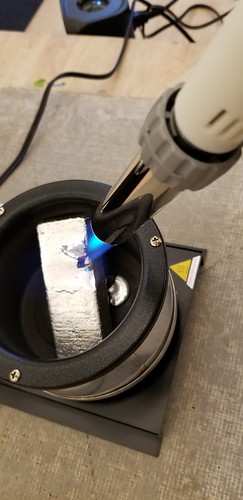
I hooked up the vaccum and gave it a try, sandwiching plastic between various frames and heating it with a heat gun with promising but not perfect results. What ended up working best was just heating the plastic in place with a heat gun while the vacuum was running.

20221228_135952

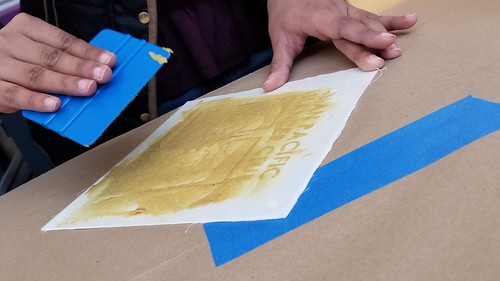
Here’s a closeup shot of the resulting mold, which is a perfectly acceptable result for a quick protoype!

20221228_140208

The Innovation Center is collaborating with folks from the Equity Center, the PEAC²E (Peer Engagement for Achievement, Culture, Connection and Excellence) program, and Diane Carlson (Sociology) on a Peace Pole project. One of the many ideas that has emerged from the collaboration is to create a modular mobile “peace pole platform,” essentially a design specification and a set of affordances that will enable members of the college community – disciplines, student groups, classes, anybody – to create art and interactive content for display.

Peace Pole Platform Prototype Planning

Spent the day yesterday in the Innovation Center (I love having the lab to myself and locking in to the rapid prototyping flow), crafting a 1/4 scale prototype of the mobile modular peace pole platform prototype (M²P⁴?), and in particular exploring how the segments will connect. Nothing especially revolutionary about the basic design; each segment is a simple 12″ x 24″ rectangular box (our big laser has a cutting area of 18″ x 32″), and the pole itself will be three of these bolted together in a concealed way.

2022_peace_pole_quarter_scale_prototype

The big circle in the middle of each end piece (Illustrator file above) is the access port, and so I think I’ll be able to reach in and connect them together with bolts. There are other ways of creating access panels from the outside – I’m thinking magnetic – that I might explore just to make the connection process simpler.

20221210_135159

Three of these stacked will be about 6′, and provide 12 possible faces for art and expressions of peace.

20221210_140207

Version 1.0 will be “static” – crawl, walk, run – but the long-term goal is to have the base of the unit equipped with power, sound, and a Raspberry Pi or similar, such that folks have a set of givens they can design for. Think lights and sensors and haptics and interactivity. Two peace poles communicating at a distance? A receipt printer that provides folks with a prayer for peace they can take with them? Lots of possibilities!

A couple of weeks ago, the Innovation Center hosted Lisa Danner (English) and her Creative Writing class for two class sessions about physicalizing poetry.

We started by introducing students to these really fun Metaphor Dice

20191106_112958

They rolled the dice, individually and in pairs, and then wrote and shared poems based on their dice rolls.

20191106_113856

Our overall goal was to get students to think about ways they might give physical form to their writing, so I asked Sophie and Sydney (two of our outstanding Makerspace Facilitators) to create some physical poem prototypes to help guide student thinking. They used the laser cutter and the embroidery machine and 3D printers and came up with these fantastic models.

2019-11-13_11-54-13

3D Fabric Printing

We talked about the many forms that poems (and words more generally) can take, from calligrams

Shiite Calligraphy symbolising Ali as Tiger of GodIshvara7 at English Wikipedia [CC BY 3.0], via Wikimedia Commons

…to the inspiring Viewfinding poetry and sculpture installation by artist Sarah Cook.

Students returned a week later to start physicalizing their own poems, some using glue guns and materials from our low-resolution prototyping cart, and others working with the laser cutter.

20191113_114640

It might be less obvious (to some folks, anyhow) about how English classes might use makerspace resources, but we think we’ve come up with an engaging instructional sequence, and hope to tweak and adapt and scale it up, exposing lots of different kinds of students to maker-centered learning.

Diane Carlson (Sociology) and I are teaching Making Social Change for the third time this semester. Last week, we worked through Indian independence, and students learned to spin roving into yarn with drop spindles they created using laser-cut whorls, dowels, and cup hooks.

20190916_150735

This week , we explore the radical democracy and political art of the Zapatista movement, after which students create stencils of an issue of their choice using the laser cutter. Mario Galvan, a local activist who has done work with the EZLN, shared his story with our students and showed images and videos of his visits to the caracoles of Chiapas.

20190923_132604

After Mario’s talk, students set to work creating stencils with the ever amazing Stencil Creator, after which we went out to the backyard and got out the rattle cans.

20190923_160142

20190923_160117

20190923_160019

This is our third time out for this class, and we try to expand/enhance/adapt the course each time we teach it. This year, we’re adding a field trip to The Creation District, which provides creative programming for youth experiencing homelessness, and we’re working to incorporate escape room mechanics into the final projects that students complete. Always be prototyping.

Building on the initial success of casting pewter into laser cut forms, I spent some time this afternoon prototyping some coins, with the ultimate goal of creating limited edition thank you gifts for special guests and benefactors.

I created the file for the laser cutter using Illustrator, reversing the text on the face plates, and adding a sprue and two vents into the middle piece, which is sandwiched between the two outer squares and defines the outline of the coin.

Coin File

Here are the pieces, cut out of 3mm plywood….

Version 1.0

…and the first pour.

Not Bad

Not bad, but with some voids up near the ears and some loss of detail in the letters.

First Coin

I decided to melt this one down, and make some changes to the forms to try and get the metal down into the mold faster.

Melting Down

There are apparently formulas for sprue sizing, but I just decided to try making at a wee bit bigger. I also increased the size of the original vents, and added a couple more.

20190527_164747

Better, but still some detail loss up near the top.

More Vents

For the next iteration, I decided to flip the outside plates upside down, the thought being that any detail loss at the bottom of the coin would be less noticeable than at the top. I also remembered to char the detail plates – a thin layer of carbon seems to function as a release agent.

Sprue on the Bottom

Success! I removed the sprues and vents using flush cutters, and performed an initial polish with fine steel wool.

Both Sides

A really good prototype in hand, I decided to try different kinds of wood for the forms. Here’s walnut.

Walnut?

Not great. Next, I found a small scrap of fine-grained wood – not sure what, exactly – but I only had enough to engrave the plates, so I used the standard birch middle piece.

20190527_174528

The metal picks up the grain of the wood, and this being a much finer grain, the result was a very shiny and smooth surface. Definitely an avenue worth exploring in future versions.

Shiny

I did one more test, spraying ingot release spray on the detail plates. This caused the metal to boil and bubble, resulting in an interesting (but unusable) outcome.

20190527_180520

Really pleased with the prototype coin, and I’m excited to continue perfecting this technique, and to finding other applications for molding metal using multi-part laser cut molds.

We’ve been accumulating gear to do small scale – think jewelry – metal pours, including a little electric casting furnace ordinarily used for making bullets, a larger propane-fired casting furnace, and all the crucibles, stirring implements, ingot makers, casting ladles, and other miscellaneous items to make the process work. This afternoon, I decided to try my hand at using the laser cutter to create forms into which to pour pewter, which is relatively inexpensive and melts at low temperatures. The idea was to create a pewter version of Nova, our space bunny mascot. I prepared the outline by adding a sprue (for pouring the metal)…

Nova With Sprue

…and cutting the outline (plus pieces for the front and back) from ~1/4″ hobby plywood using the laser cutter.

20190512_122715

I read somewhere that a little carbon on the surfaces of the mold would make the metal release more easily, so I blackened the insides of the pieces that would form the outsides of mold, using a propane torch.

20190512_123358

I needed to get the pewter melting, and placed it into the casting furnace, helping it along with butane torch, which I also used during the process to heat the carbon stirring rod and ladle before using them.

20190512_123955

The metal ready, I clamped the pieces of the form together, placed the form on a firebrick, and poured the pewter, using a cast iron ladle.

I over poured some, and put a little more in when I saw a bubble pop up, but the leftovers were easily reincorporated into the pot. A couple of minutes later, and the form was cool enough to crack open.

20190512_125931

The outside pieces separated just fine, but the metal didn’t want to be freed from the wood, so I ended up breaking apart the form.

2019-05-12_03-09-21

It worked!

20190512_130738

I used a file to remove the sprue leftovers, and (after taking this picture) polished using steel wool. I like the rustic surface, and how the metal picked up the grain of the plywood. It looks very handmade.

2019-05-12_04-08-40

I was truly surprised at how simple the whole process seemed, and I have lots of ideas about using raster engraves on the front and back pieces to create detail, and about milling graphite using one of the CNC machines to create more durable forms for a series of limited edition coins we’d like to produce to give to special guests and supporters.

20190418_094154

Student interns just wrapped up three days in the Innovation Center working in teams to solve a business challenge as part of the CCC Maker Makermatic program. Created by our friends at Sacramento City College Makerspace to meet the internship goals of the CCC Maker statewide grant, and coordinated locally by Seeta (FLC’s Innovation Center Internship Opportunities Specialist), the program was an opportunity for students to propose solutions for business challenges in partnership with Solid Ground Brewing, a local brewery and restaurant. Solid Ground also makes wine, and winemaker Scott came out to the Innovation Center to provide context and listen to student presentations.

2019-04-18_08-43-16

The night before final student presentations, Max (Chemistry), CJ (student and Makerspace Facilitator) and I worked to create a gift to present to Solid Ground at the close of the event. We decided to design a beer flight sampler display, with custom-etched flight glasses. CJ fired up Safety Scissors (the name for the smaller of our two laser cutters), and we worked out a design that combined Solid Ground’s logo and Nova, our own space bunny logo/mascot/spirit guide.

Collaborating

Here Max is evaluating different etching parameters. We didn’t have any beer in the space, so we filled the test glass with a combination of soy sauce and water to provide a little contrast while we worked out the details.

Prototyping a Flight Glass Etching

After a few rounds of prototyping – size, placement of thumb and finger indexes, type – we cut, glued, and assembled the pieces.

2019-04-19_07-41-32

The glue dry, we sanded away the laser burn marks, friendlied up the sharp edges of the plywood, and sealed everything with cutting board conditioner.

Flight

Each glass has a number etched into Nova’s (our space bunny mascot’s) faceplate, corresponding to a numbered position on the flight corral.

2019-04-19_07-41-46

At  the close of the Makermatic event, we took Scott over to the Spider Shed (our nascent brewhouse) to talk about ways we might work together with Solid Ground, and to sample some kombucha Max had kegged from one of our brew days.

Keezer

Max has been perfecting some procedures using Atomic Absorption Spectroscopy (AAS) equipment in the Chem lab, and we talked with Scott about the potential to have students work with local breweries to provide water quality analysis as part of our larger FermSci efforts.

Atomic Absorption Spectrometer

We like traditions in the Innovation Center (things like Builders’ Rights – see ROSTOCK MAX V3 BUILD DAY – PART TWO), and Scott became the first brewer/winemaker to sign our (nascent) keezer!

2019-04-18_08-51-38

Inspired by the Tinkering Studio’s Instructable Make a Marble Machines Board, we set about to construct three of them for our Making for Educators class. I designed a custom foot, which we cut from 1/4″ plywood on the laser cutter in our makerspace. I put the file up on Thingiverse, in case you want to download it.

The feet include 1/4″ holes, so that dowels can be used to support marble machine elements down low.

Modified Design

We’re pretty space constrained in the Innovation Center, so we need to be able to remove the feet so as to store these marble machine boards flat when not in use. If I had it to do over again, I would have used pronged t-nuts, but we had already affixed the pegboards to the frames, so these insert nuts will do fine.

2019-03-21_04-59-01

Students spent a little bit of time in class this week working on their machines, sawing and cutting wood and foam and PVC pipe…

20190318_184314

…and beginning to attach their tracks.

Marble Run

We introduced the idea of embedding Makey Makey into their machines, and they’ll have more time to work on them in the next class session.

Katia (student and President of the Asian Pacific Islander Club) collaborated with Innovation Center on a katazome activity for her club. Katazome is a Japanese fabric dyeing process that uses a resist paste applied to fabric through a stencil, and we more or less followed the procedure detailed in Workshop no. 21: Natural Selections: Hands-on Katazome and Indigo with Graham Keegan.

Early this morning, Katia made the dough using rice flour and rice bran…

20190315_101505

…which we then steamed for an hour and half.

20190315_111426

Meanwhile, we used the laser cutter to cut out some stencils, based on traditional Japanese designs.

20190315_111607

While Katia smashed up the now cooked dough balls, adding glycerine and water with hydrated lime to make a paste…

20190315_122234

…other members of the club arrived, and set to work cutting cotton fabric into 8″x8″ squares…

20190315_122207

…and ironing the fabric to make it nice and flat for stenciling.

20190315_123351

The paste ready, students set to work applying it to the fabric…

20190315_130004

…and hanging the squares up to dry.

20190315_135025

Once the squares were dry, it was into the dye for 20 minutes…

20190315_145350
..then back on the line to dry again…

20190315_145342

…before being rinsed.

20190315_152611

The rinsed pieces now dry, Katia trimmed the edges with pinking shears…

20190315_162005

…while other students pressed the finished squares using the t-shirt press in the Clean Lab.

20190315_162439

The result!

20190315_165401

It’s exciting to find ways to combine traditional arts – katazome – with digital fabrication – the laser cutter – and we’ll incorporate what learned (a lot!) about the process and timing into v2.0 of the activity in a couple of weeks.

More photos from the activity:

Katazome in the Makerspace

A member of the community contacted me recently about the possibility of helping to repair a broken clock gear. We’ve got an Omax ProtoMAX in the shop, and this seemed like the perfect opportunity to use it for a compelling project. Steve sent me a photo of the broken piece, and I pointed him in the direction of geargenerator.com, a free online tool created by @AbelVincze that enables the creation of sophisticated gears, and will allow you to export your creations in DXF format.

Gear Generator

Steve did a lot of good work design work, and we traded files back and forth until I felt we were ready to cut a few prototypes for fit.

Gear Comparison

We spent some time in the lab measuring the gear and tweaking the file, adding the two auxiliary holes and the cutouts for the index tabs by hand in Illustrator…

2019-02-12_01-29-56

…after which we cut a couple of prototypes, first in wood to A/B with the original, and then in acrylic, which Steve took home to check for fit.

2019-02-12_01-30-27

The final acrylic prototype fit so well, in fact, that part of the brittle acrylic broke when Steve tried removing it. Success!

Gear Before

Steve then sourced some brass plate, and we were now ready to engage Hayes (student, makerspace employee, and ProtoMAX expert) to prepare the file for use with the waterjet to cut the final version. Steve and Hayes were able to cut a very close likeness of the original broken gear.

Match!

Steve took it home, installed it, and reports that the clock is working perfectly!

Gear After