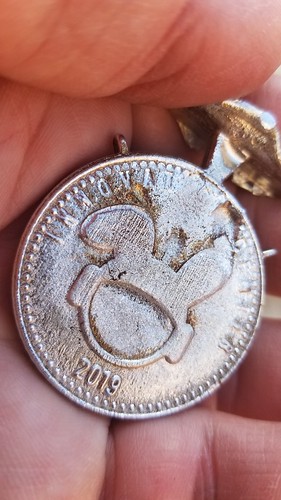
Building on the initial success of casting pewter into laser cut forms, I spent some time this afternoon prototyping some coins, with the ultimate goal of creating limited edition thank you gifts for special guests and benefactors.

I created the file for the laser cutter using Illustrator, reversing the text on the face plates, and adding a sprue and two vents into the middle piece, which is sandwiched between the two outer squares and defines the outline of the coin.

Coin File

Here are the pieces, cut out of 3mm plywood….

Version 1.0

…and the first pour.

Not Bad

Not bad, but with some voids up near the ears and some loss of detail in the letters.

First Coin

I decided to melt this one down, and make some changes to the forms to try and get the metal down into the mold faster.

Melting Down

There are apparently formulas for sprue sizing, but I just decided to try making at a wee bit bigger. I also increased the size of the original vents, and added a couple more.

20190527_164747

Better, but still some detail loss up near the top.

More Vents

For the next iteration, I decided to flip the outside plates upside down, the thought being that any detail loss at the bottom of the coin would be less noticeable than at the top. I also remembered to char the detail plates – a thin layer of carbon seems to function as a release agent.

Sprue on the Bottom

Success! I removed the sprues and vents using flush cutters, and performed an initial polish with fine steel wool.

Both Sides

A really good prototype in hand, I decided to try different kinds of wood for the forms. Here’s walnut.

Walnut?

Not great. Next, I found a small scrap of fine-grained wood – not sure what, exactly – but I only had enough to engrave the plates, so I used the standard birch middle piece.

20190527_174528

The metal picks up the grain of the wood, and this being a much finer grain, the result was a very shiny and smooth surface. Definitely an avenue worth exploring in future versions.

Shiny

I did one more test, spraying ingot release spray on the detail plates. This caused the metal to boil and bubble, resulting in an interesting (but unusable) outcome.

20190527_180520

Really pleased with the prototype coin, and I’m excited to continue perfecting this technique, and to finding other applications for molding metal using multi-part laser cut molds.

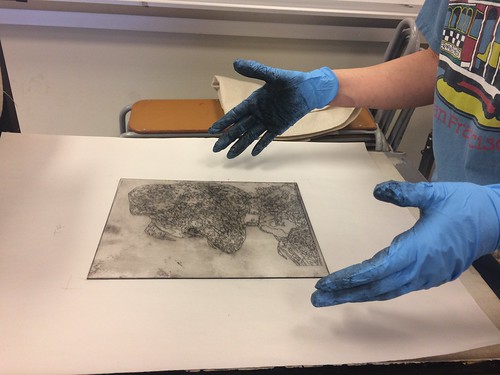
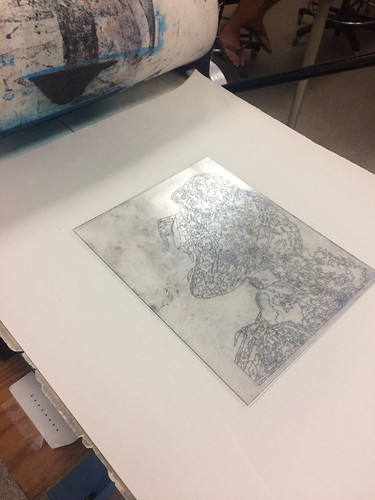
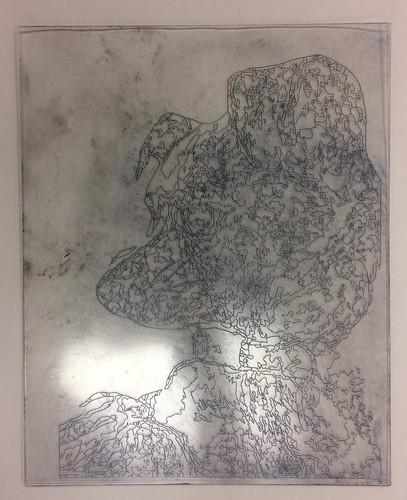
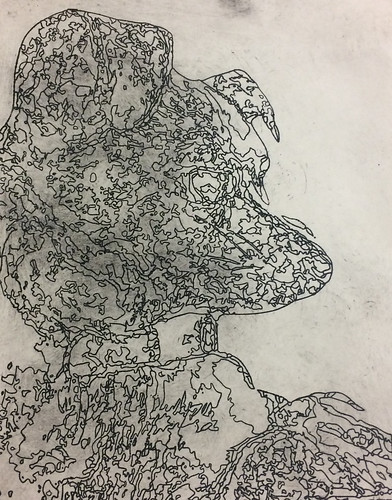
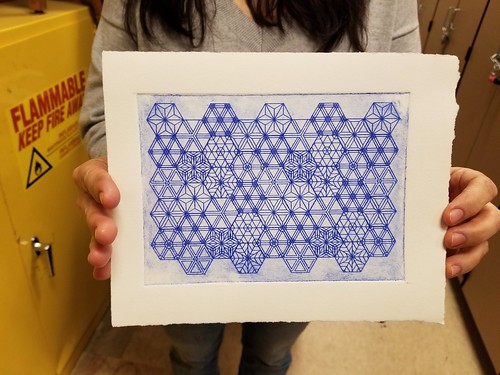
Clarity (Making Social Change student and now Innovation Center employee) has continued to work on sharing the laser intaglio process with artists from the college’s printmaking course, here using Illustrator’s Image Trace functionality to achieve a sort of low-resolution abstraction of a photograph of a family pet.

Prepared

Ready To Roll

Inked Plate

Finished

This morning I stumbled upon (or perhaps became re-acquainted with?  Clarity might in fact already be working on it, but it’s sometimes difficult to keep all of the ongoing projects straight) this DIY Printmaking Press project via @joshburker on Twitter.  The files for the press can be downloaded from Thingiverse, and I can’t wait to get one of these tiny marvels printed and up and running in our space!

The degree to which surprises – projects, artifacts, workshops – emerge in and from the community is the degree to which the community feels alive.  Last week I walked in to find just such a surprise.

Woodworking Workshop

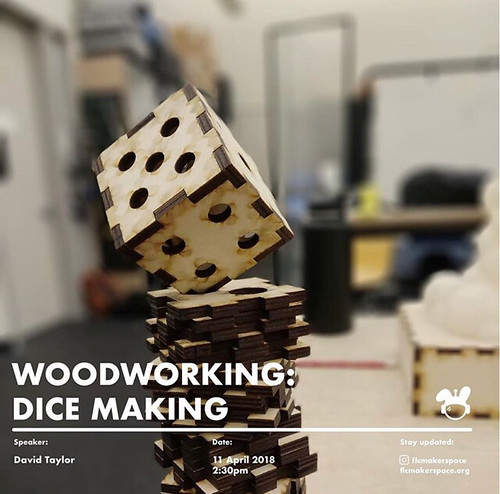
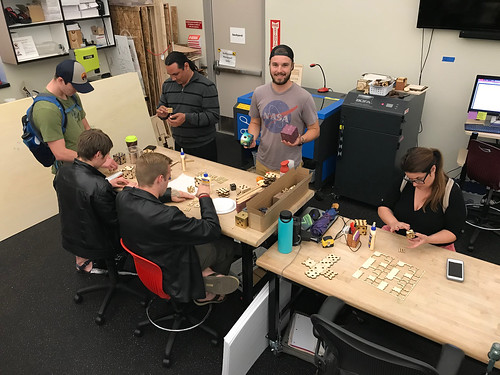
David Taylor, he of ion drive fame, decided to hold a workshop, and coordinated with Innovation Center staff (unbeknownst to me) to get flyers and pizza and materials together. Folks showed up and walked away with some pretty nice laser cut dice, and some skills besides.

WoodWorkingWorkshop

It seems like a pretty simple formula: empower students, provide them with resources, stand back, and watch a vibrant, growing ecosystem emerge.  Here’s to many more surprises.

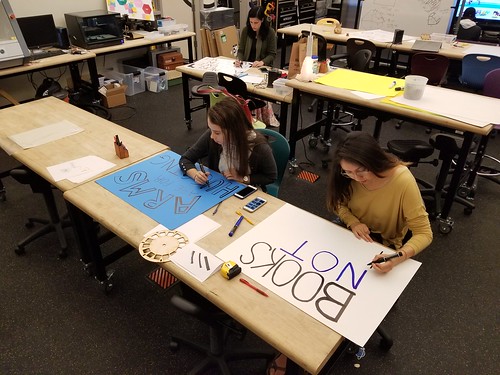
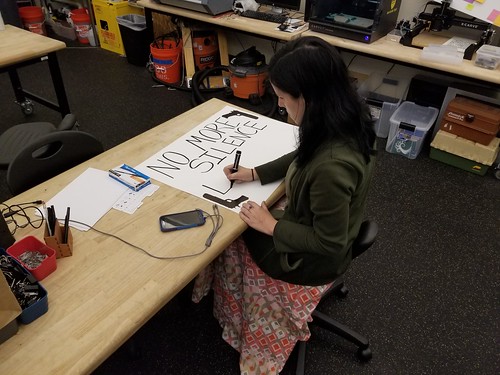
The Dirty Lab – the largest project area in our space, with lots of movable work surfaces – is a great space for collective art.  We’ve hosted sign making for the March for Science, and students, faculty, and visiting artists collaborated on a banner for International Workers Day.  Today, students and faculty worked on signs for the National School Walkout and March 14, 2018.

Arms Are For Hugging

Some old school techniques…

No More Silence

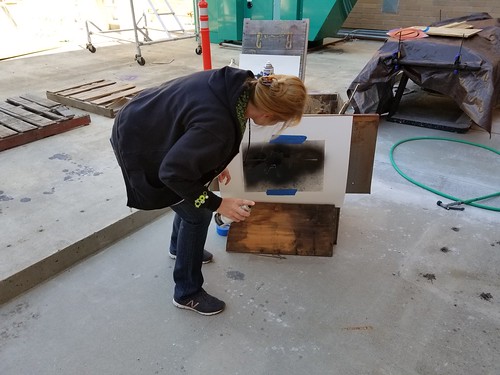
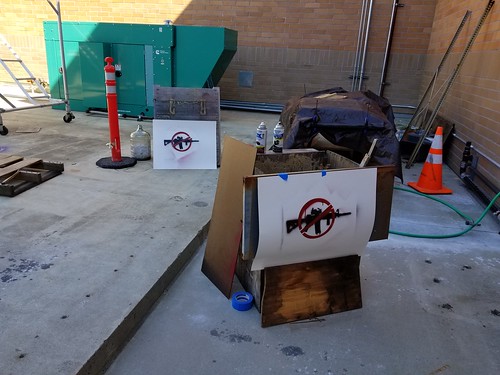
…and some new ones.  We used the laser cutter to cut some 10 mil mylar – a new material for us that just arrived, and that will hopefully make our stencil activity for Making Social Change a little easier in the fall – creating an AR-15 stencil and accompanying “NO” symbol.

Krylon

Walkout Posters

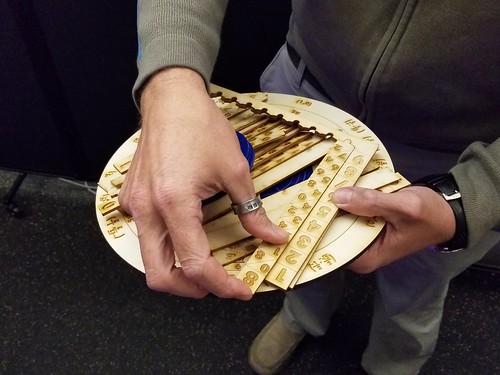
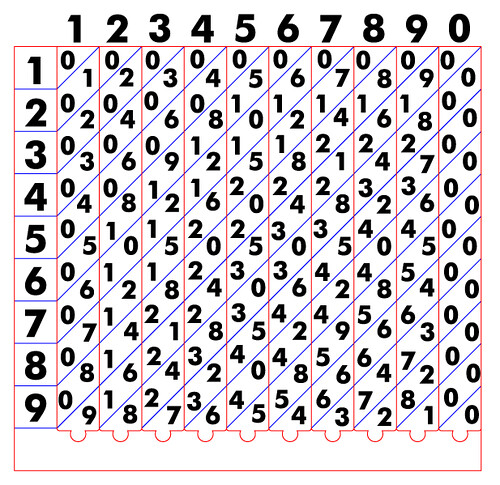
Rebekah Keely (student and Innovation Center staff) and Marc Olsen (Math) collaborated on a laser cut version of Napier’s Bones, a manual mathematical multiplication manipulative for Marc to use with his Math students.

Math Manipulatives

It takes a minute to get the hang of it, but it’s a quick and hands-on way to do multiplication.

Napier's Bones

Rebekah has mad Illustrator skills, and designed and perfected the file.  It’s up on Thingiverse, if you’d like to grab one and make it.

Steps

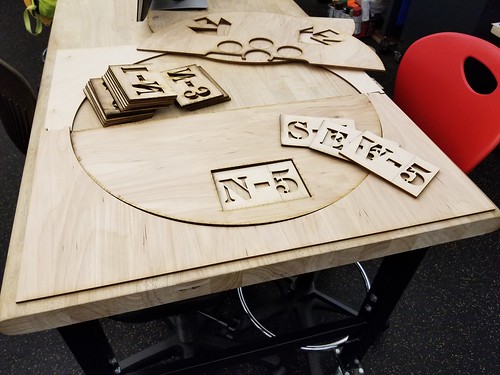
After a few rounds of design and tweaking, I finished a prototype of stencils that mark the rally points for in the event of a building or campus evacuation.  The principal design challenge for this project was the size – the sign needed to be larger than the bed of the laser – which necessitated designing in halves.  The bottom stencil mask contains a cut out into which the rally point designator (North/South/East/West 1-5) can be dropped in.  A fun collaboration with safety-minded staff.

Sign Progress

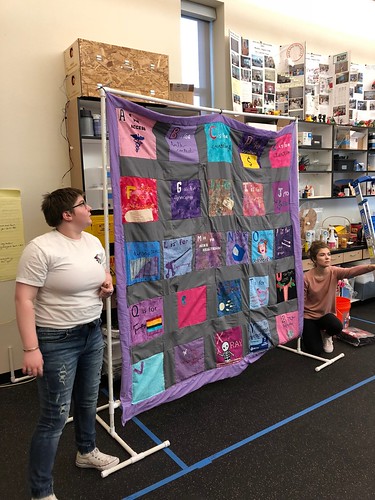
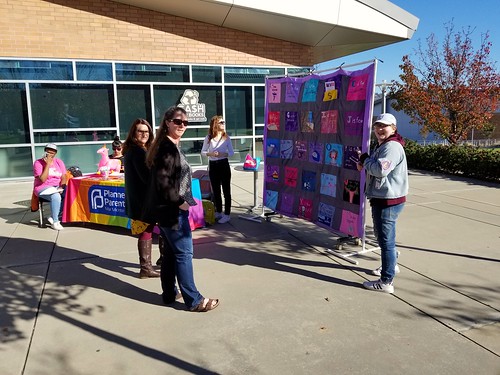
Fired up by the sewing lab from a few weeks back, one of our Making Social Change groups ran with the quilt theme, creating an A-Z of Planned Parenthood quilt as their final group project. They used the laser cutter to cut various shapes and letters, and employed a variety of techniques, including embroidery and applique, to create their squares, and PVC pipe to assemble the frame.  Here they are putting the finishing touches on their project.

Preparing for Visit from Planned Parenthood

On Thursday, December 7, representatives from Planned Parenthood tabled outside the Falcon’s Roost, and our students staffed the booth and displayed their quilt. They got a lot of foot traffic, answered a lot of questions, and distributed lots of literature, including some from built-in pockets on the quilt.

Planned Parenthood!

It’s great to see our students using their skills and passion to take a project from idea to application, and this project is a perfect example of exactly what we hoped would be the outcomes of this course when it was just some ideas on a whiteboard back in 2015.

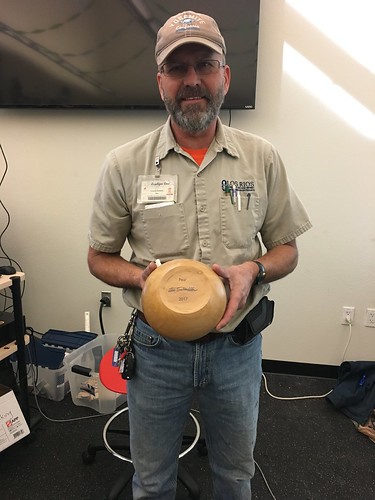
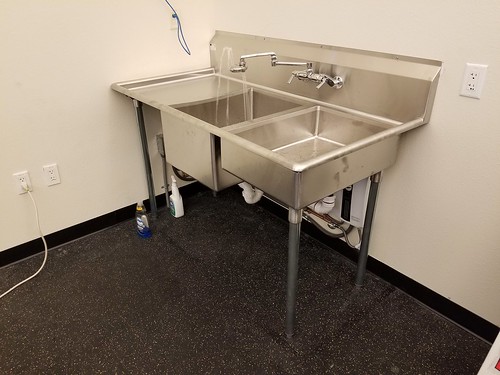
This is Tom, and he recently finished installing our magnificent sink.

Wood Turner Turned Plumber

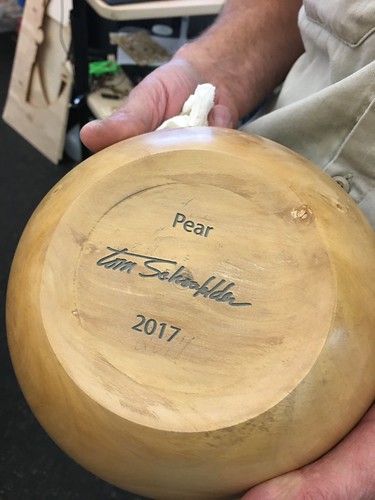
Tom is a wood turner, and after spending some time in the space and seeing the capabilities of the laser, thought he might like to try to engrave some of his work. He brought in a pear bowl he had recently turned, and Rebekah (student and Innovation Center student employee) and I figured out how to use the auto-focus feature of the laser – we don’t use this much, and perhaps the only other time it’s come into play was when we tattooed a pumpkin back in October – to successfully engrave his signature on the bottom of said bowl.

Signature Bowl

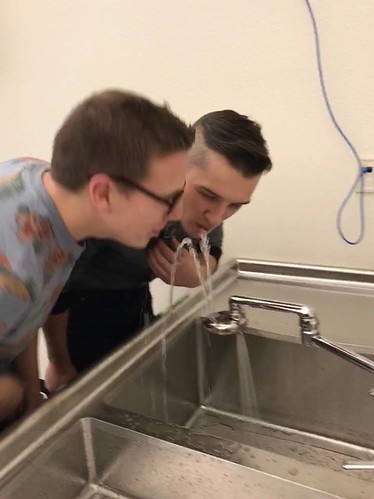
The sink, by the way, has a built in eye wash, something that we we’re happy to have for safety reasons…

Sink and Eyewash in all their Glorw

…and for friendship! 🙂

Tramp and the Tramp

Behold the Ion Drive!

Ion Drive MK 04

Students Andrew Canafe, Tristan Chutka, and David Taylor created the project for their Physics 421 course, and used the Innovation Center’s laser cutter to produce the final parts. Here’s a video of its majesty. Note the safety key and prominent warning sticker. Try this at home, kids, but do it safely!