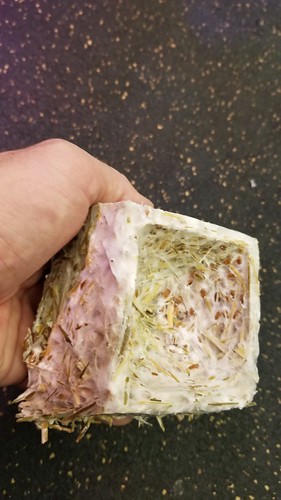
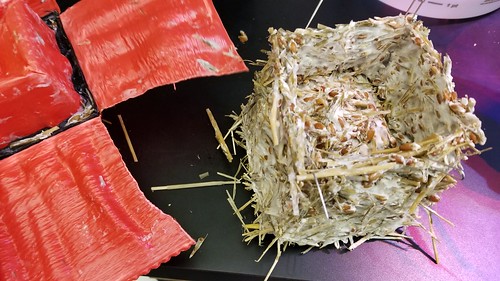
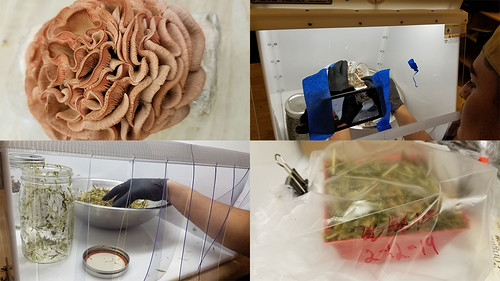
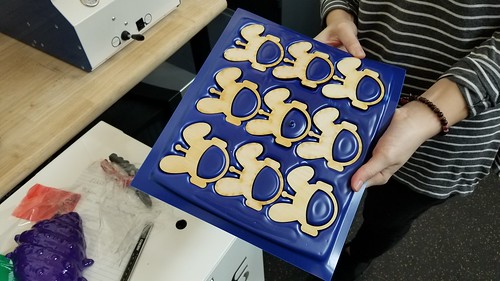
Today we got a look at the first prototypes of our mycelium-based 4″ planting pot project. Here’s how they looked, still in the forms.

20190221_103744

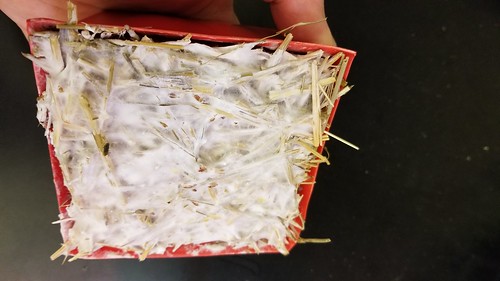
The “good” one – the one where the 3D printed PLA positive didn’t deform during the vacuum forming process – is really solid and feels done.

20190221_103819

The second one didn’t want to release from the form, which was not surprising, given how much deformation occurred during thermoformer’s heating cycle, so I had to cut it free from the pot, and use few paper clips to keep the top section attached to the more substantial base.

20190221_105257

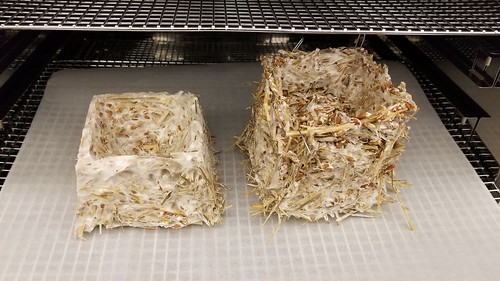
Into the dehydrator at 100 degrees Fahrenheit for about three hours, and we’ll see how they feel after that.

20190221_105459

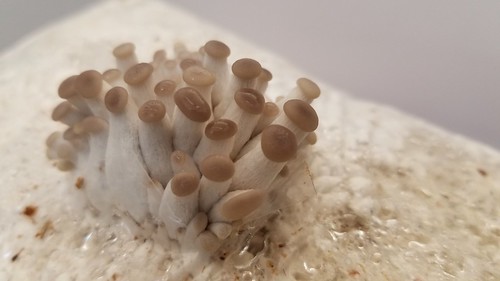
For this iteration, we used oat hay as the substrate, into which we mixed rye berries inoculated with King Oyster mushroom spawn. Since we set up v1, we’ve received a food processor, in order that we might more finely chop up the substrate, and we also have some other substrates in the shop, including rice hulls and various wood chips. V2 next!

Sometimes it seems like there are too many things happening in the Innovation Center to keep track of. This week felt like that. Here’s a recap:

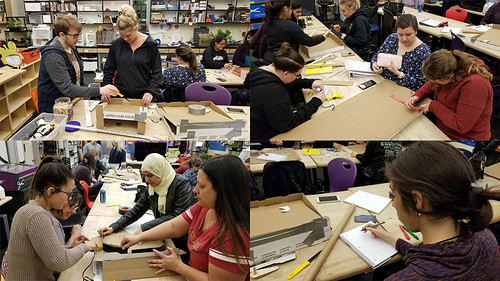
Students in our new ECE course Making for Educators started working on their cardboard pinball machines, which they’ll finish up in our next class session.

Pizza Box Pinball Day 1

Max (student and amateur mycologist) harvested and cooked some pink oyster mushrooms, and pasteurized and inoculated some oat straw, packing it into our first two 4″ pot prototypes, which we made using a 3D printer and our vacuum former.

Mycelium Roundup

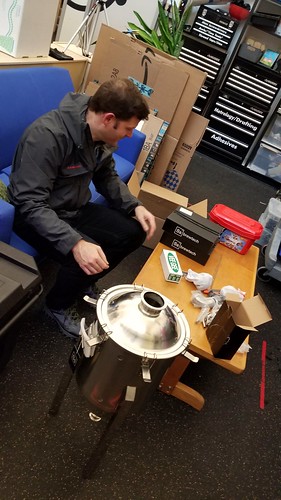
Some snazzy new stainless steel fermenting vessels arrived, and Max Mahoney (Chemistry professor and makerspace champion) assembled one in preparation for another brewing day as part of our fermentation science efforts.

Fermenter

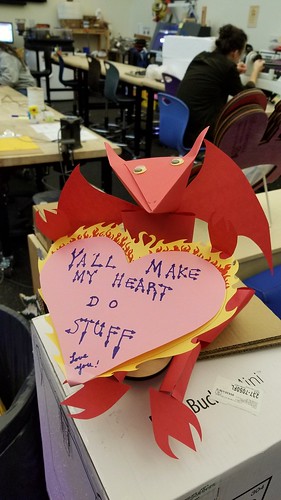
Our staff hosted a Palentine’s Day Crafternoon event.

2019-02-14_09-18-39

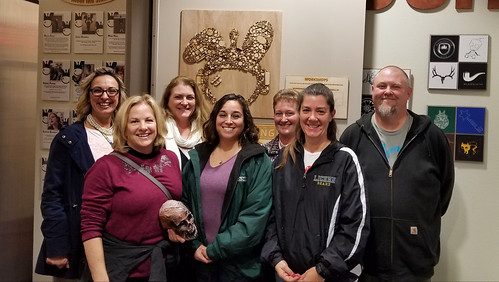
Finally, visitors from both College of Alameda FabLab and Lichen K-8 came out to tour our space and talk about making…

Lichen School Visitors

A busy week, and the semester is just getting rolling.

Finally got around to prototyping the first of what will hopefully be a variety of useful objects created from waste materials, knitted together with mycelium, part of our larger efforts with biofabrication, bioprinting, and fermentation science. As our first mycelium project, we’re trying to make a 4″ planting pot that can be composted. We’ve got oyster mushroom jars rolling, ready to inoculate a variety of materials, including straw, rice hulls, coffee grounds (we worked out a deal with the coffee cart on campus to gather their grounds), waste cardboard, and hopefully various combinations of those things.
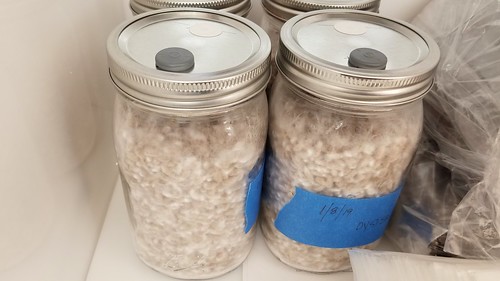
Mycelium!

The sample mushroom packaging material arrived last week, so we’ve gotten to touch and feel and get a sense of a commercial version of the material.
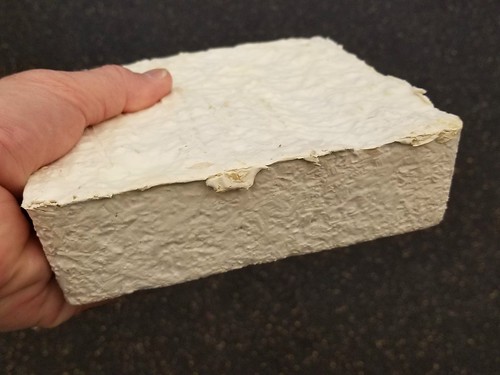
Mushroom Packaging

I created a model of the pot using Tinkercad, with the goal of 3D printing it in PLA and then using that model to create the form using the Formech Compaq Mini. The vacuum former tends to hold onto objects, so I designed the inside and outside walls to slope slightly, the outsides toward the middle – / \ – and the insides away from the middle – \ /, which I thought might make the plastic mold more likely to let go of the model. It didn’t quite work out that way, but more on that later. I also included a hole in the center, partly for drainage, and partly because I thought it would aid in the vacuum forming process.

Plant Pot Model

Hayes (student and Innovation Center staff) was kind enough to print the model to my specifications, which turned out to be wrong. More on that later. Anyhow, I asked for minimum infill, as the pot itself is 4″ at the base, and at least that tall, and I was interested in a quick print, rather than a durable one.
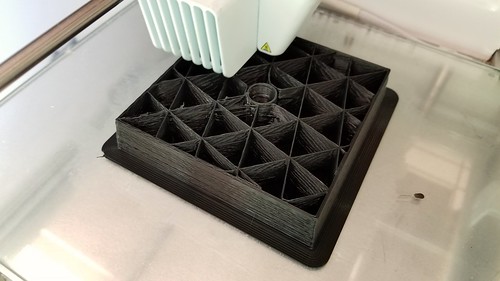
Printing the Pot

The model was ready this morning, so we set it up on the vacuum former.
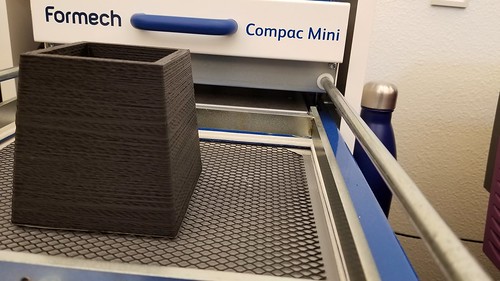
Prototype In Place

It took a few rounds of heating, because we didn’t realize that the frame that holds the plastic down and creates the seal that allows the vacuum to form was out of alignment. Once we solved that problem, the process seemed to work really well, except…
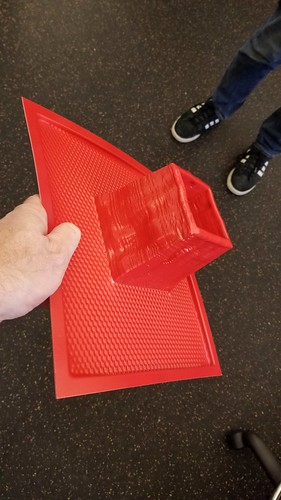
V1 Mycopot Model

The repeated heating, coupled with my desire for a fast print rather than a strong one, added up to a mistake. Specifically, the PLA model melted and warped – you can see the jankiness above – and as a consequence, the model stuck in the deformed plastic sheet, and I had to pull it apart layer by layer to get it release.
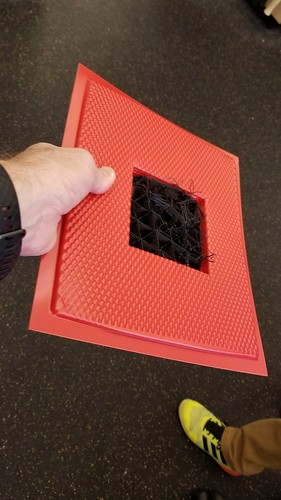
V1 Mycopot Model Melted

Even with the less than perfect walls, the form is more or less usable, but we’re going to print a much more solid version in PLA on the Ultimakers, and a more solid version using the Form2 and maybe the tough resin. We learned a lot from the process, which is the beauty of prototyping!

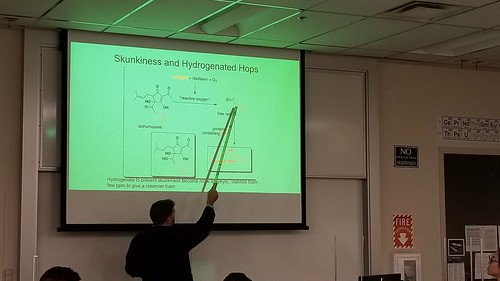
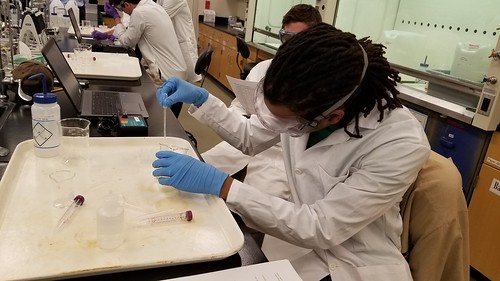
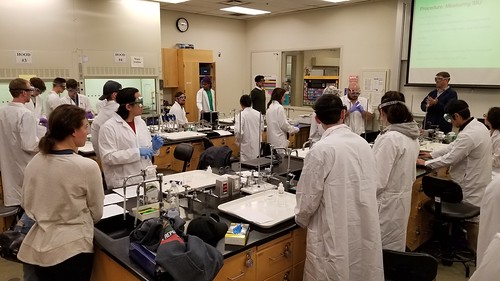
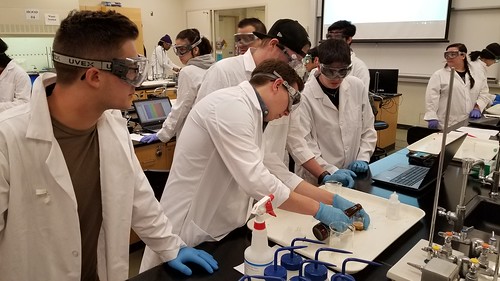
Toward the end of last semester – after lengthy and vigorous and unflinching hacking of red tape – we offered the first workshop – Beer Science: Measuring Beer Bitterness – as part of our ongoing Fermentation Science efforts. We started the day in the Chemistry lab, where Max Mahoney (Chemistry professor and makerspace faculty champion) described the chemistry of beer, and led students through a procedure for measuring beer bitterness.

20181109_122745

Here’s how Max describes it:

The goal of this workshop was to expose students to a quantitative and qualitative analysis of beer bitterness. The chemistry of hops and bittering compounds was presented along with a discussion of the chemical procedures involved in this analysis. The following procedure was used to quantitatively analyze beer bitterness. Three beers were selected containing different levels of the hop-derived bittering agents. Students sonicated the beer to expel carbon dioxide, performed a liquid-liquid extraction of the hop acids with iso-octane, and measured the UV and visible absorption spectrum for their sample. We used the visible absorption spectra to help classify the style of beer. The UV absorption was used to quantify the concentration of hop acids and thus the bitterness of the beer (measured in IBUs).

Chemistry students of all levels were able to learn advanced analytical methods used in the beverage industry to analyze beer bitterness. General and organic chemistry lab techniques were utilized including UV-Vis spectroscopy, usage of micropipettes, and liquid-liquid extraction of organic compounds.

20181109_130346

20181109_124717

20181109_125106

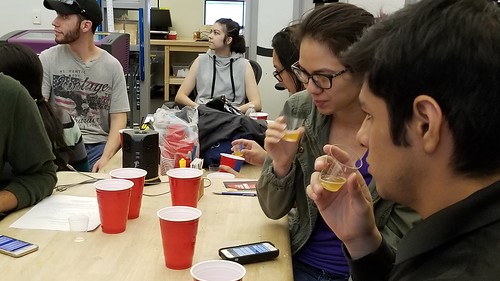
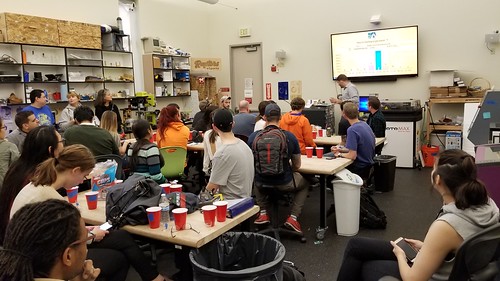
The Chemistry lab portion completed, we went over to the Innovation Center for some blind taste tests. Students sampled various beers, and then used PollEverywhere to report the perceived bitterness of the sample, the results of which we compared to the lab-derived values.

20181109_141610

20181109_143051

The event was a terrific success, and students were engaged and enthusiastic. We’ve got additional interdisciplinary FermSci workshops and projects planned for this semester, including more beer chemistry, sauerkraut making, curriculum development, and a partnership with a local employer for integrating IOT technology into kombucha fermentation.

MUSHROOMS!
Babies

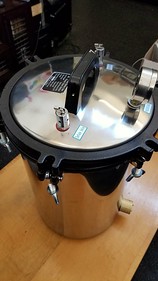
Inspired by projects like Ecovative’s building and packaging materials – check out this guide to How to Make Your Own Growth Forms – and in line with our other biotinkering and fermentation science efforts, we’ve been slowly gathering mushroom making gear, including an autoclave…

Pressure

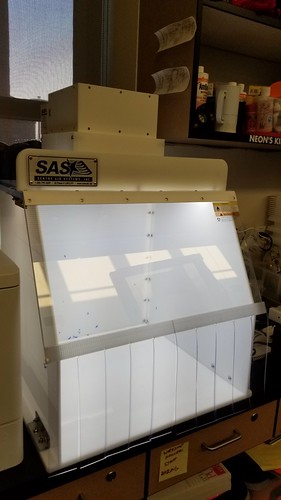
and a laminar flow hood.

Hoodie

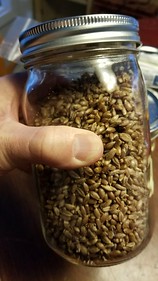
The liquid mushroom culture syringes arrived, so we inoculated some sterile rye berry jars.

Innoculated

With any luck, the jars will take, and we’ll be able to begin mass production. Meanwhile, we’re figuring out our new Formech vacuum former, and we think there are opportunities to use it in conjunction with our 3D printers and CNC machines to create custom forms for growing mushrooms in the makerspace.

20181221_130925

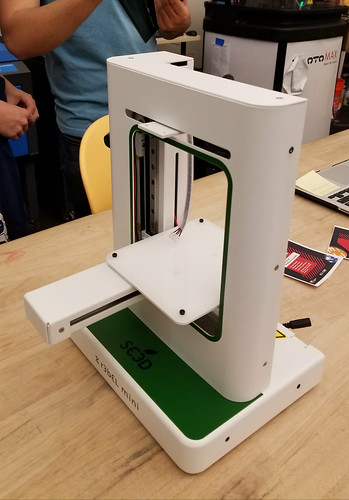
We recently unboxed our SE3D r3bEL mini bioprinter, which we plan to use for research and development aligned with our fermentation science and other biotinkering efforts.

Bioprinter Arrives!

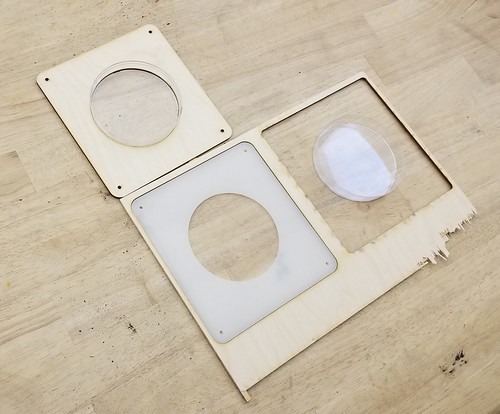
After some initial setup, I realized that the build plate meant to house petri dishes didn’t fit our petri dishes, so I contacted SE3D and asked for a vector file of the shipped build plates so as to modify one. While waiting for the email back, I went ahead and just measured the existing one, and after a few prototypes, I was able to cut a new one to the right size and shape out of acrylic. In the meantime, Vignesh got back to me – they’re very responsive! – with the DXF file of the build plates that arrived with the machine.

20181115_143256

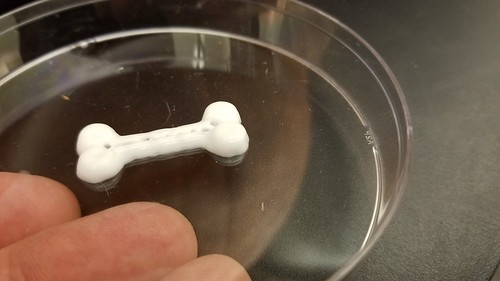
With the petri dish sorted, I set out to print the stock test file. So far, so good.

3D Printed Bone

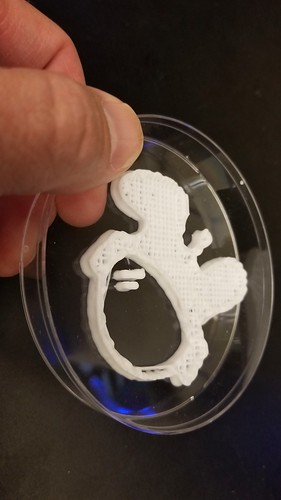
A successful test completed, I found a *.stl file of Nova (our Innovation Center mascot and the thing we traditionally create using any new machine), imported it into Slic3r, exported as G-code, and fired up the r3bEL. Other than the fact that the syringe ran out of lotion before the print was finished, it worked a treat!

2018-11-15_04-33-04

I feel fairly confident in saying that this might be the first time in the history of the world that a rabbit wearing a space helmet was 3D printed out of lotion. #fiteme

But just a little bit.

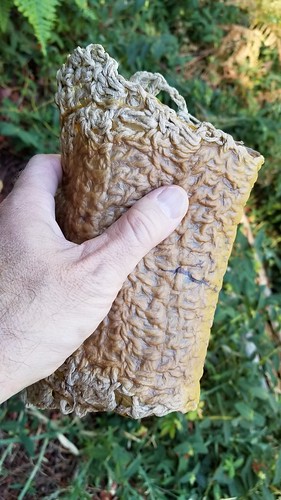
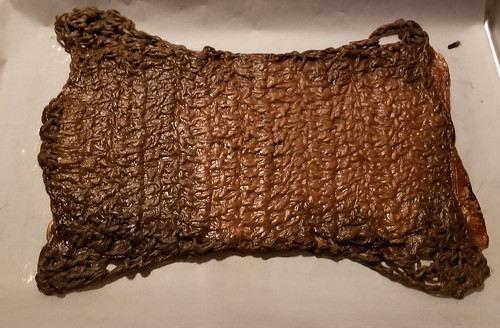
Took the crocheted SCOBY mat home to dry it out, and kept it overnight in a 120° F oven on parchment paper to dry it out.

SCOBY Mat

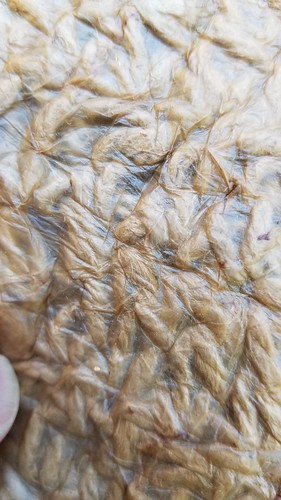
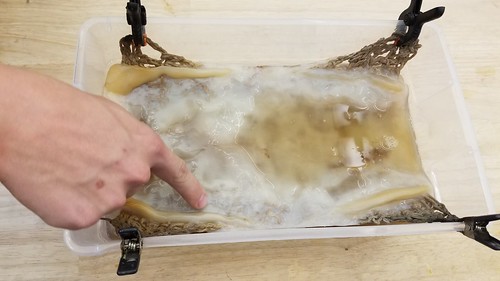
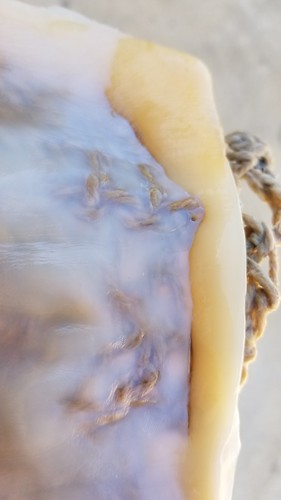
The thicker side didn’t quite incorporate itself with the hemp fiber, owing I think to the fact that the crocheted piece was suspended slightly below the high tea/sugar mark.

Microcellulose and Cellulose

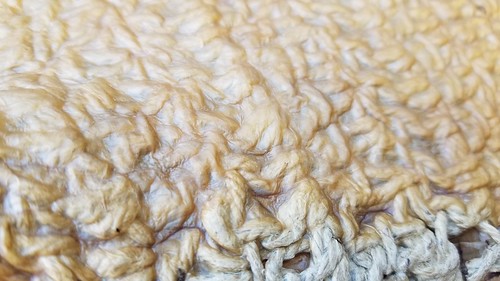
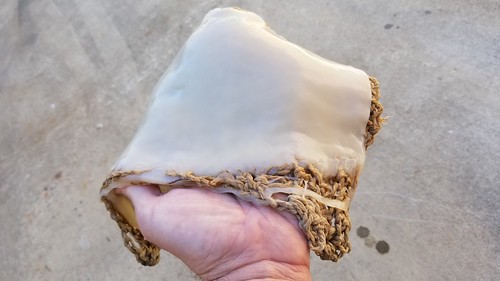
In some places though, it seems as though the SCOBY really integrated with the mat.

Texture

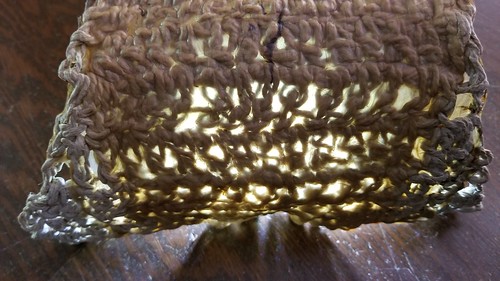
The finished piece has an interesting flexibility because of the crocheted core.

Light Emitting

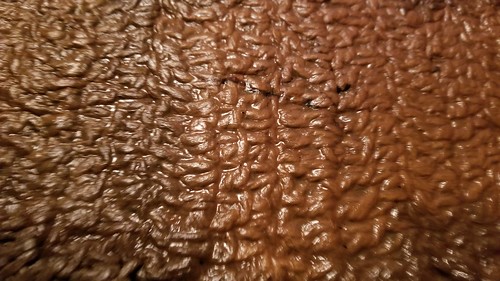
I decided to try using SNO-SEAL, which is beeswax and some sort of solvent, to waterproof the mat. I melted some in an old pan on an outdoor stove, and plunged the SCOBY mat into it.

Structure

As I was turning off the flame, the pan caught fire, which was no big deal, and I extinguished it by putting a piece of metal over it. I didn’t realize, however that the mat itself was on fire, but was able to put it out quickly. I then placed the whole business on parchment paper and into the oven at 120° again for about 20 minutes, then buffed it out with some paper towels.

Beeswaxed

It definitely sheds water.

Our next experiments include creating magnetic SCOBY by incorporating iron filings into some fruit leather mush, and creating “leather” bracers for an upcoming fashion show.

Fiber Woven SCOBY

Decided that the crocheted SCOBY was ready for drying, so removed it from its vessel…

20180913_144457

…washed and rinsed it…

To Dry

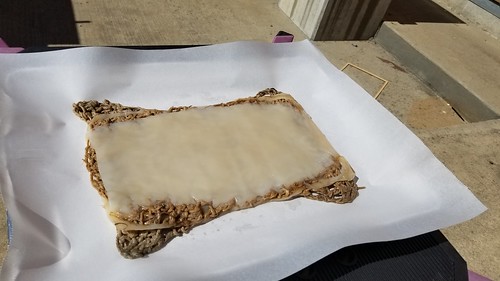
…and set it out in the sun to dry.

Parchment Paper in the Sun

In some places, it’s really well integrated with the hemp twine mat, and so we’re curious to see how it all looks and acts, and what effect the hemp fibers have on the finished piece.

Ceulluse Integration

SCOBY Under the Microscope

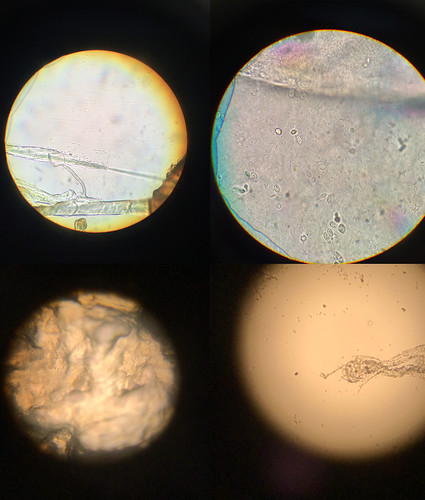
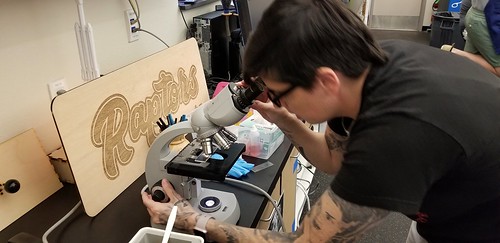
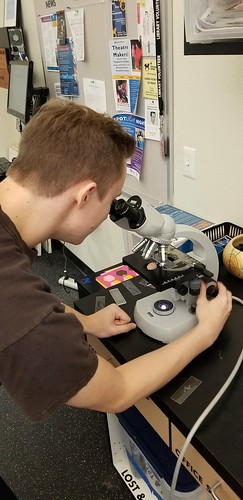
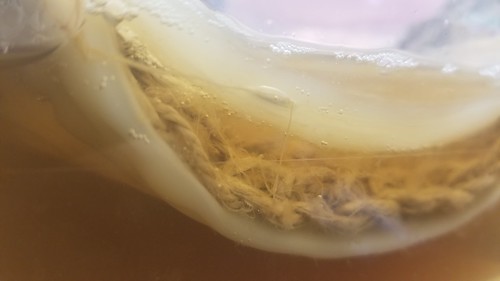
Max (Chemistry professor and makerspace champion) has a nice oil immersion scope that hadn’t been used in years, so we fired it up, borrowed some oil, and looked at some of the SCOBY pellicle, both the mashed variety and the paper thin one.

Nicole Scopin'

The scope needs a good cleaning, but Jared, Nicole, and Brett (makerspace students and staff) were able to get a view into the microscopic world of kombucha. The images above were all shot with mobile phones through the eyepiece, but we’re excited to use one of the scopes in the Biology labs with the built-in cameras.

2018-09-05_07-24-26

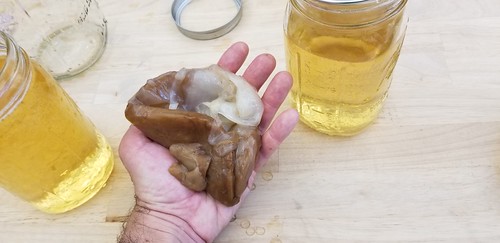
Inspired by the way the fruit leather SCOBY catches the light, we decided to see about embedding LED in a batch of mush. Using the SCOBY from the kombucha of least resistance, we blended up a new batch.

SCOBY of Least Resistance

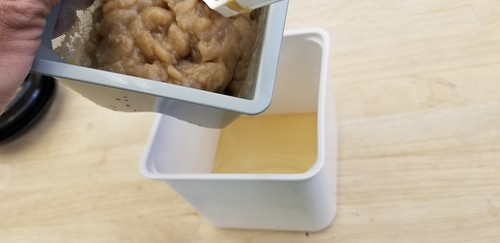
As the prior batch took so very long to dehydrate, we tried out a yogurt cheese maker, jamming it full of mush and letting it sit overnight to see about driving off as much liquid as possible before air or oven drying.

SCOBY Mush in a Yogurt Cheese Making Thing

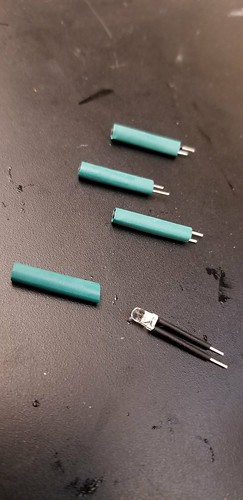
A lot of kombucha collected in the bottom after 24 hours. Meanwhile, we prepared four LED, coating the posts in dialectric grease, and using multiple nested layers of heat shrink tubing in an effort to prevent the highly acidic SCOBY mush from corroding the LED legs.

LED for SCOBY

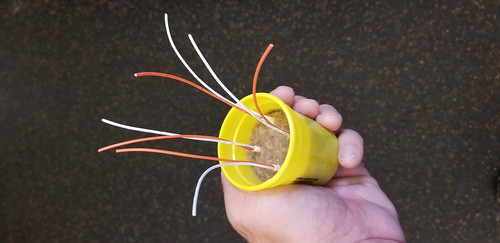
We embedded the LED into the mush, and packed it in all around them. Not sure if the material will capture the LED, or shrink in such a way that they will be easily pulled out, but we’re hoping for the former. After the material dries some, the hope is that it will be a coherent block, which can be removed from the vessel for additional drying.

SCOBYLED