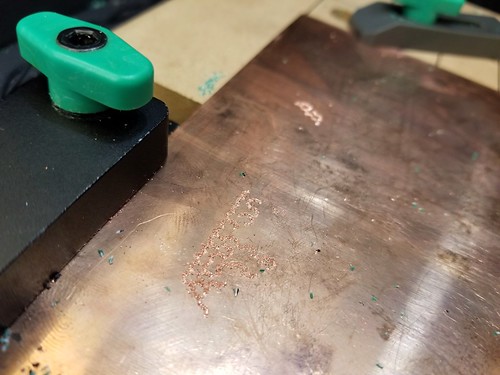
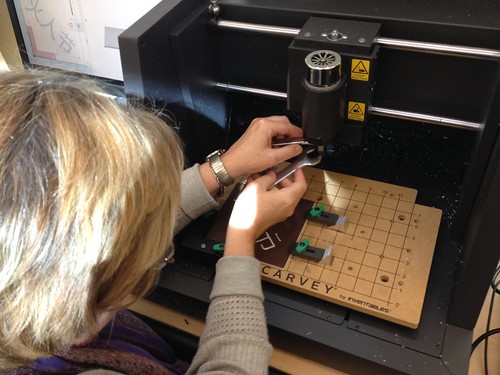
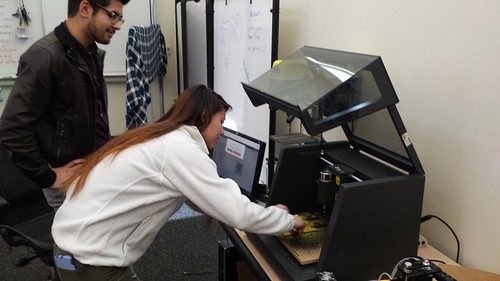
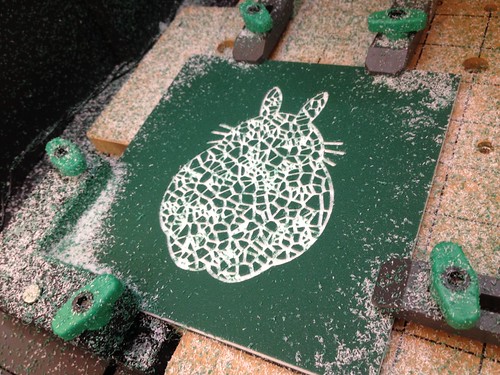
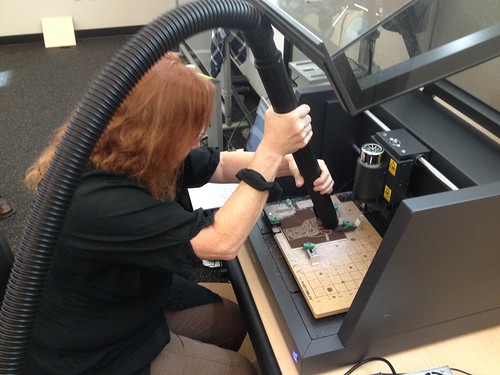
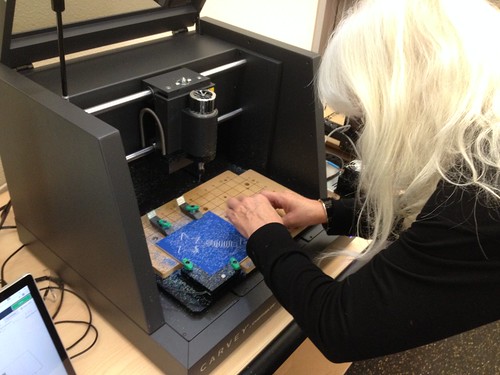
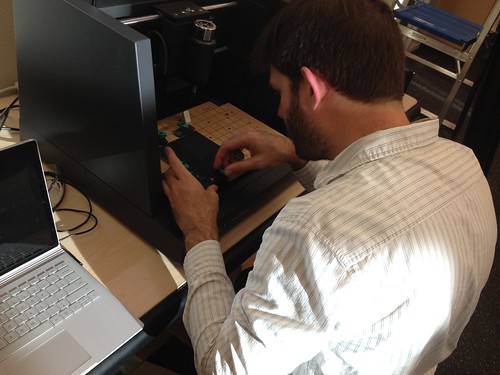
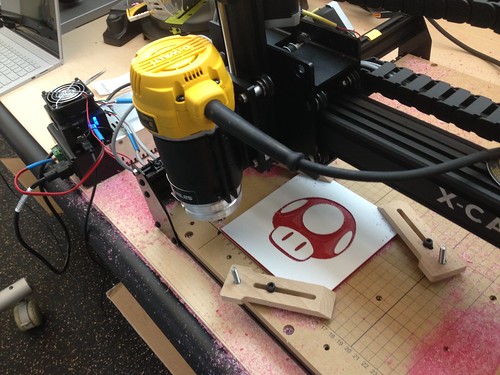
Marisa Sayago (Art), her student Clarity (late of our inaugural Making Social Change class) and I are prototyping a print making process using makerspace tools and techniques, with the goal of incorporating whatever we come up with – ideally intaglio using copper plates – into Marisa’s class this semester.  I decided to do some experiments using the Carvey, as it’s a quick machine and almost unbelievably easy to learn, even for novices to both software and hardware.  Unfortunately, early tests using engraving bits on copper were unsuccessful.  Though copper is soft metal, the fine (and expensive!) engraving bits pretty quickly broke or wore down, even after many different adjustments to feed rate and pass depth, and though I love Easel (the browser-based software that runs the machine), it’s sometimes difficult to be as precise with it as a job like this requires, in terms of fixed line weights.  Even doing the design work in Illustrator and importing *.svg files, I wasn’t quite able to get all of the variables to line up.  All that said, I was able to confirm that a 1/16″ bit on linoleum works well for relief prints, so that’s another print making avenue to explore.

Intaglio Test

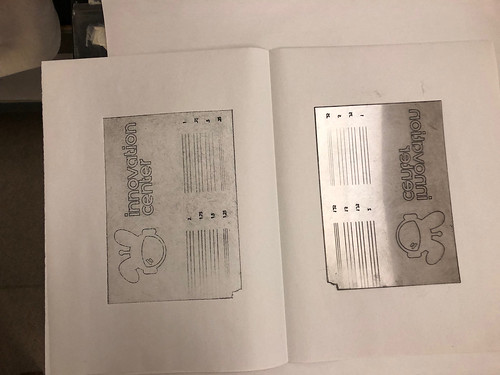
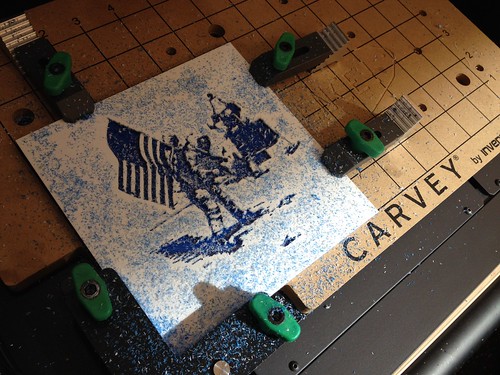
With the Carvey out of the running, we decided to see about the capabilities of the laser cutter, which offers the kind of line precision that seems to lend itself to intaglio.  We set up a file in Illustrator to experiment with raster lines (pure RBG black:  0,0,0,) of varying weights (from .25 pt to 2 pt, in .25 pt increments) to see which produced the best results, and included our IC logo and Nova mascot as vector engraves (pure RGB blue:  0,0,255 with a line weight of .001 in Illustrator, hairline in CorelDRAW).  Of course I realized after it was engraved that I had forgotten to mirror the line weight indicators, but isn’t that why we prototype in the first place?

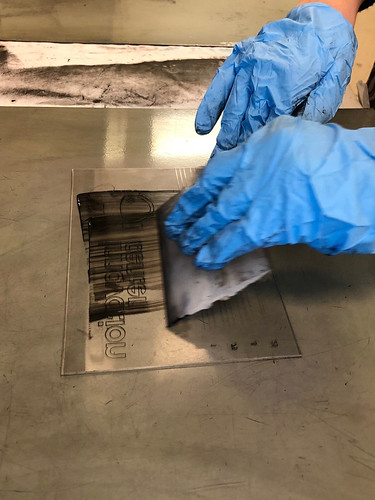
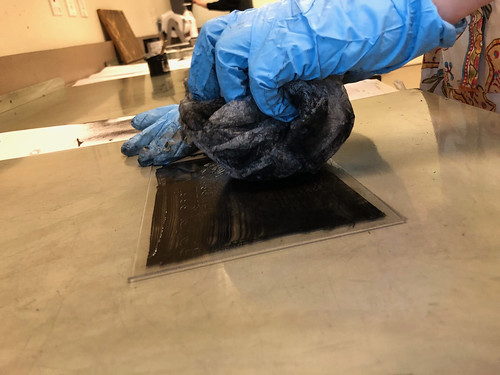
Using a sheet of PETG – as a novel material in the lab we first had to research its suitability for use with a laser, and it turns out it is indeed suitable – we ran the engraving job, handing the piece off to Clarity to complete the inking and other parts of the process.

deep inking

The result!

test pressing

Turns out the vector engrave (which with a 2″ lens should produce a line of about .005″) works well, and the vector engrave at all sizes was too big to retain ink during the surface preparation step. This is actually a great learning, as a) vector engraves are super accurate, and b) they also take way less time than raster ones – throughput is an important consideration in any sort of lab activity that relies on makerspace machines.  Now that we have narrowed down a general direction for the project, I’m going to work with Clarity to create a few more prototypes (testing things like line density) as we try to come up with a lab-ready process.  Stay tuned!

Here’s a photo gallery of Clarity completing the inking and pressing over in the art lab:

Laser Intaglio

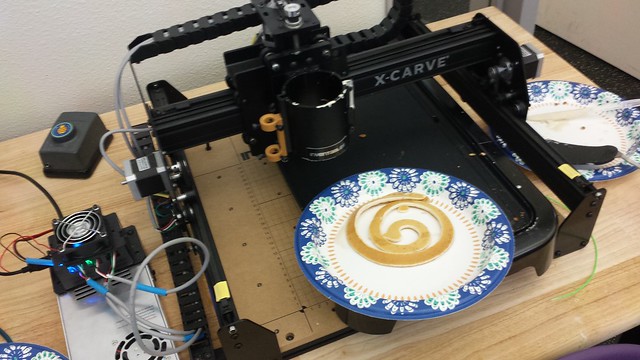
On Halloween this year, we hosted a potluck in the Innovation Center. Music, pumpkin carving, and a couple of experiments, including turning the X-Carve into a pancake machine. We went with a low tech approach, simply replacing the router with a squeeze bottle and relying on thin batter and gravity to keep things flowing.

X-Carve: Pancake Maker

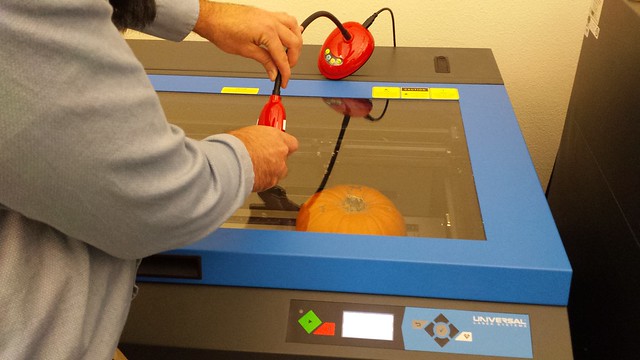
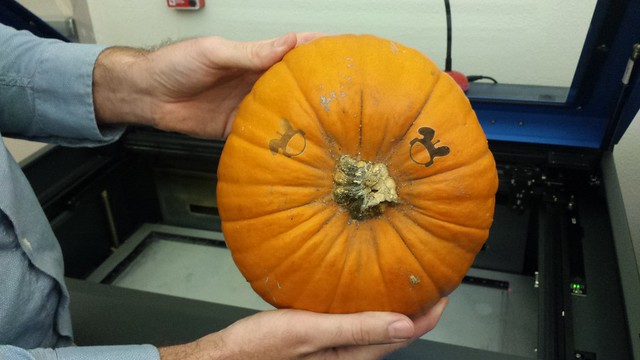
We also laser etched Nova (our space bunny mascot) onto a pumpkin, which turned out surprisingly well!

Laser Pumpkin

Laser Etched Pumpkin

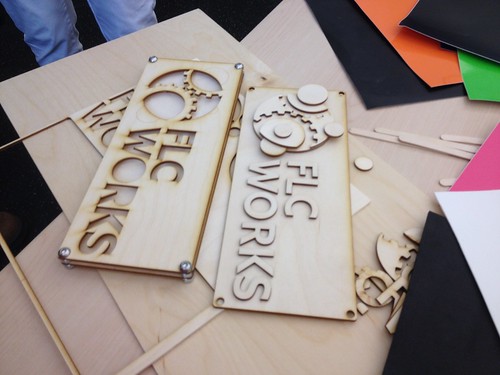
The Innovation Center has been collaborating with folks from FLC’s Career and Technical Education (CTE, soon to be just Career Education) department on a lobby sign, and after some conversations about possibilities, we were able to very quickly come up with a few scale conceptual models.

Rapid Prototyping!

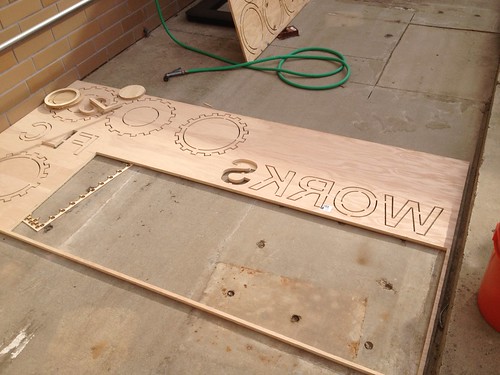
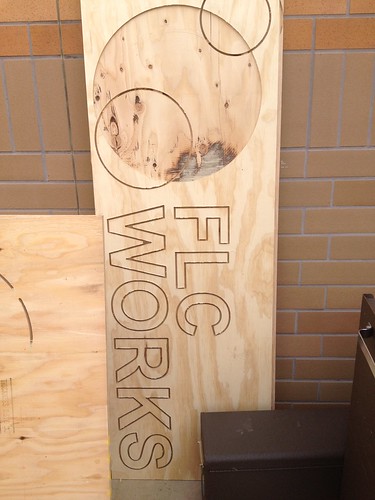
Brandon (student) has woodworking, mechanical engineering, and CAD skills, so he has taken responsibility for the project. One of the challenges Brandon is working through is scale. The largest stock the laser cutter can in our shop can cut is 18″ x 32″, but the final sign will be much larger than that. We’ve got something of a machine sharing arrangement with FLC’s Theater Arts department (the folks with whom we collaborated on the aquaponics project), and Brandon was able to get some time on their big ShopBot. Here’s some work in progress at scale…

Sign Progress

FLC Works!

…and here’s where the project stands now.

FLC Works!

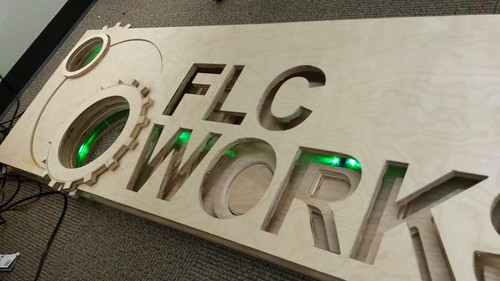
Brandon rigged up some temporary LEDs while we figure out a more permanent solution, and the whole thing will be polished up and stained before installation.  It’s turning out to be a great example of the power of rapid prototyping, project-based learning, and of providing students with meaningful challenges related to materials, design, and fabrication.

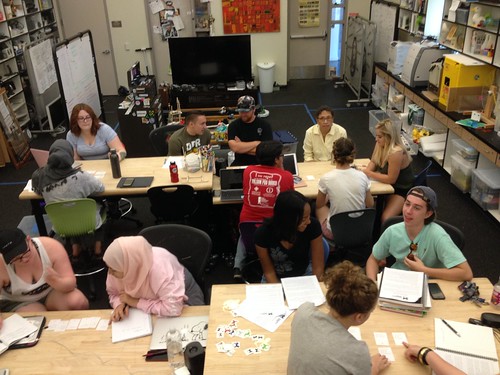
About two years from our original idea, and after many hours on the greaseboard, and many prototypes and preview events, Sociology 379: Making Social Change has finally been born!  We’re joined by twelve brave, multi-talented, fascinating students, passionate about a wide array of social justice issues.

Making Social Change

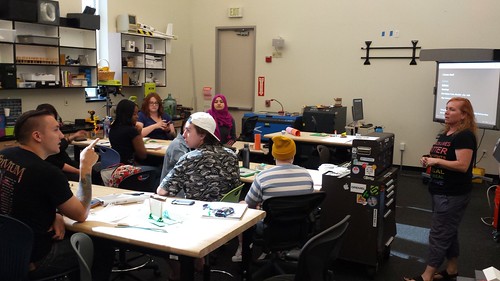
The class meets once a week on Mondays from 1pm – 4:05pm, and we’ve met twice. We spent the first session framing the course and getting to know each other, doing some design thinking with the help of the Making Connections card game from the Children’s Museum of Pittsburgh, and building some low res prototypes.

Untitled

In our second session, we took a critical look at the “maker movement,” spending some time discussing “Making Through the Lens of Culture and Power: Toward Transformative Visions for Educational Equity.” (Harvard Educational Review, 86(2), 206-232.Vossoughi, S., Hooper, P. K., & Escudé, M. (2016), https://pdfs.semanticscholar.org/fa5b/4e88c78f380b4727d445afa33bea5212a21d.pdf), before students had the chance to begin work on their contribution to our tile project, which is a low risk/high reward, very accessible “first project” in digital fabrication.

David Creates his Tile

Really looking forward to continuing to work with these students, and to learning from this “version 1” prototype of the course!

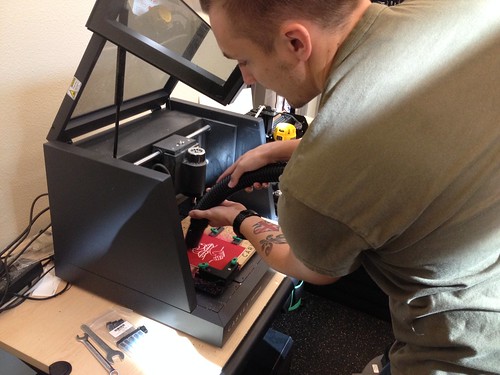
The folks from Paton Group came out yesterday to train us on the Roland Modela MDX-50 we’ve got in the makerspace.

First impressions…

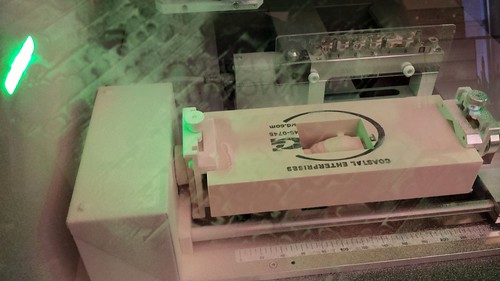
The machine is well-built, and the rotary attachment is especially nice, with precisely machined aluminum parts and the most amazingly smooth bearings. It’s quiet, at least when milling chemical wood.  It creates a LOT of dust, and took a while to vacuum after the part was finished.  The lighting cues are nice, and it’s easy to monitor the machine from anywhere in the lab.  The software – SRP Player CAM – is dead simple to use. I don’t have much experience machining, but I was able to pretty easily set up and run a job after being shown the process just once. It takes standard .STL files, so it should be pretty accessible to those with some 3D printing experience.

MDX-50 First Carve

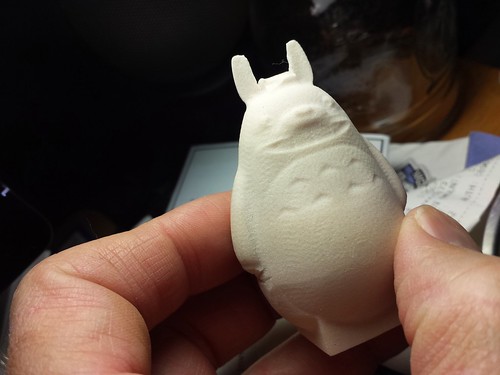
The model I picked – Totoro by joo on Thingiverse – was maybe not the best choice, in terms of size (I didn’t make the best use of the material) and because of where the supports needed to be (between the ears, though I learned that custom supports can be built into the .STL file to solve such challenges), but I am happy with the result overall.  The chemical wood is a new material to me, and is easily worked with an X-ACTO knife, sandpaper, and files.

My Neighbor

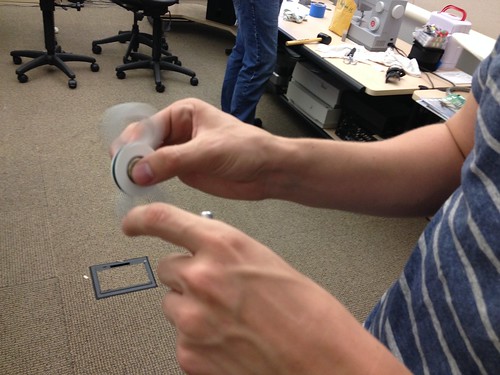
Fidget spinners are suddenly all the rage in the Innovation Center.

Fidget Spinners are all the Rage in the Innovation Center

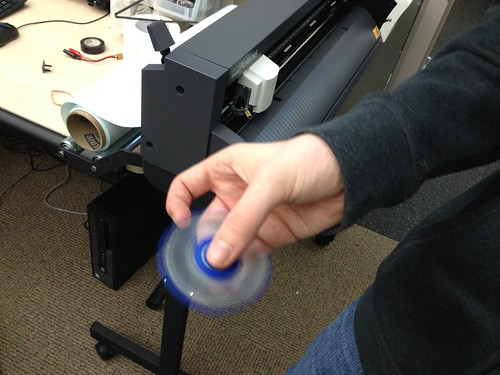
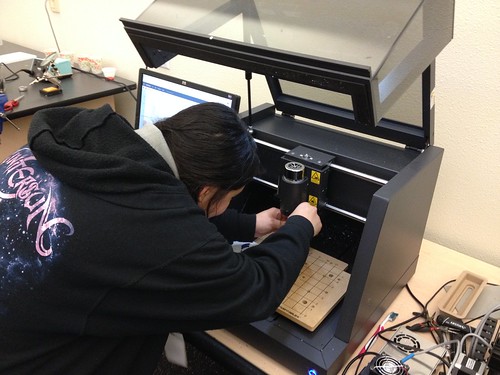
So far folks have 3D printed them on the Ultimakers, laser cut them out of acrylic on the new laser, and just today cut some out of HDPE plastic on the Carvey.

Nathan's Spinner

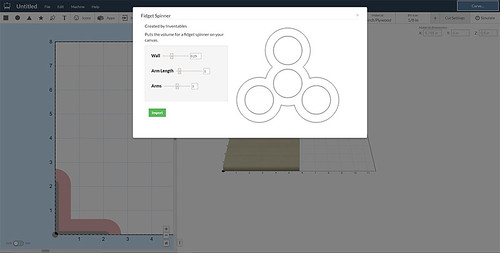
Easel (the software the runs the Carvey) even has a spinner add-on that enables easy design and tweaking.

Easel Fidget Spinner Maker

I see a big old bag of bearings in our future!

I’ve been working a lot lately with members of Folsom Lake College’s Peer Mentors, a group helmed by the the great Juan Flores (fellow faculty member and father of my lab helper from the other day).  The Peer Mentors are working on developing tiles for the mosaic tile project, with the goal that they will in turn help their assigned mentees to develop tiles.  It’s our hope that involving new college students in a technical and very accessible project will give them a connection to the makerspace early in their college career, and that having a physical artifact on the wall will help them feel connected to the college. Jess (student, Peer Mentor, and astrobiology enthusiast) was the first student from the group to have her design ready.

Jess Changing Bits

The new rough/fine pass feature of Easel is a good one, and should help to preserve the tremendously delicate 1/32″ bits.  We actually ended up doing three passes with successively smaller bits,  and Jess quickly mastered the process, producing this really nice design.

KC Boylan (Communication and Media Studies) stopped by later in the day to cut her tile…

KC Changing Bits

and Kathleen Kirklin (Interim President) did hers a couple of weeks ago…

Kathleen Securing her Tile

The project is turning out to be a great way to foster community as we continue to develop the space, and it’s a maker skills confidence builder besides.  With nearly a dozen tiles finished, I need to work with Ian Wallace (Theater Arts) to get some time on the big ShopBot to route out the waffle frame so we can get these up on the wall!

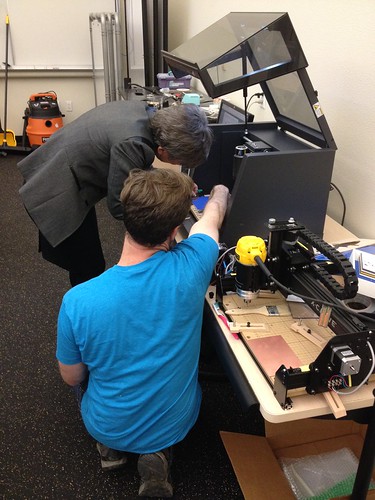
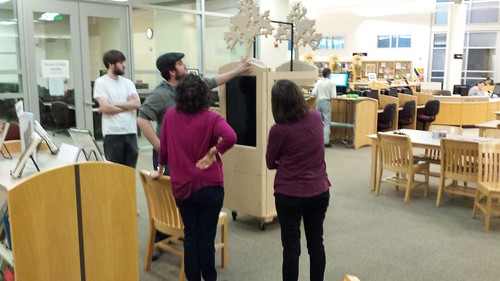
With the fall show winding down, Cameron and the Theater Arts crew are trying to get the aquaponics system wrapped up, and brought the near-finished display up to the library for a dry-fitting.

20161115_150458

I’m told they’ll have it buttoned up within a week, after which all the other work – getting the tank established, setting up and calibrating all the sensors, connecting all that to the network, figuring out the display and the giant “get tank vitals” arcade button – can continue in earnest.

We’re also close to getting the nine tiles for the first pane of the Carvey project finished, inspired by Jeff Solin’s Mosaic Tile project. Nathaniel and Rebekah of FLC’s Data Science Club carved up a version of their club logo to add to the other faculty and student tiles we’ve got so far.

Removing the carved tile.

The plan then is to mill (on the big ShopBot down in Theater Arts) a 3×3 tile “waffle” frame, with recessed wells for each of nine tiles. That will comprise the first of hopefully many such 9-tile collections, as additional faculty, staff and students create their own tiles, and all that work will be on display, either outside or inside of the Innovation Center.

Carvey Totoro

Untitled

Carving Done

Untitled

With the floors finished, things are finally getting a little bit closer to normal in the makerspace.  Moved the X-Carve from the clean lab to the dirty lab, and tested out cutting some HDPE in preparation for a mosaic tile project.

X-Carve Carving HDPE (Finally)

Lessons learned:

  • Slowest router speed is best – less fuzz.
  • Even at the slowest speed, there was plenty of fuzz that needed to be cleaned up with an X-Acto knife.
  • Pause at your own risk. I paused the cut out of courtesy to the Data Science club, and the job never recovered. When I tried to restart, the X-Carve ignored my pleas. After a while I gave up, and tried to re-run the job using the previously established zero.  Things went bad quickly. Easel didn’t seem to care about my prior zero setting, and charged forward, about 6 inches off the mark. I ruined the in-progress HDPE blank, and shaved a little bit off of the waste board besides.

Even with those minor hiccups, I’m loving the final result!

X-Carve Carving

Max and I spent some time in the shop this afternoon, brainstorming Chemistry activities that will make use of the new X-Carve and vinyl cutter, and working on the new Ultimaker 2 Extended+ that arrived the other day.  After some tweaking, we got the printer running, and decided to print this Dewalt DWP611 Thread-On Dust Shoe from Thingiverse (CC BY Noah Mackes).  Up until now, we’ve been using the X-Carve as a plotter, but Marisa Sayago (Professor, Art) and I have been talking about some printmaking ideas that involved cutting and engraving, hence the need for the dust shoe.

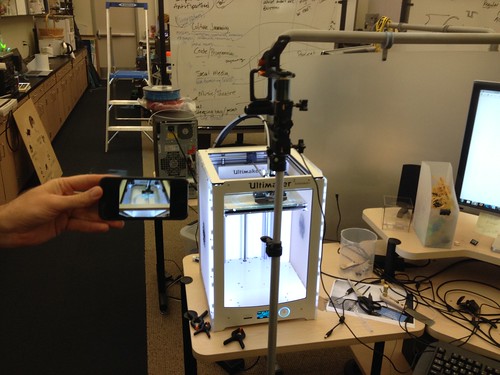
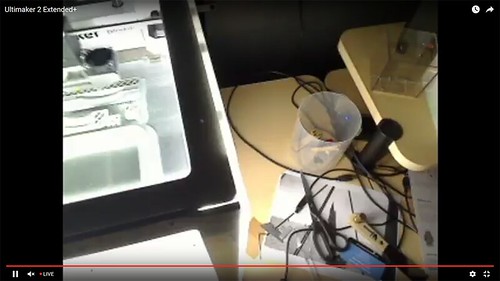
The printer reported that the job was going to take 17 hours, so Max and I decided to set up a webcam and do some R&D on Open Broadcaster Studio, which I have been considering using for the live fishcam that will be part of the aquaponics project.  We installed the software, plugged in the camera, put in the YouTube live streaming information, and it all worked perfectly right out of the gate.

Streaming Video of Ultimaker 2 Extended+ Printing Parts for an Inventables X-Carve

By the time I got home, the camera had slipped or been knocked sideways, but the print is still visible!

Open Broadcaster Streaming Ultimaker 2 Extended+ Printing a Dust Shoe for an X-Carve to YouTube Live

I’ve been working with technology for many years, but the idea that I can relatively easily monitor from home a 3D print job of a part I need and was able to download for a CNC machine that can be used to support (among other things) hands-on student activities in Chemistry and Art, while simultaneously testing a software program and a streaming service for another project that combines Library, Chemistry, Biology, Theater Arts, fish, and plants is, frankly, pretty neat.

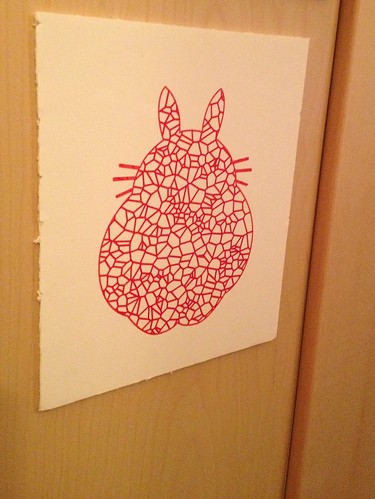
I almost forgot – I made a Voronoi Totoro on the X-Carve (in plotter mode):

Voronoi Totoro