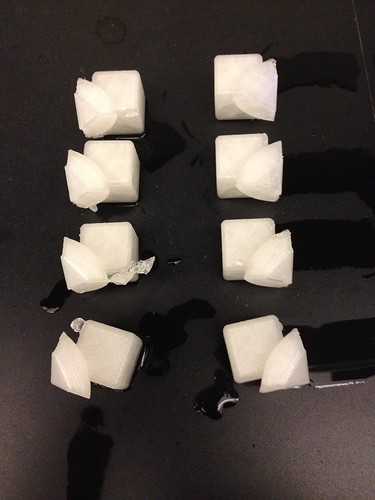
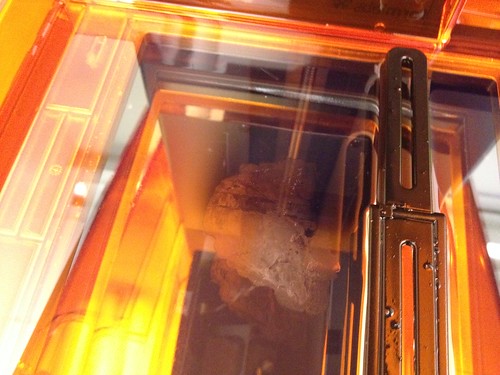
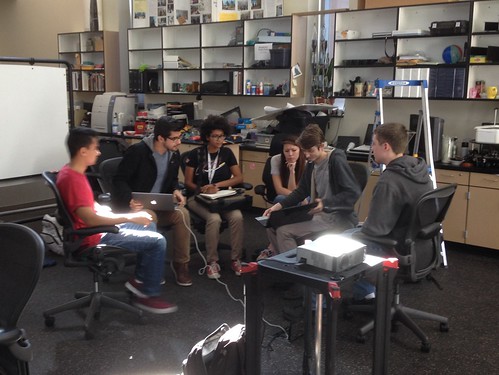
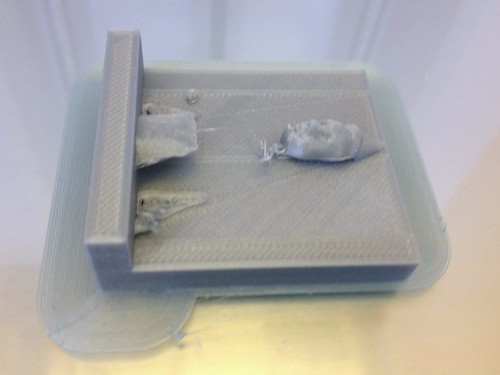
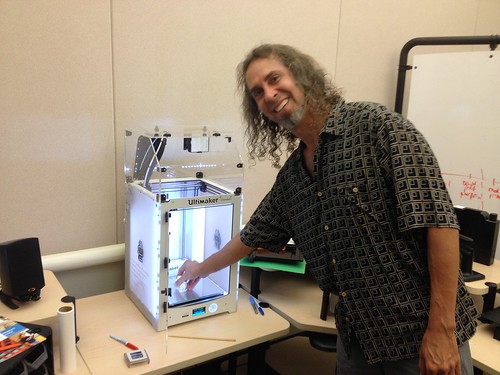
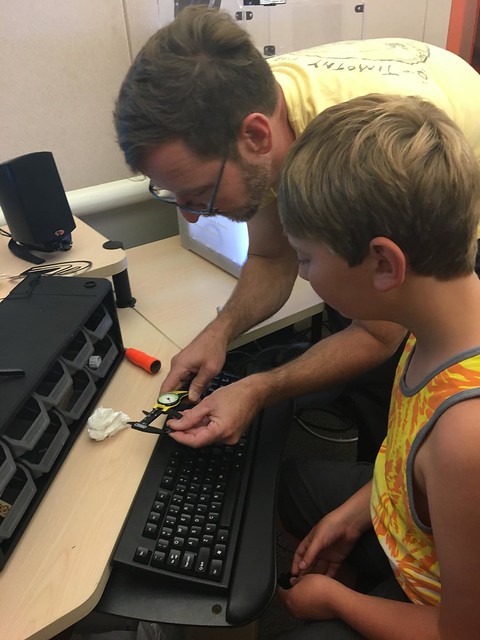
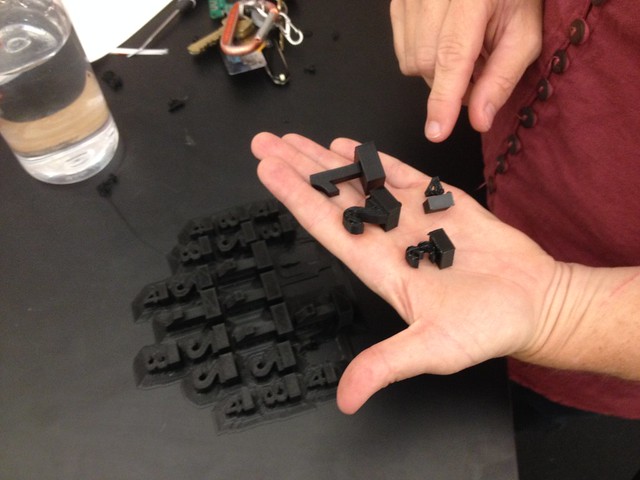
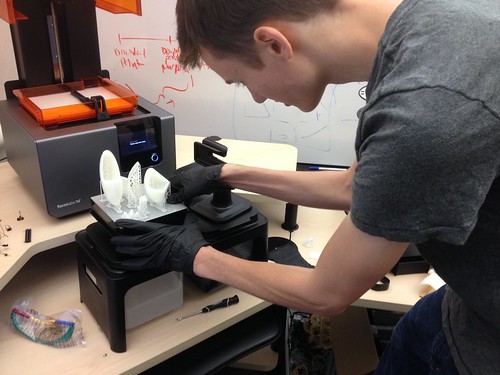
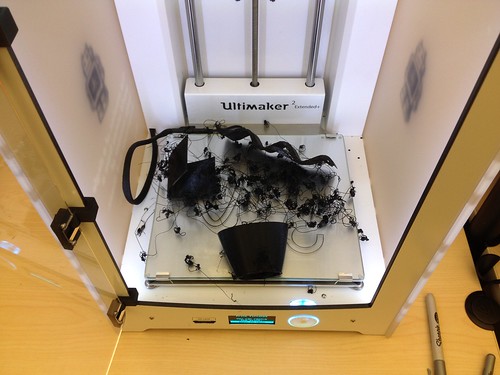
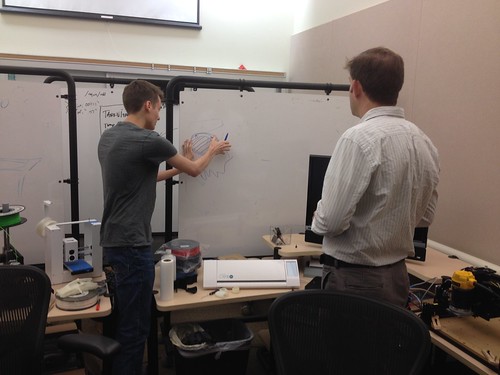
Nathan and Thomas (students) have been printing using the new Ultimaker 3 with the PVA water-soluble support material, and we decided to run a quick little experiment to confirm what we thought we already knew:  that warm water would dissolve the PVA quicker than cold water.

Ultimaker 3 PVA Filament Test

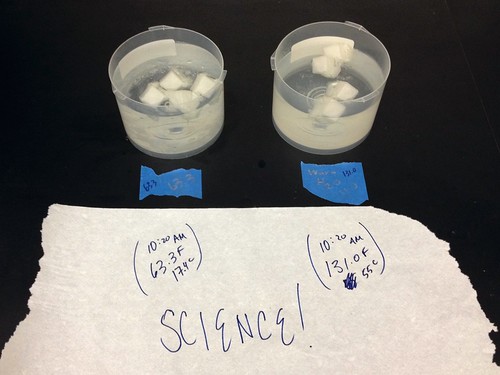
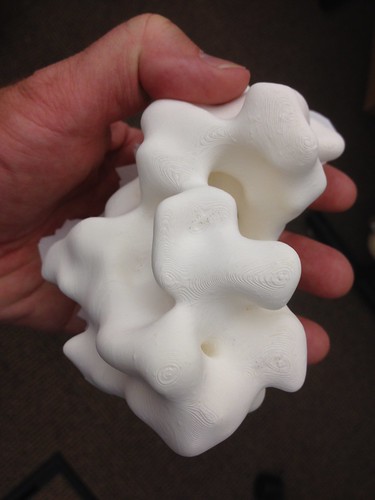
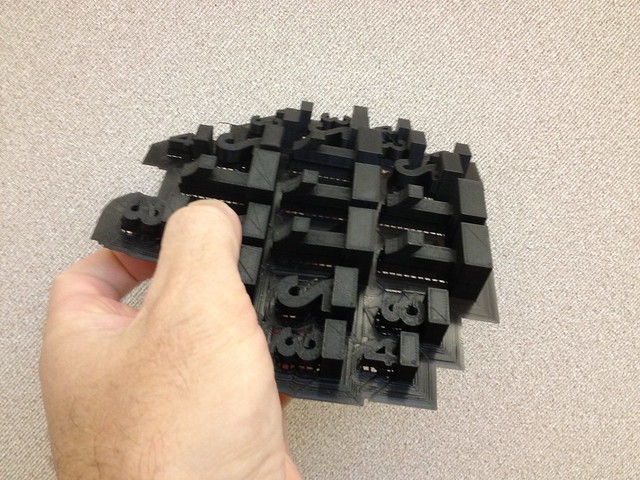
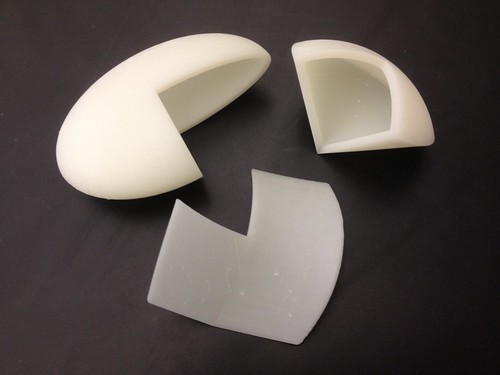
After 25 hours, 50 minutes, we pulled both sets out of the water to compare.  Turns out that our assumptions were correct, at least for this barely scientific test.   Even without any real proper measuring of the leftover gummy PVA on the prints, there was clearly less undissolved support material on the ones initially placed in hot water than on the ones places in room temperature water.  I think we’ll borrow a hot plate stirrer from the Chemistry department and maybe try to run a few more controlled and better timed experiments.

Ultimaker PVA Side by Side

Ultimaker 3

The new Ultimaker 3 arrived the other day, and Thomas Schmitt (student) unboxed it and got it set up and calibrated. Thomas has been designing a bobbin for fly fishing fly tying, and some of the project parameters, including a threaded rod and a hollow tube that serves as a thread guide, seemed to provide a good test case for a first print on the U3. The machine comes standard with dual extruders, and ships with a roll of PVA, a water-soluble filament.

Thomas Prints the First U3 Print

The first print came out really nice, and the water-soluble support material is a game changer, especially for printing certain fine details and hollow areas.  Some of the tricky biology models that faculty want to print are finally going to be within reach.

Some significant failures recently in the 3D printing department. Inspired by Steve Holzberg’s (Biology) cancer prints, Linda Abraham (Biology) found a model of a rhinovirus for printing. Given the complexity of the model, and the intricately folded surface detail, we decided the Form 2 was the printer to use. Loaded up the clear resin and let it print.  The result:

Rhinovirus in Clear Resin

Mostly it worked fine, but the top of the model had problems. A strange rupture appeared in the sphere:

Failed Print

The anomaly coincided with, was caused by – or maybe left? – this cloudy residue in the tray:

Form 2 Fail

The tray was fresh out of the wrapper, and it was the very first run of clear, so I’m not sure exactly what caused the failure. In any case, the model is still perfectly usable, after a little filing to smooth out the jagged edges of the rip.

Meanwhile Max Mahoney (Chemistry) and Alex Hartigan (Student) continue to work on their 3D printed free energy surfaces project.  After something like 84 hours, the intricate nested conical structure, our largest print to date, began failing, and we pulled the plug on it to regroup (with 105 hours left on the print).

Ultimaker Fail

The center part of the model printed beautifully, and after some careful calculations to determine where things went wrong, Max set out to print the remainder of the model – in pink, since we ran out of white filament – with the idea of gluing them together somehow.

Untitled

This one too is failing out on the margins. Support material configured as a tower seems to be the common failure point. Stay tuned…

Had the opportunity to work with students from FLC’s Math & Engineering Club this afternoon. In a conversation some weeks back, Brandon (club president) and I discussed using the XBox Kinect sensor as a 3D scanner, something I’ve been wanting to do since last semester, but have not had the time to get going. I let Brandon know that I had two such sensors in the lab – the 360 version and the newer XBox One version – and so we arranged to meet today to go over the process. Brandon as it turned out brought the whole club.

Students from the Math and Engineering Club 3D Scanning

They set to work scanning one of their colleagues, along the way learning things about object placement, lighting, and the Skanect software. Meanwhile, the newly-formed Data Science Club met in the main lab to talk about an app they’re designing.

Untitled

While Brandon worked on cleaning up the scan of Chris, I walked the other students through changing filament on the Ultimaker and setting up a print job in Cura.

Students from the Math and Engineering Club 3D Scanning

Brandon ended up doing the Han Solo frozen in carbonite treatment to deal with some weirdness on the back of the scan, in the process adding a party hat.  I let Chris do the honors of starting the print, and then we set up OBS Studio to stream the print job to YouTube so that the M&E students could monitor progress remotely.

Chris, Scanned with the XBox Kinect Sensor

As it turns out, the model didn’t quite print correctly, so there’s some work to do there, but isn’t that why we prototype?

Untitled

This was the first of hopefully many chances for the M&E Club to work in the Innovation Center, and I’m looking forward to finding ways to plug students in to various projects, in the mold of the History game tiles project.

Gena Estep (History) and I have been working on a prototype for a classroom activity that has students organizing and matching some important historical events and their outcomes.  She showed me a paper prototype, and I cooked up a quick design in SketchUp for some interlocking game pieces:

History Making, in the Making

A quick print and some post-processing with a Sharpie later…

Untitled

The third tile didn’t quite work out, but for a first run it got the concept across. Next up: figuring out a reasonably quick production process for generating STLs for all the pieces needed.  I’m looking into using OpenSCAD to create customizable objects for the Thingiverse customizer.

Wendy and Mike Appleby teach at Georgetown School in Georgetown, CA, where they’ve been developing the Georgetown Makerspace and associated programs.  They’re starting a new gear-up phase, so I invited them to visit the Innovation Center the other day.  They brought their son Sam, and we did some 3D printing, cut some stickers on the vinyl cutter, and set up a plotter job on the X-Carve.  We talked about different ways we might work together, and decided on a “sister lab” concept.  We kicked around some ideas for a partnership plan, to include sharing information and resources,  maybe collaborating on some training, and hopefully hosting Georgetown School students for field trips and work days once our space is built out.

Measuring with Sam

I work chiefly with adults, and it never ceases to amaze me how very competent some children are at using digital tools.  After a brief introduction, Sam quickly figured out Tinkercad, and designed some sweet accessories for his action figure, though it took a few rounds of prototypes to get the scale right.  Applied mathematics!

Below is Alex Hartigan, a Folsom Lake College Engineering student preparing some Calculus III models he’s been developing in collaboration with Kevin Pipkin (Math) and that he printed on the new Form 2, which has gotten a lot of use lately, most recently with the Enabling the Future project.

Untitled

Alex and I connected last semester, and finally got the chance to work together on this Math project. Alex has a lot of skills in 3D design and printing, as well as experience on the Form 1, and through the process of preparing the Calc models, he taught me a whole lot about the finer points of printing on the Form 2, including various layout tips, and the manual editing of supports.

The Form 2 models came out great:

Untitled

The Ultimaker 2 ones, not so much, though the failure at least resulted in some interesting artifacts:

Untitled

Best of all, Max Mahoney (Chemistry) dropped by, and we recruited Alex to work on the chemistry project we prototyped the other day. One of my favorite parts of working with students is learning from them, and I hope to learn a lot from Alex before he heads off to Sac State next fall.

Untitled