Max Mahoney (Chemistry) and I spent a long day brewing a couple of batches of beer recently. Now familiar with the process and how to execute it in the makerspace, we were able to add lots of variables and processes and gear, building on our experience with Brew Day v2.0, and our original, somewhat less-than-successful Brew Day v1.0.

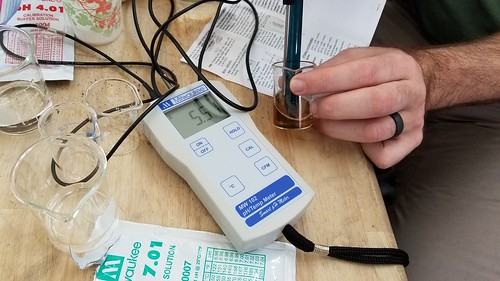
One of the biggest changes to the process this time around had to do with the water. Specifically, we started with deinonized (DI) water, and Max added various salts to create ideal water, which as I understand it is a big factor in the overall success of the end product.

Water Chemistry

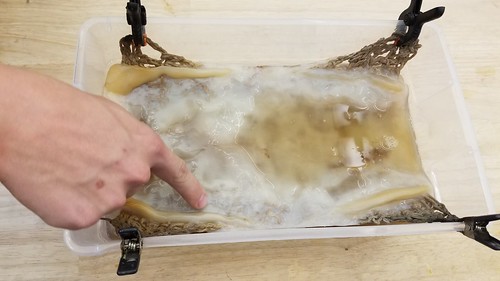
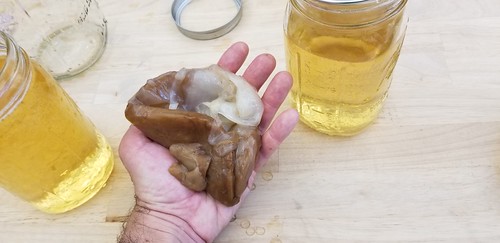
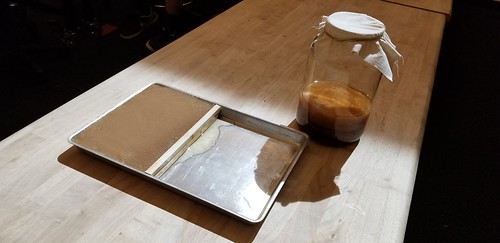
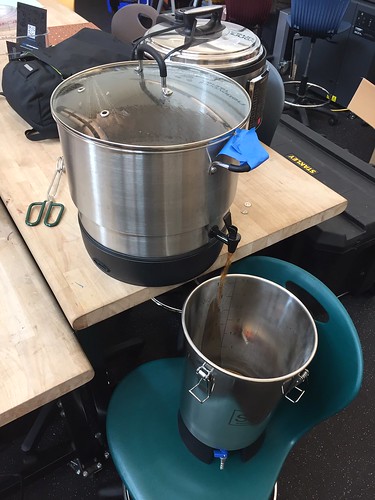
We brewed two batches of beer, and one of kombucha, which we’re fermenting in one of the smaller fermenters.

From Brewer to Fermenter

Testing the pH using one of the new meters.

pH Checking

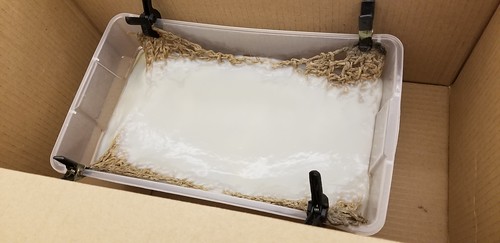
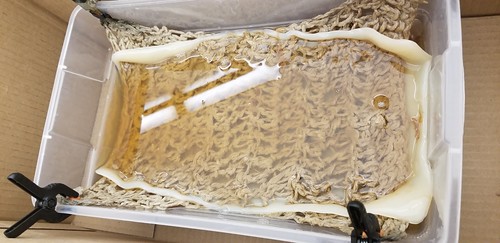
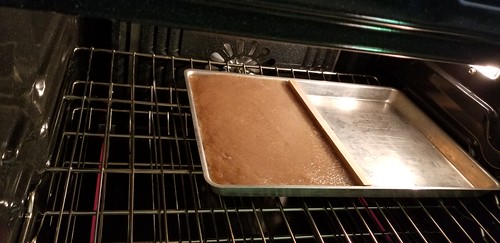
Improvised wort chiller, until our conterflow setup arrives.

RoboBrews Assemble!

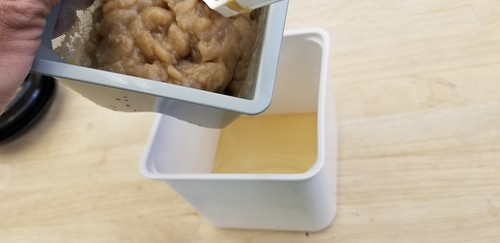
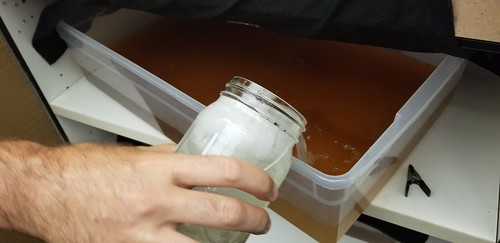
Into the fermenters.

Two Brewers, Two Fermenters

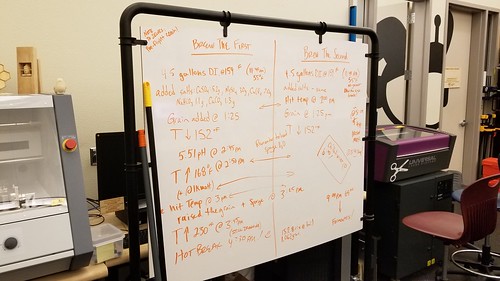
We documented things more completely throughout the process this time. Timing notes are especially important, as we’re still working out how these brew days work as labs and activities. How many simultaneous batches make sense, and how many people can effectively work in the space at the same time.

Captain's Log

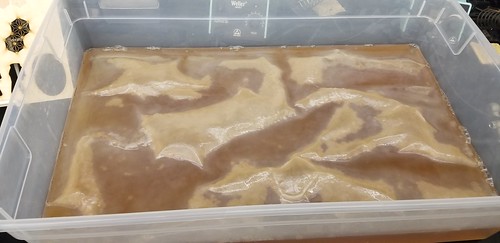
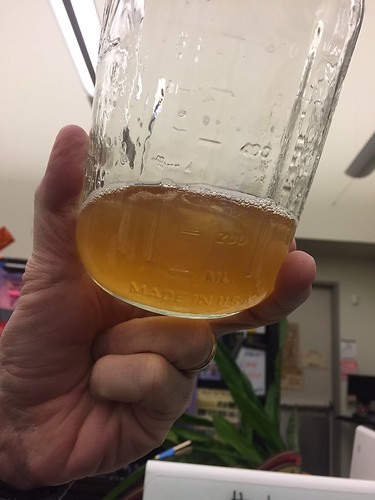
Meanwhile, batch the second looks and tastes pretty good, with some distinct and pleasant apricot notes.

The Color of Brew Day the Second

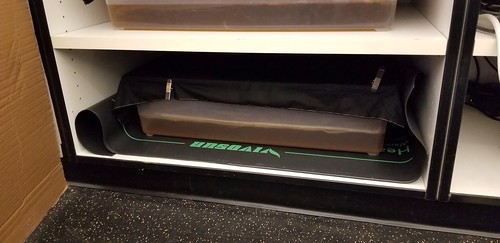
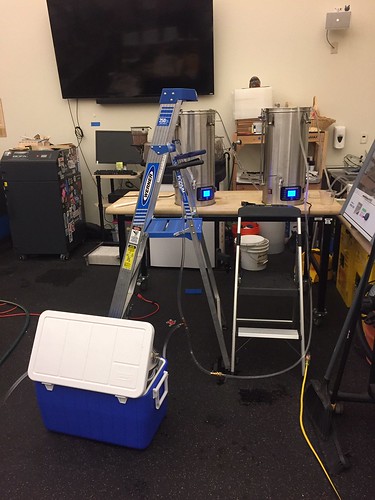
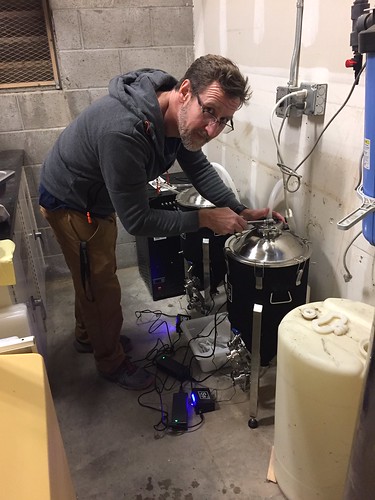
We’ve got both fermenters in The Spider Shed (a former chemical storage building that we’re repurposing as a nanobrewery) hooked up to a heating and cooling system, and they’re happily bubbling away.

Brew Day the Third

We’re still learning so much, and the process is becoming even more interesting. Max is especially stoked about tweaking the water chemistry, and has lots of ideas about wrapping class activities and labs around that process. A couple more days, and we’ll cold crash these batches and keg ’em up!

But just a little bit.

Took the crocheted SCOBY mat home to dry it out, and kept it overnight in a 120° F oven on parchment paper to dry it out.

SCOBY Mat

The thicker side didn’t quite incorporate itself with the hemp fiber, owing I think to the fact that the crocheted piece was suspended slightly below the high tea/sugar mark.

Microcellulose and Cellulose

In some places though, it seems as though the SCOBY really integrated with the mat.

Texture

The finished piece has an interesting flexibility because of the crocheted core.

Light Emitting

I decided to try using SNO-SEAL, which is beeswax and some sort of solvent, to waterproof the mat. I melted some in an old pan on an outdoor stove, and plunged the SCOBY mat into it.

Structure

As I was turning off the flame, the pan caught fire, which was no big deal, and I extinguished it by putting a piece of metal over it. I didn’t realize, however that the mat itself was on fire, but was able to put it out quickly. I then placed the whole business on parchment paper and into the oven at 120° again for about 20 minutes, then buffed it out with some paper towels.

Beeswaxed

It definitely sheds water.

Our next experiments include creating magnetic SCOBY by incorporating iron filings into some fruit leather mush, and creating “leather” bracers for an upcoming fashion show.

Fiber Woven SCOBY

Decided that the crocheted SCOBY was ready for drying, so removed it from its vessel…

20180913_144457

…washed and rinsed it…

To Dry

…and set it out in the sun to dry.

Parchment Paper in the Sun

In some places, it’s really well integrated with the hemp twine mat, and so we’re curious to see how it all looks and acts, and what effect the hemp fibers have on the finished piece.

Ceulluse Integration

SCOBY Under the Microscope

Max (Chemistry professor and makerspace champion) has a nice oil immersion scope that hadn’t been used in years, so we fired it up, borrowed some oil, and looked at some of the SCOBY pellicle, both the mashed variety and the paper thin one.

Nicole Scopin'

The scope needs a good cleaning, but Jared, Nicole, and Brett (makerspace students and staff) were able to get a view into the microscopic world of kombucha. The images above were all shot with mobile phones through the eyepiece, but we’re excited to use one of the scopes in the Biology labs with the built-in cameras.

2018-09-05_07-24-26

Inspired by the way the fruit leather SCOBY catches the light, we decided to see about embedding LED in a batch of mush. Using the SCOBY from the kombucha of least resistance, we blended up a new batch.

SCOBY of Least Resistance

As the prior batch took so very long to dehydrate, we tried out a yogurt cheese maker, jamming it full of mush and letting it sit overnight to see about driving off as much liquid as possible before air or oven drying.

SCOBY Mush in a Yogurt Cheese Making Thing

A lot of kombucha collected in the bottom after 24 hours. Meanwhile, we prepared four LED, coating the posts in dialectric grease, and using multiple nested layers of heat shrink tubing in an effort to prevent the highly acidic SCOBY mush from corroding the LED legs.

LED for SCOBY

We embedded the LED into the mush, and packed it in all around them. Not sure if the material will capture the LED, or shrink in such a way that they will be easily pulled out, but we’re hoping for the former. After the material dries some, the hope is that it will be a coherent block, which can be removed from the vessel for additional drying.

SCOBYLED

The blended SCOBY fruit roll-up leather experiment is finally more or less dry. It took hours and hours in a 120 degree Fahrenheit oven before the water was driven off, and the resulting leather seems strong and beautifully semi-translucent.

Blended SCOBY Leather

Not sure what exactly we’ll do with it, other than maybe subdivide it for various experiments. Meanwhile, I took a look at the SCOBY net experiment, and was surprised to find that a nice pellicle had formed above the net, and that it had grown through the net at the edges.

SCOBY in a Mat

I decided to flip it over to see if another layer might grow on top, and then we’ll maybe press it flat to dry, encasing the hemp net between the layers of leather?

Flipped

For future experiments, it would probably be best to find a way to suspend the net right at the surface of the tea and sugar mixture, so that the pellicle becomes more integrated into the net. Maybe a purpose built, adjustable frame that can be moved up or down to account for liquid loss?

Inspired by this process for turning SCOBY into fruit leather…

…we decided to prototype a process to turn some mature SCOBY into mush, dry it in a form, and look at the material properties of the finished product. We borrowed a blender and rinsed and blended up a not insignificant quantity of SCOBY, adding a little bit of water to keep things moving.

Max Mixes

We weren’t able to find exactly the right vessel, so we improvised, building little dam made of wood to get to the size we wanted.

SCOBY Mush

The material is surprisingly coherent, and the dam acted as a bit of a liquid separator.

The Product

The form filled, we stuck it in the oven at 200 degrees Fahrenheit (the lowest the oven in the nutrition classroom will go), and it’s gently baking even as I’m writing this.

20180829_160708

In related news, we modified the fermentation chamber, adding a heat mat to see if we can improve the growth rate of the pellicle by increasing the temperature a bit. The mat has a fixed temp, and as it turns out that temp is too high, so we’ll need to look into adding a thermostat to reign that in a bit. Eventually, we plan to construct an Arduino-based, temperature controlled growing chamber that will will log data to a Web-accessible database, but that’s a few weeks out.

2018-08-29_04-38-56

Boiled up the hemp twine crocheted mat (which when wet smells strongly of goat)…

Boiled Hemp Twine Smells Like Goat

…then used the t-shirt press to flatten it out…

Heat Press = Goat Steam

…and suspended it at the surface of a fresh batch of kombucha.

Suspended

We covered the whole business in a cloth, and put it into the brewing shelf. Not sure at all what might happen, but the hope is that the bacteria and yeast will colonize the twine and produce cellulose all around, encasing the mat in SCOBY goodness.

We decided to harvest and dry one of the big SCOBYs today.

Booch Leather

As we removed it from the tea, the SCOBY separated into two layers, which we washed and rinsed.

Washing the SCOBY

The top layer was thick and uneven and prone to tearing as we arranged it on a piece of cardboard to dry.

Top Piece

The bottom layer was thin and unblemished and surprisingly strong. It’s barely visible on the plywood.

Quality SCOBY

We mixed up some sugar water, and added it to both the now empty grow chamber, and to the undisturbed second batch. We’ll wait a week to harvest and cure the SCOBY growing therein.

Hungry Booch

Ran some laser tests on the kombucha leather. Specifically, we wanted to test raster and vector engraving, and vector cutting. We used the Natural -> Paper -> Construction Paper setting in the laser driver, and cooked up a test file using our mascot Nova.

The material wasn’t perfectly flat, so the raster engrave worked, but inconsistently. The vector engrave left a crisp line on the material, but it could be easily scratched away with a fingernail.

Laser Engraved SCOBY Leather

The vector cut worked well, the edges crisp and clean. The surface of the material is textured in an interesting way, and really resembles skin.

Laser Cut SCOBY Leather

Tomorrow we’re going to try to start some kombucha in larger vessels – we’re going to need a lot of SCOBY!