A couple of weeks ago, the Innovation Center hosted Lisa Danner (English) and her Creative Writing class for two class sessions about physicalizing poetry.

We started by introducing students to these really fun Metaphor Dice

20191106_112958

They rolled the dice, individually and in pairs, and then wrote and shared poems based on their dice rolls.

20191106_113856

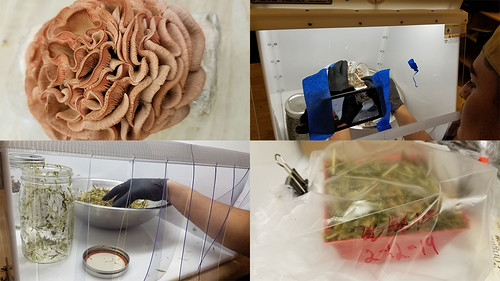
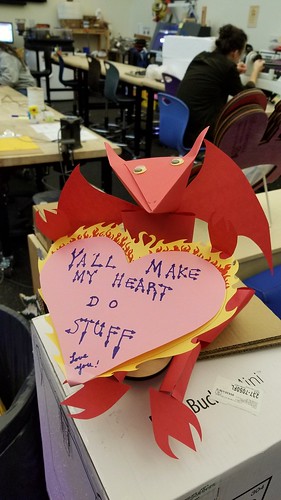
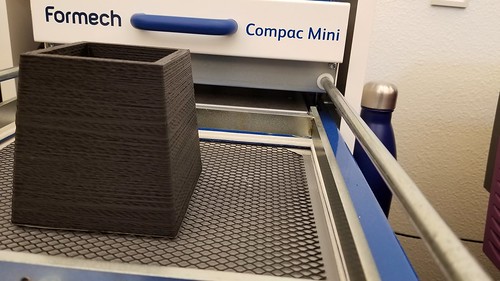
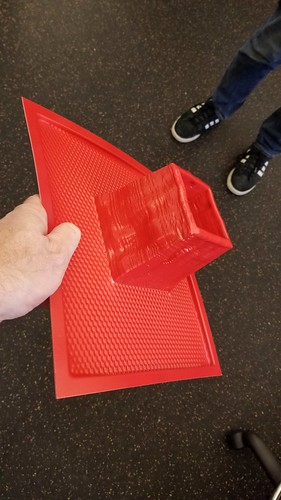
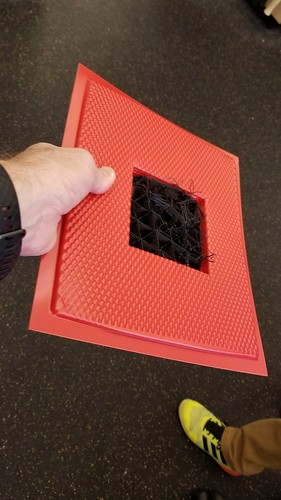
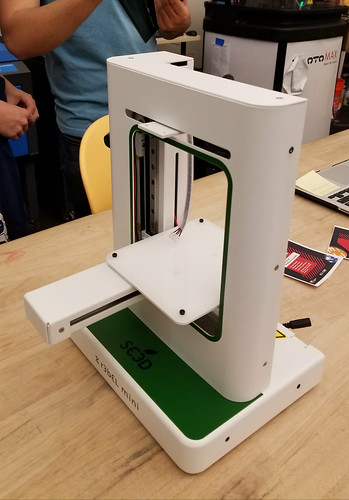
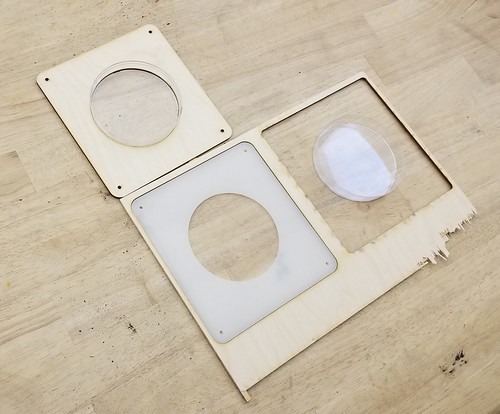
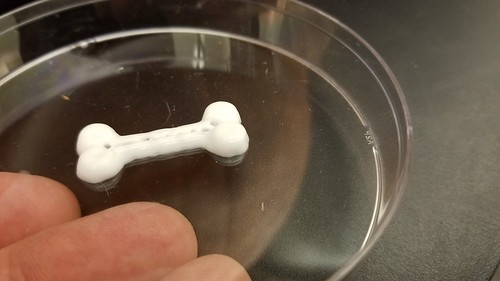
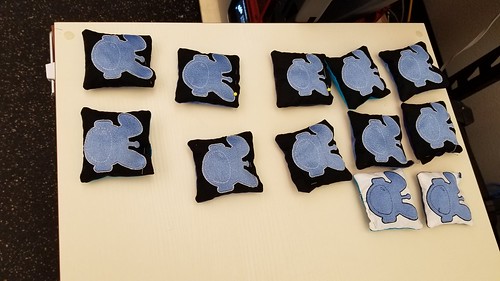
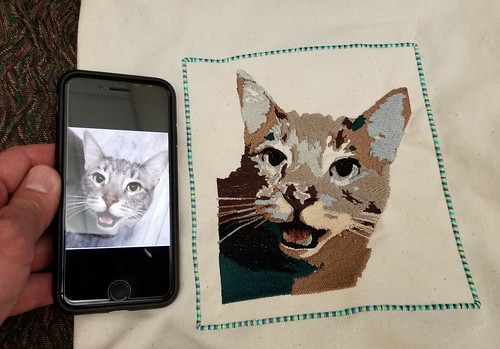
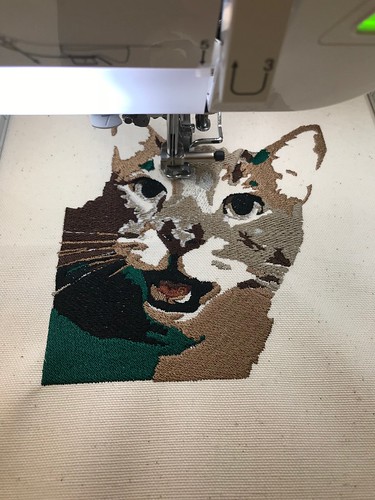
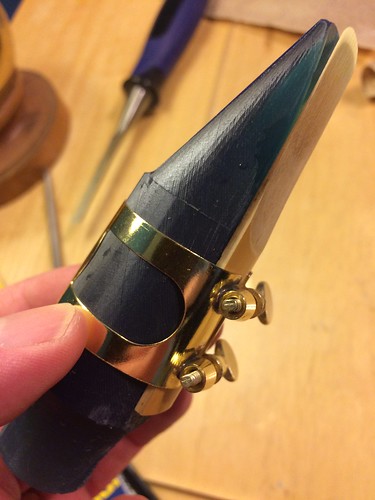
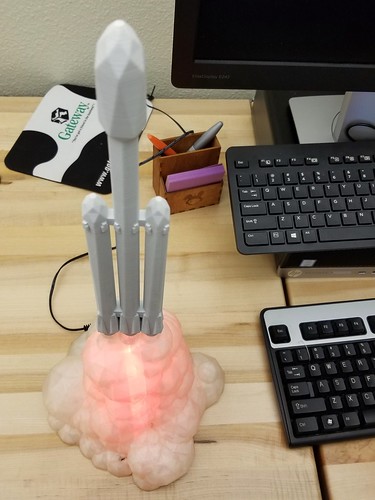
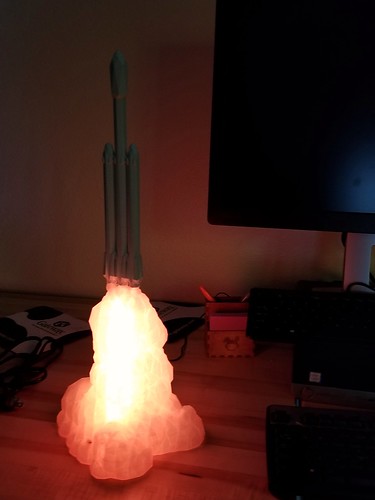
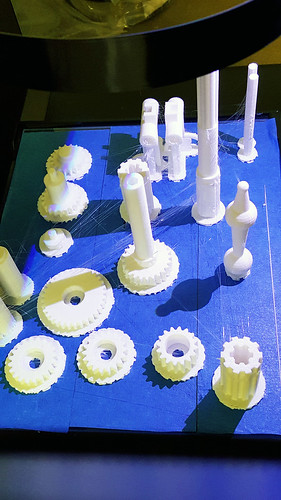
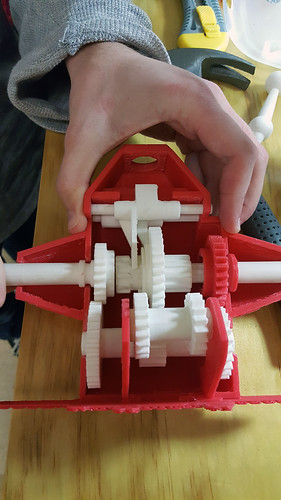
Our overall goal was to get students to think about ways they might give physical form to their writing, so I asked Sophie and Sydney (two of our outstanding Makerspace Facilitators) to create some physical poem prototypes to help guide student thinking. They used the laser cutter and the embroidery machine and 3D printers and came up with these fantastic models.

2019-11-13_11-54-13

3D Fabric Printing

We talked about the many forms that poems (and words more generally) can take, from calligrams

Shiite Calligraphy symbolising Ali as Tiger of GodIshvara7 at English Wikipedia [CC BY 3.0], via Wikimedia Commons

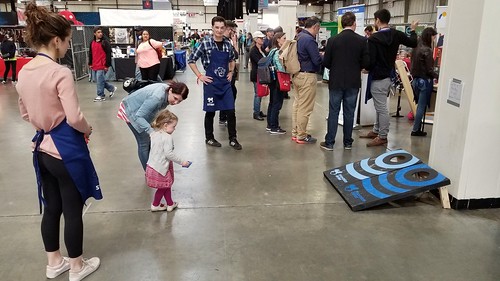
…to the inspiring Viewfinding poetry and sculpture installation by artist Sarah Cook.

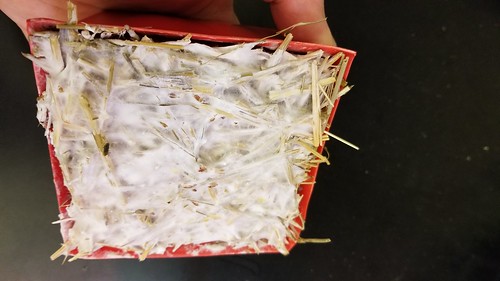
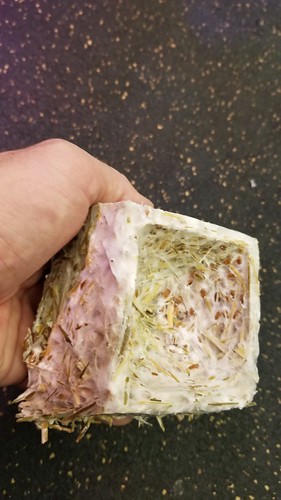
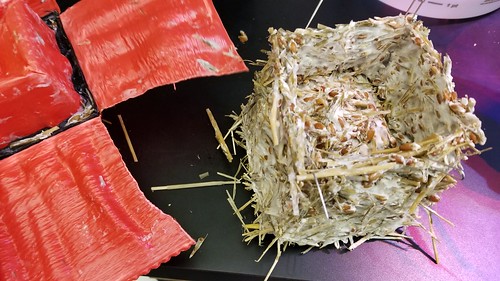
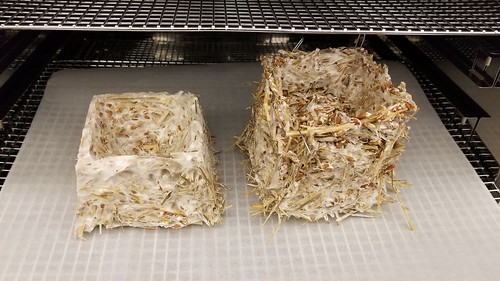
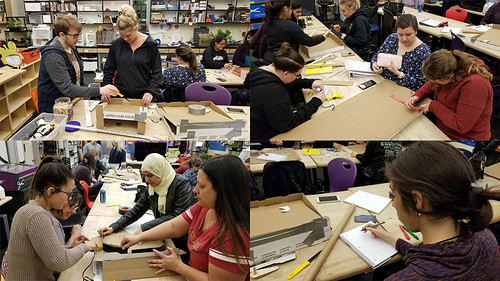
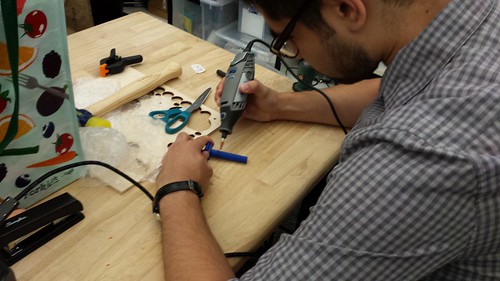
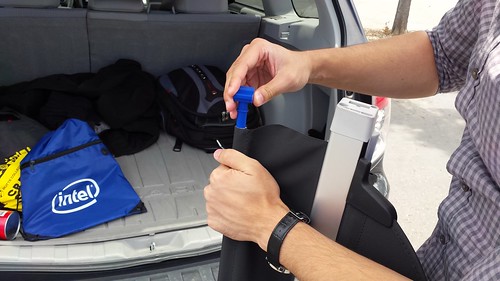
Students returned a week later to start physicalizing their own poems, some using glue guns and materials from our low-resolution prototyping cart, and others working with the laser cutter.

20191113_114640

It might be less obvious (to some folks, anyhow) about how English classes might use makerspace resources, but we think we’ve come up with an engaging instructional sequence, and hope to tweak and adapt and scale it up, exposing lots of different kinds of students to maker-centered learning.

Today we got a look at the first prototypes of our mycelium-based 4″ planting pot project. Here’s how they looked, still in the forms.

20190221_103744

The “good” one – the one where the 3D printed PLA positive didn’t deform during the vacuum forming process – is really solid and feels done.

20190221_103819

The second one didn’t want to release from the form, which was not surprising, given how much deformation occurred during thermoformer’s heating cycle, so I had to cut it free from the pot, and use few paper clips to keep the top section attached to the more substantial base.

20190221_105257

Into the dehydrator at 100 degrees Fahrenheit for about three hours, and we’ll see how they feel after that.

20190221_105459

For this iteration, we used oat hay as the substrate, into which we mixed rye berries inoculated with King Oyster mushroom spawn. Since we set up v1, we’ve received a food processor, in order that we might more finely chop up the substrate, and we also have some other substrates in the shop, including rice hulls and various wood chips. V2 next!

Sometimes it seems like there are too many things happening in the Innovation Center to keep track of. This week felt like that. Here’s a recap:

Students in our new ECE course Making for Educators started working on their cardboard pinball machines, which they’ll finish up in our next class session.

Pizza Box Pinball Day 1

Max (student and amateur mycologist) harvested and cooked some pink oyster mushrooms, and pasteurized and inoculated some oat straw, packing it into our first two 4″ pot prototypes, which we made using a 3D printer and our vacuum former.

Mycelium Roundup

Some snazzy new stainless steel fermenting vessels arrived, and Max Mahoney (Chemistry professor and makerspace champion) assembled one in preparation for another brewing day as part of our fermentation science efforts.

Fermenter

Our staff hosted a Palentine’s Day Crafternoon event.

2019-02-14_09-18-39

Finally, visitors from both College of Alameda FabLab and Lichen K-8 came out to tour our space and talk about making…

Lichen School Visitors

A busy week, and the semester is just getting rolling.

Finally got around to prototyping the first of what will hopefully be a variety of useful objects created from waste materials, knitted together with mycelium, part of our larger efforts with biofabrication, bioprinting, and fermentation science. As our first mycelium project, we’re trying to make a 4″ planting pot that can be composted. We’ve got oyster mushroom jars rolling, ready to inoculate a variety of materials, including straw, rice hulls, coffee grounds (we worked out a deal with the coffee cart on campus to gather their grounds), waste cardboard, and hopefully various combinations of those things.

Mycelium!

The sample mushroom packaging material arrived last week, so we’ve gotten to touch and feel and get a sense of a commercial version of the material.

Mushroom Packaging

I created a model of the pot using Tinkercad, with the goal of 3D printing it in PLA and then using that model to create the form using the Formech Compaq Mini. The vacuum former tends to hold onto objects, so I designed the inside and outside walls to slope slightly, the outsides toward the middle – / \ – and the insides away from the middle – \ /, which I thought might make the plastic mold more likely to let go of the model. It didn’t quite work out that way, but more on that later. I also included a hole in the center, partly for drainage, and partly because I thought it would aid in the vacuum forming process.

Plant Pot Model

Hayes (student and Innovation Center staff) was kind enough to print the model to my specifications, which turned out to be wrong. More on that later. Anyhow, I asked for minimum infill, as the pot itself is 4″ at the base, and at least that tall, and I was interested in a quick print, rather than a durable one.

Printing the Pot

The model was ready this morning, so we set it up on the vacuum former.

Prototype In Place

It took a few rounds of heating, because we didn’t realize that the frame that holds the plastic down and creates the seal that allows the vacuum to form was out of alignment. Once we solved that problem, the process seemed to work really well, except…

V1 Mycopot Model

The repeated heating, coupled with my desire for a fast print rather than a strong one, added up to a mistake. Specifically, the PLA model melted and warped – you can see the jankiness above – and as a consequence, the model stuck in the deformed plastic sheet, and I had to pull it apart layer by layer to get it release.

V1 Mycopot Model Melted

Even with the less than perfect walls, the form is more or less usable, but we’re going to print a much more solid version in PLA on the Ultimakers, and a more solid version using the Form2 and maybe the tough resin. We learned a lot from the process, which is the beauty of prototyping!

We recently unboxed our SE3D r3bEL mini bioprinter, which we plan to use for research and development aligned with our fermentation science and other biotinkering efforts.

Bioprinter Arrives!

After some initial setup, I realized that the build plate meant to house petri dishes didn’t fit our petri dishes, so I contacted SE3D and asked for a vector file of the shipped build plates so as to modify one. While waiting for the email back, I went ahead and just measured the existing one, and after a few prototypes, I was able to cut a new one to the right size and shape out of acrylic. In the meantime, Vignesh got back to me – they’re very responsive! – with the DXF file of the build plates that arrived with the machine.

20181115_143256

With the petri dish sorted, I set out to print the stock test file. So far, so good.

3D Printed Bone

A successful test completed, I found a *.stl file of Nova (our Innovation Center mascot and the thing we traditionally create using any new machine), imported it into Slic3r, exported as G-code, and fired up the r3bEL. Other than the fact that the syringe ran out of lotion before the print was finished, it worked a treat!

2018-11-15_04-33-04

I feel fairly confident in saying that this might be the first time in the history of the world that a rabbit wearing a space helmet was 3D printed out of lotion. #fiteme

With the semester over, we’ve had some time to regroup and plan for the fall. One of our main goals this summer is to make sure that each staff member is comfortable on each fabrication process and machine. To accomplish this goal, the person most fluent in a particular process – 3D printing, or woodworking and power tools, for instance – is responsible for cross training all of the other staff.

2018-06-06_06-30-31

Clarity (student and makerspace staff) is an accomplished fiber artist, and she’s been the point person for sewing in the Innovation Center since the Making Social Change class last fall. Her group created the A-Z of Planned Parenthood quilt for their final project, and she has become quite skilled at using our Baby Lock embroidery machine, most recently using it to create the embroidered bean bags…

Beanbags

…for the cornhole game we brought to Maker Faire.

2018-05-18_06-35-54

As the resident expert, she’s been training up the other staff, and today, she spent the day working with Nicole (student and makerspace staff) to create a really amazing canvas tote with an image of Nicole’s Mom’s cat on it. Requiring multiple thread changes and lots of tweaking in the embroidery software, it took quite a while, and Nicole now feels confident in helping makerspace visitors through the embroidery process. The resulting artifact is truly magnificent!

12 Color Embroidered Cat

flickr gallery of work-in-progress photos:

Cat Embroidery

In addition to being scientists, Max (Chemistry) and his brother John (who teaches Math) are also musicians, and they recently collaborated on designing and 3D printing a saxophone mouthpiece, using the Form 2 with tough resin. The results are promising.

3D Printed Saxophone Mouthpiece

Here’s John performing some sweet sax using the v1 mouthpiece.

The two are planning to experiment with different geometries and configurations, and based on their experience with the v1 prototype a) they’ll print future versions oriented reed side up so that any support structure scars end up on the less important face, and b) we need to get some dental resin, as the tough resin reportedly tastes terrible.

Brandon (student and Innovation Center staff member) 3D printed this sweet Falcon Heavy model (CC BY Doctorwatson)…

Falcon

…complete with Arduino-controlled multi-color lighting display embedded in the exhaust plume.

Falcon Heavier

Brandon modified the top of exhaust plume to make it accept any number of other space vehicle models.  Pretty sweet.

Way back in 2008, the Innovation Center got its first 3D printer, a Z Corporation Z450.  At the time, it was very difficult to explain to most people what “3D printing” even meant, as it hadn’t yet entirely entered the public consciousness.  Professor Dan Ross (Engineering and Computer Information Science) was an early adopter, and was in fact the first FLC faculty member to incorporate 3D printing into his courses.

Fast forward to 2017.  The Z450 has long since given up the ghost, and we’ve got a few 3D printers sprinkled around the college, including a LulzBot Taz down in the Theater Arts shop, a few Makerbot Replicators in the Engineering classroom, and the U2E+s, U3s, Rostock Max, and Form 2 in the Innovation Center.

This semester, students in Dan’s Engineering 312 : Engineering Graphics course worked on designing and printing gear boxes.

Gearboxparts

I had the chance to talk to some of the students in the lab toward the end of the semester (which is winding down), and saw some of the parts-in-progress on the printers, but until Dan sent these photos, I hadn’t seen the completed student work.  I have to say I’m pretty impressed, and it’s great students using digital fabrication to solve real-world challenges.

Gearbox

A couple of weeks ago, Nathaniel (student) set out to replace a (mysteriously) missing piece of his car with a 3D printed part. He carefully measured the remaining bit, modeled the replacement using Tinkercad, which is really accessible and easy to use.  He then printed the replacement part using an Ultimaker 3, which took all of 22 minutes.

After a few minor modifications with the Dremel…

Minor Modifications

…a good fit was achieved…

Replacement Part

…and the car was fixed!

Piece in Place

It’s especially satisfying to see 3D printing used to empower people to solve real-world problems.