Fidget spinners are suddenly all the rage in the Innovation Center.

Fidget Spinners are all the Rage in the Innovation Center

So far folks have 3D printed them on the Ultimakers, laser cut them out of acrylic on the new laser, and just today cut some out of HDPE plastic on the Carvey.

Nathan's Spinner

Easel (the software the runs the Carvey) even has a spinner add-on that enables easy design and tweaking.

Easel Fidget Spinner Maker

I see a big old bag of bearings in our future!

Ultimaker 3

The new Ultimaker 3 arrived the other day, and Thomas Schmitt (student) unboxed it and got it set up and calibrated. Thomas has been designing a bobbin for fly fishing fly tying, and some of the project parameters, including a threaded rod and a hollow tube that serves as a thread guide, seemed to provide a good test case for a first print on the U3. The machine comes standard with dual extruders, and ships with a roll of PVA, a water-soluble filament.

Thomas Prints the First U3 Print

The first print came out really nice, and the water-soluble support material is a game changer, especially for printing certain fine details and hollow areas.  Some of the tricky biology models that faculty want to print are finally going to be within reach.

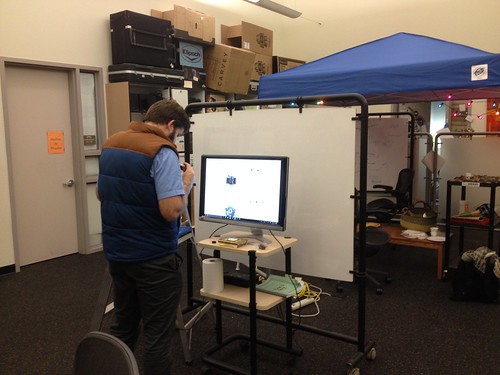
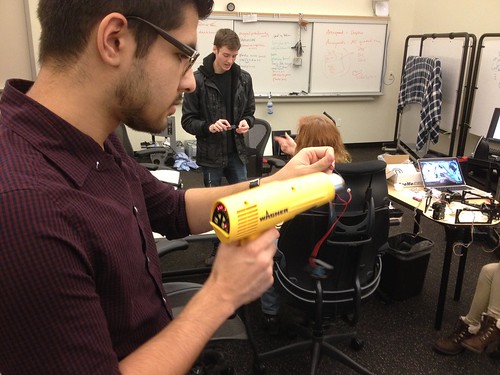
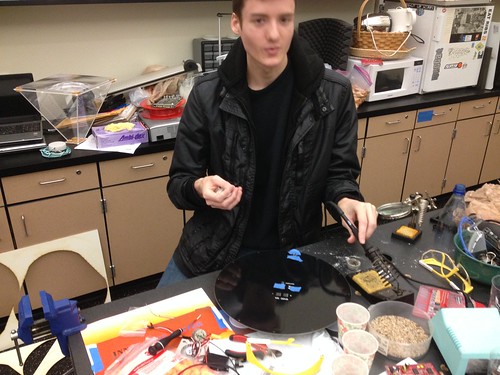
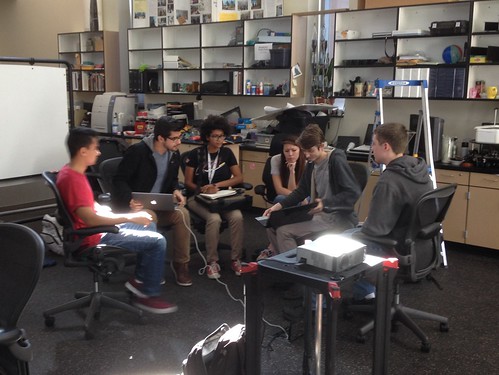
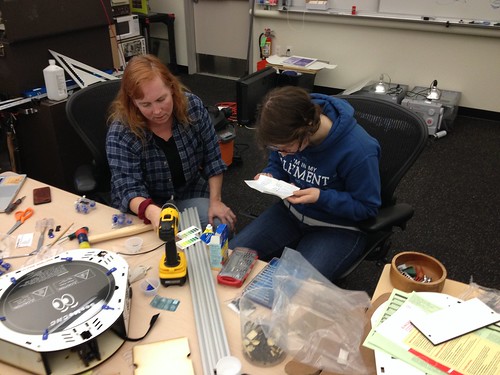
Assembled a team of faculty and students to continue work on the Rostock Max v3 (part 1, part 2). As before, the project is nicely modular, so while Max (Chemistry) and CJ (student) worked on the electronics…

Max and CJ Back At It

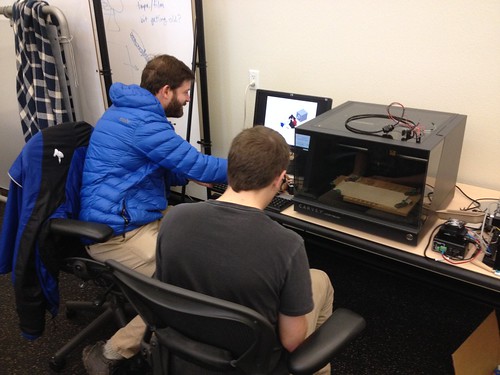
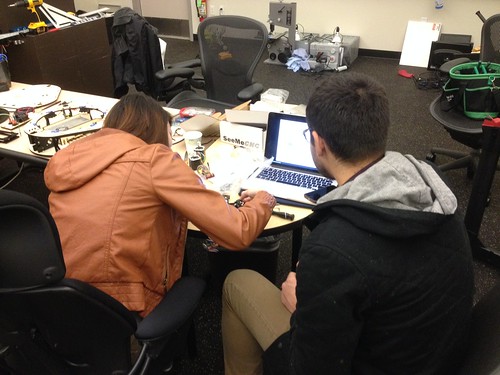
…Diane (Sociology), Alex Hartigan (student), and Thomas Schmitt (student) focused on the main assembly.

Untitled

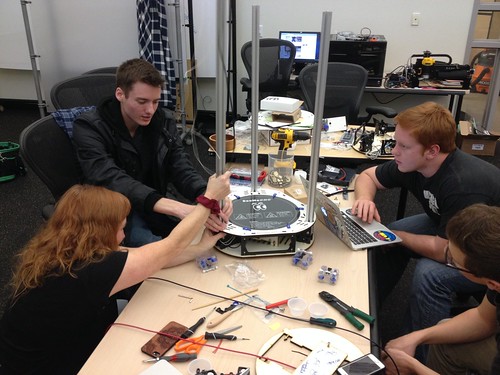
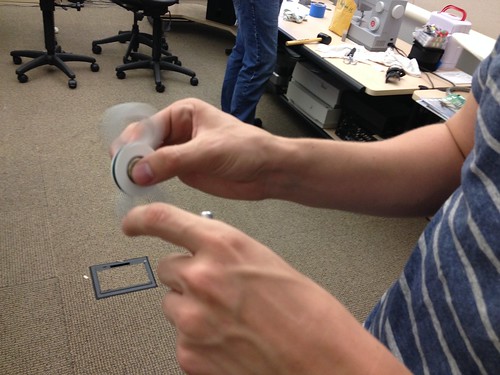
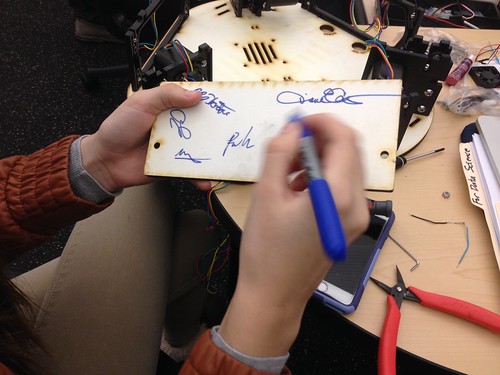
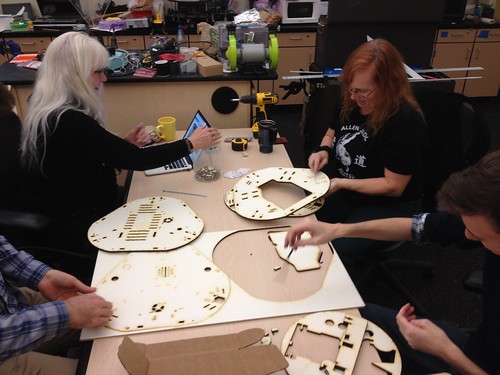
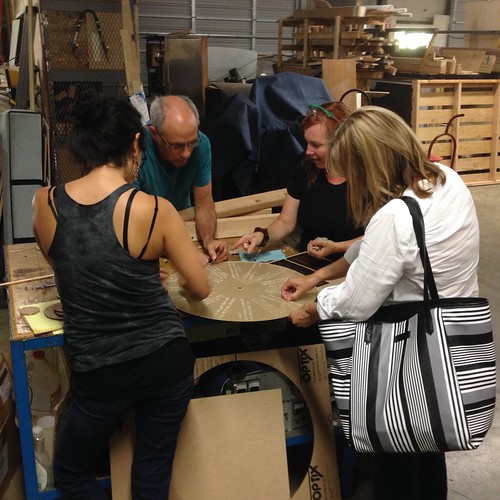
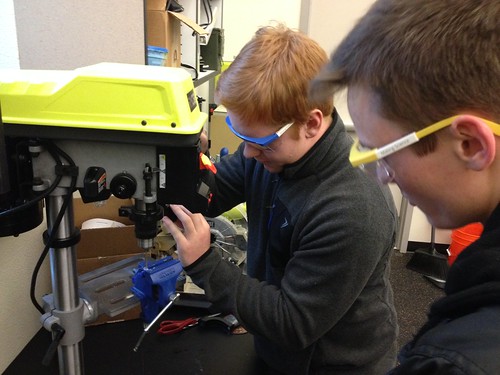
As it turns out, instead of three each of the inner and outer bits that hold the bearings for the carriage, the kit included four and two.  We talked about some options, and the crew decided to mod one of the errant parts to make it work, which involved sawing off a bit of it…

Thomas Monifying a Rostock Max v3 Part

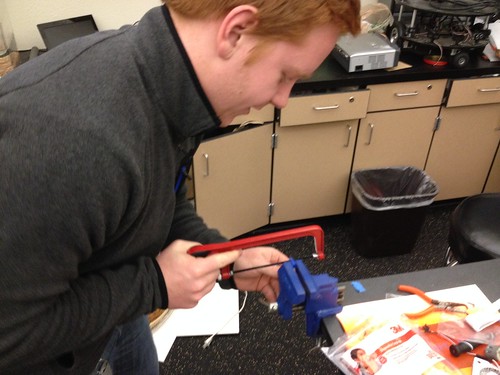
…and drilling a couple of holes…

Thomas and Alex Modifying a 3D Printer Part

…while I contacted the vendor about sending a replacement. We think our modified part will work, but I’m working on getting the right part sent, just in case.

Meanwhile, Taylor (student) dropped by to test the water chemistry of the in-progress aquaponics installation.

Diane and Taylor Talk About Ammonia

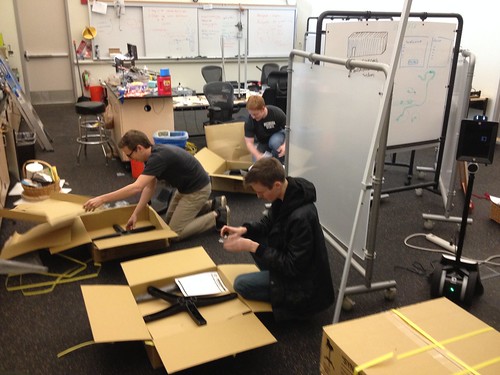
We’ve probably got at least another day of work before the printer is finished, and as folks began drifting away, Levi (receiving) delivered 12 new lab stools.  CJ, Alex and Thomas hung around and helped assemble them.

The Crew Gets to Work Assembling the Lab Stools

Still waiting on the workbenches, which should be here in the next couple of weeks.  Lots of energy, and lots of making!

Hosted the second Rostock Max build day today. The crew – mostly the same folks from the first build day – put in a good day of work, and we got much of the hot end done, finished up the base, and made good progress on the top assembly.  We decided to adapt the topping out tradition, aka “signing the beam,” though we aren’t actually finished with the build.

Untitled

More photos from today’s build…

Max Working on the Hot End

Nathaniel and Rebekah Building

Nathaniel Heat Shrinking

Alex Soldering

Spent the better part of today building – or starting, anyway – the Rostock Max v3.  There’s tremendous cultural and social value in having folks take ownership of their tools.  We ordered this 3d printer in DIY kit form specifically so that we could build it together, following our successful building/bonding experience putting together the X-Carve (part 1, part 2, part 3).  Champion maker educators Diane Carlson (Sociology), Jennifer Kraemer (Early Childhood Education), and Max Mahoney (Chemistry) were were joined by students Nathaniel Adams, CJ Costa, and Alex Hartigan.

It sometimes takes a while to get rolling on a complicated build.  I’ve learned that one of the best ways to kick things off is to get all the participants doing something communal and simple, so we started by collectively picking out all the little bits left over from the laser cutting process.  A low risk/high reward opportunity for the group to gel, visit, socialize, and quickly develop a common purpose.

Rostock Max v3 Build Day

This kind of social busywork seems to scratch some shared primate itch, and reminded me of my favorite moment from last summer’s Making Across the Curriculum workshop, during which folks gathered around to chat and pick the protective paper off of Diane’s Wheel of Voting Rights project.

Collective Grooming - Picking the Sticker Residue off a Laser Cut Piece of Acrylic

That finished, we loosely divided up the work and got to building.  With this particular build, there are a lot of steps that can be completed independently and in no particular order – in other words, not a lot of serial dependencies – so folks were able to dive in and work in pairs and trios without (usually) having to wait for others to finish.  Despite a few missing parts (which turned out not to be missing after all), we made a good start, and will continue building later in the week.

Build day album on Flickr…

Some significant failures recently in the 3D printing department. Inspired by Steve Holzberg’s (Biology) cancer prints, Linda Abraham (Biology) found a model of a rhinovirus for printing. Given the complexity of the model, and the intricately folded surface detail, we decided the Form 2 was the printer to use. Loaded up the clear resin and let it print.  The result:

Rhinovirus in Clear Resin

Mostly it worked fine, but the top of the model had problems. A strange rupture appeared in the sphere:

Failed Print

The anomaly coincided with, was caused by – or maybe left? – this cloudy residue in the tray:

Form 2 Fail

The tray was fresh out of the wrapper, and it was the very first run of clear, so I’m not sure exactly what caused the failure. In any case, the model is still perfectly usable, after a little filing to smooth out the jagged edges of the rip.

Meanwhile Max Mahoney (Chemistry) and Alex Hartigan (Student) continue to work on their 3D printed free energy surfaces project.  After something like 84 hours, the intricate nested conical structure, our largest print to date, began failing, and we pulled the plug on it to regroup (with 105 hours left on the print).

Ultimaker Fail

The center part of the model printed beautifully, and after some careful calculations to determine where things went wrong, Max set out to print the remainder of the model – in pink, since we ran out of white filament – with the idea of gluing them together somehow.

Untitled

This one too is failing out on the margins. Support material configured as a tower seems to be the common failure point. Stay tuned…

Had the opportunity to work with students from FLC’s Math & Engineering Club this afternoon. In a conversation some weeks back, Brandon (club president) and I discussed using the XBox Kinect sensor as a 3D scanner, something I’ve been wanting to do since last semester, but have not had the time to get going. I let Brandon know that I had two such sensors in the lab – the 360 version and the newer XBox One version – and so we arranged to meet today to go over the process. Brandon as it turned out brought the whole club.

Students from the Math and Engineering Club 3D Scanning

They set to work scanning one of their colleagues, along the way learning things about object placement, lighting, and the Skanect software. Meanwhile, the newly-formed Data Science Club met in the main lab to talk about an app they’re designing.

Untitled

While Brandon worked on cleaning up the scan of Chris, I walked the other students through changing filament on the Ultimaker and setting up a print job in Cura.

Students from the Math and Engineering Club 3D Scanning

Brandon ended up doing the Han Solo frozen in carbonite treatment to deal with some weirdness on the back of the scan, in the process adding a party hat.  I let Chris do the honors of starting the print, and then we set up OBS Studio to stream the print job to YouTube so that the M&E students could monitor progress remotely.

Chris, Scanned with the XBox Kinect Sensor

As it turns out, the model didn’t quite print correctly, so there’s some work to do there, but isn’t that why we prototype?

Untitled

This was the first of hopefully many chances for the M&E Club to work in the Innovation Center, and I’m looking forward to finding ways to plug students in to various projects, in the mold of the History game tiles project.

alex_greaseboard

Sat down the other day with student Alex Hartigan (he of the Calculus III models) to talk about designing an OpenSCAD version of Gena Estep’s (Professor of History) History game tiles. After talking it through, Alex went off and did an incredible job creating a very flexible version of the model that can be configured in lots of ways in the Thingiverse Customizer.  Alex is the kind of student who doesn’t do things half way, and so of course he created four different possible “Mate Types” for connecting the various pieces.

Alex's OpenSCAD Model

As with most things, version one needed a little tweaking.  Specifically, as is often the case in digital fabrication, size and scale needed to be worked out, and Alex was able to quickly adjust the default sizes of the text and other elements so that they were more likely to print successfully without a bunch of post processing.

History Game Prototype v2

This project is one model of the kind of faculty/student collaboration I’m trying to foster.  Too often good ideas never see the light of day because of assorted limitations, be they time or resources or skills.  In this example, Gena had a great idea, and Alex was able to bring that idea to life in a way that enables relatively easy production.  To close the loop, Gena has found a student who is interested in doing the work in Thingiverse to configure and download the various game pieces and print them.  It’s my hope that the relationships we’ve been building between the Innovation Center and especially interested students – from the Math & Engineering Club for instance, and the Data Science Club and Science Center – will lead to many more examples of these kinds of projects and partnerships.