Gena Estep (History) and I have been working on a prototype for a classroom activity that has students organizing and matching some important historical events and their outcomes.  She showed me a paper prototype, and I cooked up a quick design in SketchUp for some interlocking game pieces:

History Making, in the Making

A quick print and some post-processing with a Sharpie later…

Untitled

The third tile didn’t quite work out, but for a first run it got the concept across. Next up: figuring out a reasonably quick production process for generating STLs for all the pieces needed.  I’m looking into using OpenSCAD to create customizable objects for the Thingiverse customizer.

Wendy and Mike Appleby teach at Georgetown School in Georgetown, CA, where they’ve been developing the Georgetown Makerspace and associated programs.  They’re starting a new gear-up phase, so I invited them to visit the Innovation Center the other day.  They brought their son Sam, and we did some 3D printing, cut some stickers on the vinyl cutter, and set up a plotter job on the X-Carve.  We talked about different ways we might work together, and decided on a “sister lab” concept.  We kicked around some ideas for a partnership plan, to include sharing information and resources,  maybe collaborating on some training, and hopefully hosting Georgetown School students for field trips and work days once our space is built out.

Measuring with Sam

I work chiefly with adults, and it never ceases to amaze me how very competent some children are at using digital tools.  After a brief introduction, Sam quickly figured out Tinkercad, and designed some sweet accessories for his action figure, though it took a few rounds of prototypes to get the scale right.  Applied mathematics!

Below is Alex Hartigan, a Folsom Lake College Engineering student preparing some Calculus III models he’s been developing in collaboration with Kevin Pipkin (Math) and that he printed on the new Form 2, which has gotten a lot of use lately, most recently with the Enabling the Future project.

Untitled

Alex and I connected last semester, and finally got the chance to work together on this Math project. Alex has a lot of skills in 3D design and printing, as well as experience on the Form 1, and through the process of preparing the Calc models, he taught me a whole lot about the finer points of printing on the Form 2, including various layout tips, and the manual editing of supports.

The Form 2 models came out great:

Untitled

The Ultimaker 2 ones, not so much, though the failure at least resulted in some interesting artifacts:

Untitled

Best of all, Max Mahoney (Chemistry) dropped by, and we recruited Alex to work on the chemistry project we prototyped the other day. One of my favorite parts of working with students is learning from them, and I hope to learn a lot from Alex before he heads off to Sac State next fall.

Untitled

Working on a new prototype, combining the models from 3D Printed Potential and Free Energy Surfaces for Teaching Fundamental Concepts in Physical Chemistry (Kaliakin, Zaari, and Varganov) and something like this:

Max Mahoney (Chemistry) printed one of the models from the aforementioned paper, and we got to discussing how we might fill it with sand and inject some energy in the system to motivate the sand to shift around to demonstrate concepts of chemical reaction kinetics and dynamics.

Untitled

I found a Sonic Ghost VX-GH72 Electro-Mechanical Audio Transducer in the workshop. I purchased it some years ago hoping to replicate a sweet project I once saw at Maker Faire, developed by Sasha Leitman and involving 50 gallon metal drums with contact mics attached, with the drums acting as…well…drums, but also acting as speakers.  Anyhow, we hooked the transducer up to a piece of metal and threw some sand from the aquaponics project on there, and played around with different frequencies.

Untitled

We ended up breaking the transducer, and substituting a speaker, upon which we place the metal sign, with the model taped to the top.

Untitled

We were able to get the sand to bounce out of the lowest spot and into one of the higher ones, so the rough prototype is showing promise…

The recent EpiPen controversy led to lots of good conversations this week with various faculty about “medical making,” either as a new class in our upcoming MAKR certificate, a semester-long sort of focus, similar to things like One Book, or as some focus within the larger construct of Making + Doing, which is an idea we’ve been kicking around as a way to intertwine making and service learning.  One of the projects that emerged from those conversation is Enabling the Future, an “amazing group of individuals from all over the world who are using their 3D printers to create free 3D printed hands and arms for those in need of an upper limb assistive device.”

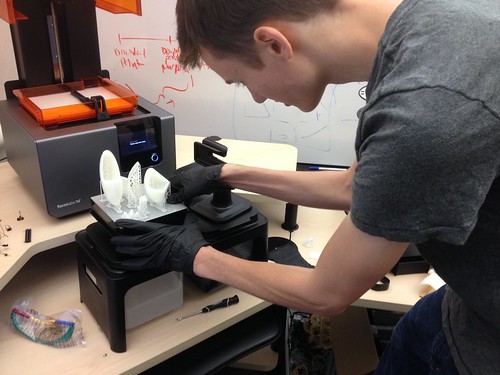
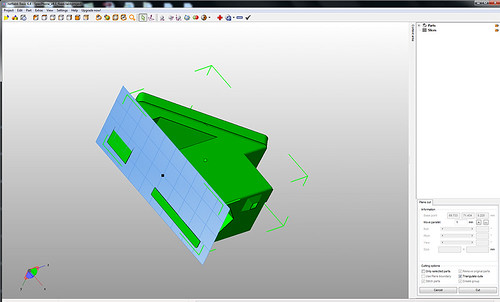
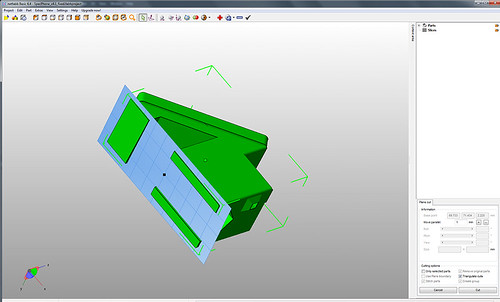
Jennifer Kraemer (ECE) is interested in working such a project into the Making in ECE course she’s developing, so we decided to print up one of the hand systems, specifically the Raptor Reloaded. We set up a job on both the Ultimaker 2 Extended+ and the Form 2, so as to compare time and print quality.

A Tale of Two Printers

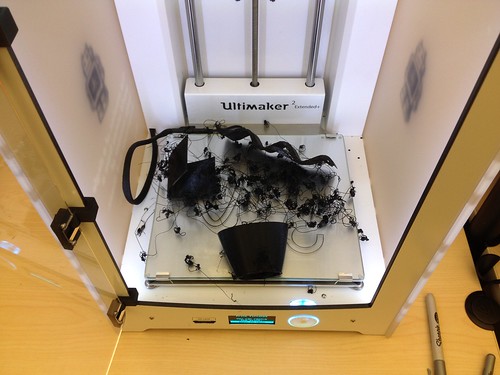
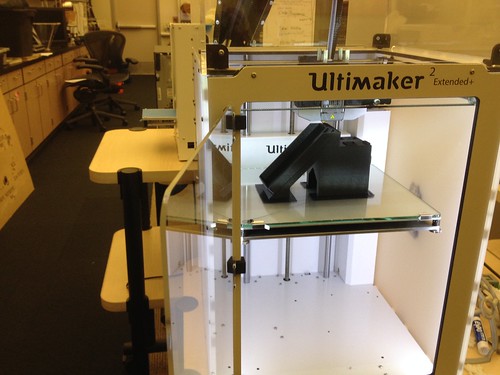
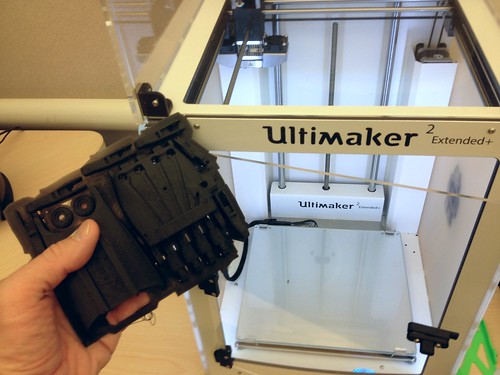
11ish hours later for the Ultimaker…

Raptor Reloaded on the Ultimaker

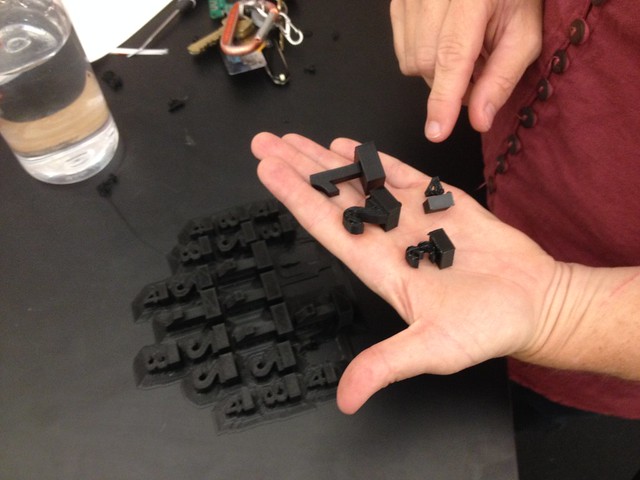
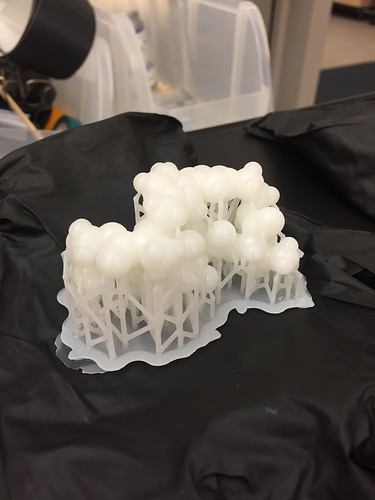
8ish hours later for the Form 2…

Raptor Reloaded on the Form 2

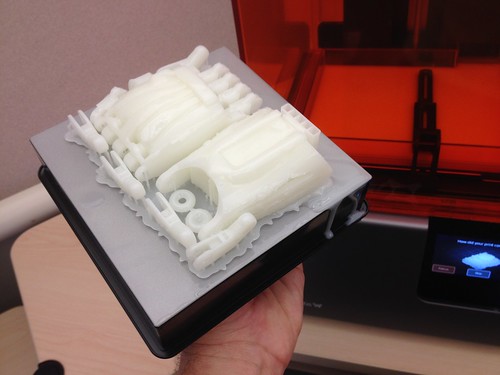
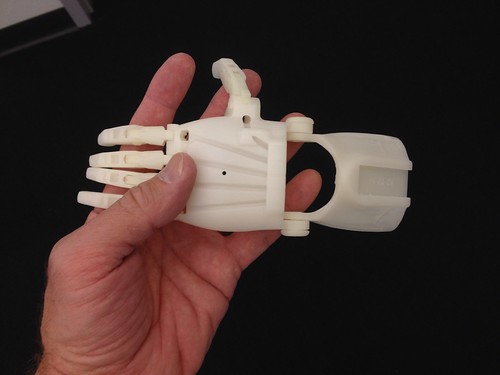
Here’s the initial build of the Form 2 version. The Form 2 resin creates a really nice finished product that takes well to fine tuning with a file.

Initial Assembly

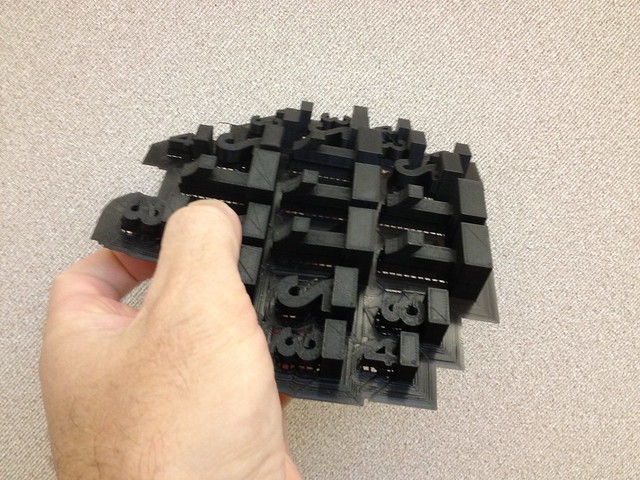
Here’s the initial build of the Ultimaker version.

Initial Assembly - Ultimaker

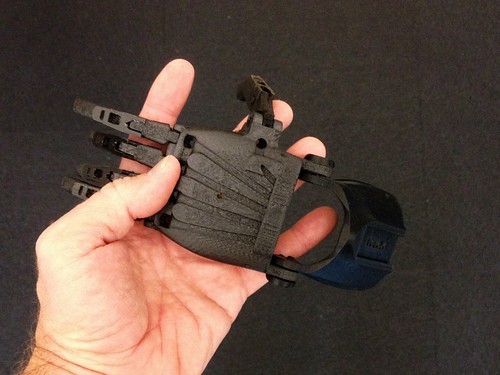
I still need to get the screws and wire for the “tendons” to finish them up, but the initial results are promising.

Max Mahoney (Chemistry) is working on printing SpecPhone, a 3D-printed smartphone spectrophotometer develop by Dr. Adam W. Smith’s lab at the University of Akron.  From the developer:

The SpecPhone is a 3D-Printed smartphone spectrophotometer for research and education. The device can make analytically accurate measurements of concentration and can be used for teaching analytical chemistry and DIY science projects.

After some sketchy results and strange print decisions by the Ultimaker, it seems that the model doesn’t quite sit flat.  That is, the legs don’t seem to be the same height.  Using Netfabb Basic, I dropped in a Z plane to visualize:

NetFabb Basic Z Cut #1

Taking that plane up, it seems that it’s not just the bottom of the model, but that the skew continues all the way to the top:

NetFabb Basic Z Cut #2

With support structure enabled in Cura, we were able to print it after a few botched attempts, so it’s not a deal-killer, just a bit awkward.  Now we just need to find an iPhone 5s…

Printing a SpecPhone