
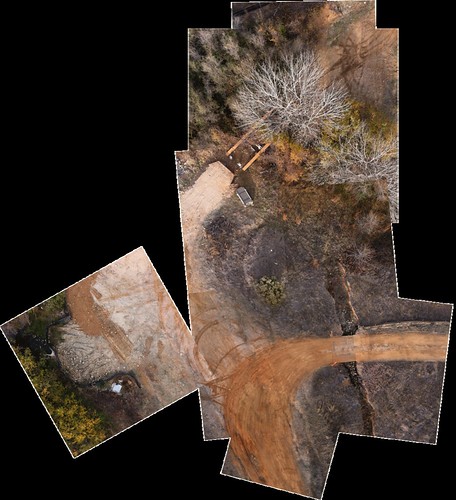
Here’s a screenshot of one of the many photo composites that students are working on with the data gathered from the balloon flight a couple of weeks ago:

MapKnitter is being finicky about exports, but hopefully that will resolve itself before long, and students will be able to get their hands on the stitched photos for further analysis.
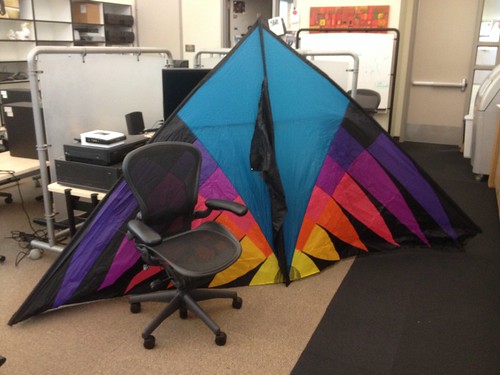
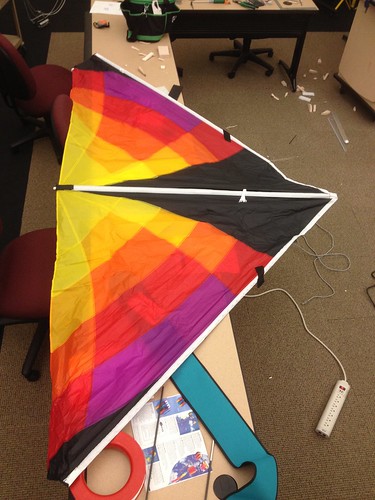
New kites arrived. Pictured here is a 12′ Riviera Highlighter from Into the Wind, and we received the double lifter sled 30 as well. We hope to get some images from above Mormon Island, a local historical mining community. A very dry winter and the resulting low water levels have exposed parts of the town, the remains of which are typically hidden beneath Folsom Lake.
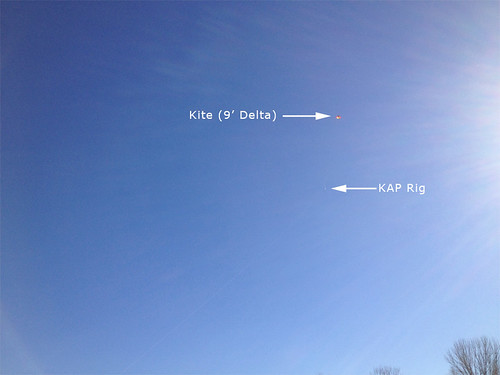
Nice breeze this afternoon, so I gathered the kite and KAP rig, found a colleague – Kevin Pipkin (Professor, Mathematics and all-around good guy) – and headed down to the wetlands to fly, this time with the GoPro, set to whatever the medium (as opposed to wide) angle setting is called.
Terrific wind, about at what I imagine to be the limit for the 9′ delta, and the kite pulled like a champ. We gathered quite a few images, and a short video as well.
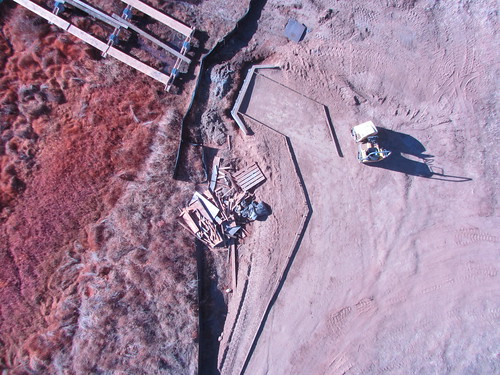
Back at the desk, I thought I’d give Adobe Photoshop’s Photomerge feature a shot, using the “Collage” option. Here’s the result:
Though it’s a little sketchy out at the margins, it’s actually not bad for a hands-off process.
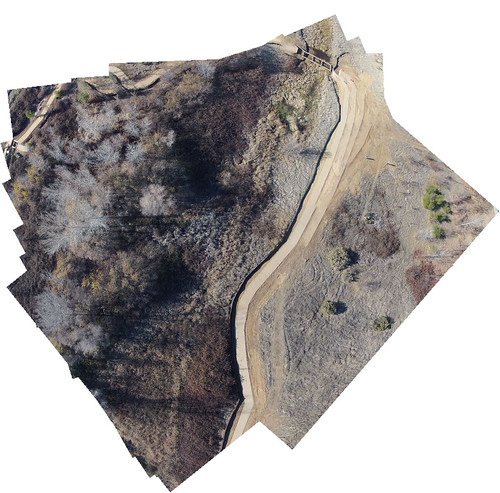
The weather was pretty good for KAP yesterday, with variable ground level winds somewhere in the 2-5 mph range, so we took the 9′ delta down to the wetlands north of the college to test out the new iPhone rig. Gathered two hundred or so shots using Timelapse, a very useful app, and worth every penny of the $4.99 asking price. Unfortunately, I misaligned the iPhone within the protective bucket, such that each image contained a bit of the edge of said bucket. As a result, I had to run a Photoshop action to crop the images, losing a bit of data in the process. Nevertheless, I was able to stitch together some of the best photos using both Photoshop and MapKnitter, which I’ve mentioned before:
MapKnitter is a free and open source tool for combining and positioning images in geographic space into a composite image map. Known as “orthorectification” or “georectification” to geographers, this step covers the process of figuring out where images can be placed on an existing map, and how they can be combined, or “stitched” together.
With each successful (and unsuccessful) flying session, we’re learning a great deal. For instance, we’ve added a can of compressed air to the field kit to deal with the inevitable dust that seems to find its way onto the camera, and before the next flight, I’m going to find some sort of ground cloth to use as a relatively clean surface upon which to set up the picavet and rig the camera. Progress.
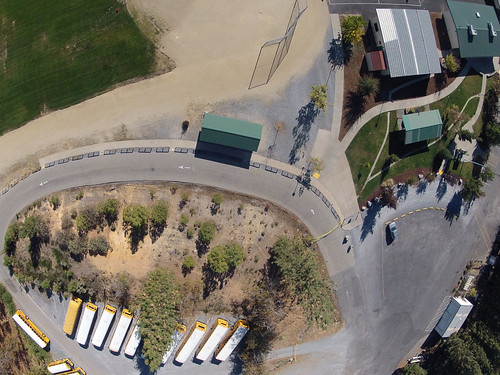
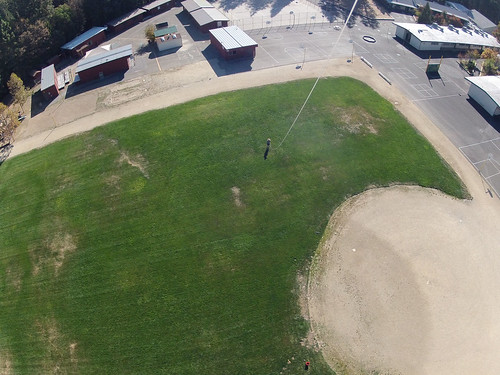
Flew the 9′ delta this afternoon in the wetlands below the college, and sent the NIR camera up for the first time, resulting in photos that look something like this:
Lessons learned:
1. Flying solo is more difficult than flying with a partner. I had to find a stable elevation for the kite, step on the line, and rig the picavet with one hand. A few times when the camera was dangerously close to the ground, it would have been nice to have a partner to keep it safe from harm.
2. Given the way that that camera sits inside the bucket, it’s a little difficult to operate it. I’m going to noodle on a solution…
3. Always bring a broad-brimmed hat and/or sunglasses. I had neither.
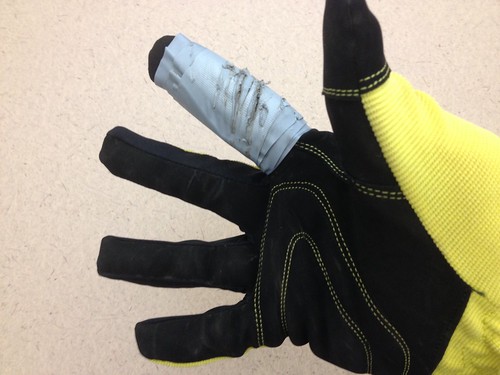
4. Always always wear gloves. I burned through about eight wraps of duct tape in this one flying session. I like the overall weight of the glove pictured below, I just need to find a way to add a heavy duty sleeve to that finger.
5. A 1 minute interval is too long. I’m thinking that 30 seconds will give more overlap, which will enable better knitting.
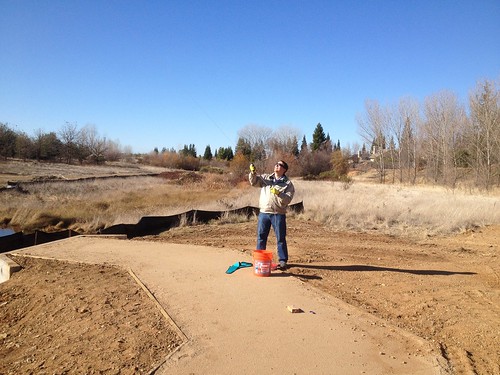
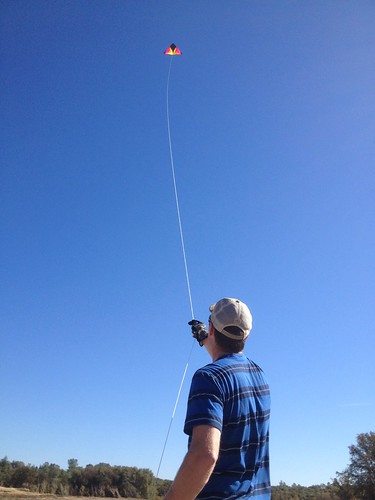
The weather is changing today, bringing cooler temperatures and, most importantly, steady wind. I took the KAP rig down to the local grade school, and after some fussing, was able to get it up in the air. At about 100′ feet the kite found a steady wind, so I attached the picavet to the line and sent it up. The kite kept pulling like a champ, so I kept feeding it line until the line ran out.
After a few more practice runs, we’ll send the IR camera up, hopefully at Wakamatsu or over the wetlands below the college.
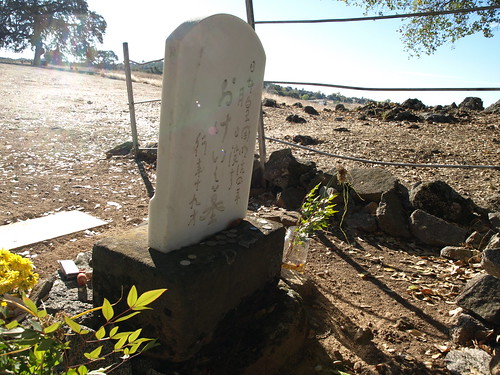
Spent the day Friday touring Wakamatsu Tea and Silk Colony Farm, an historic area above the American River in Gold Hill with one of co-conspirator Jason Pittman’s California Geography classes. Visited the grave of Okei, the first recorded burial of a Japanese woman in the United States.
Jason and his students have done some work for the American River Conservancy in the past, GPSing trails and the like, and we’re working on a plan to do some aerial imaging in support of ARC’s Wakamatsu re-vegetation and de-vegetation efforts – yellow star thistle is a mean invasive weed, and it is everywhere on the Wakamatsu property (and throughout the county). Following the tour, we assembled and practiced flying the delta. The anemometer was registering inconsistent winds at ground level in the 2-4 mph range, which was enough to get the kite up in the air a few times, but not enough to keep it there, nor to allow it to really lift the camera rig.
Though we weren’t able to gather any images, we did learn a lot about flying the kite, rigging the picavet, and what to include in our KAP kit. All in all a successful day. Always be prototyping!
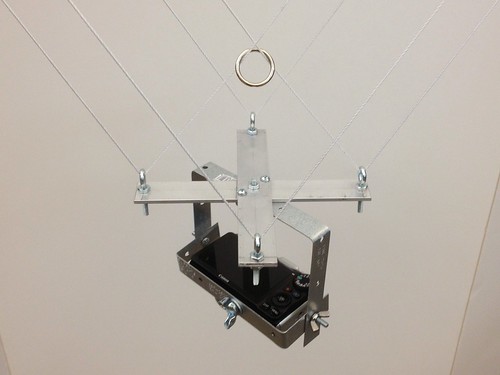
Modified the original design a bit, moving up to 2″ aluminum bar stock for the cross, to allow for the camera to hang on the same plane as the balloon string.
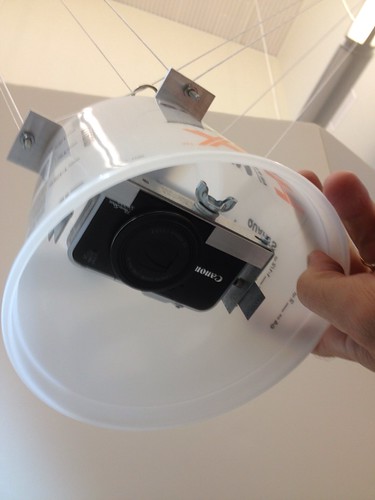
I also added a bucket, which I’ll foam up in an attempt to protect the camera in a bombs away scenario. 2 and a half quarts of security theater!
Update: I walked over to Printing Services and weighed the picavet rig with camera in place. 1 lb, 3.2 ounces. Given the helium shortage, we’re looking into kites as an alternative, and the rig weight will inform the kite selection process.
Finished the camera frame and the suspension business, and got the thing strung up. I need to make some adjustments, and I think I strung it a bit wonky, but it works and auto levels!
In preparation for some weather balloon flights, we’re working on building up a picavet, which will keep the camera level and steady regardless of the angle of the string – you can read all about them here: http://www.kaper.us/basics/BASICS_picavet.html
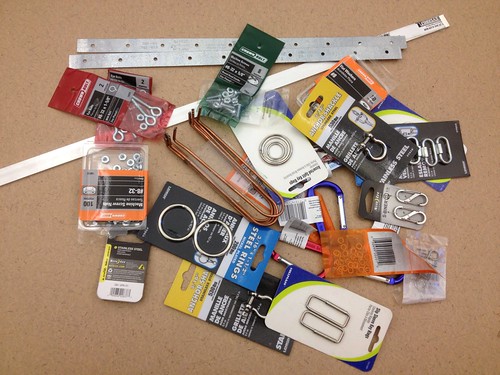
After a couple of hours at the local hardware store, I ended up with a big pile of little parts.
I set to work this morning, and was able to knock out the basic framework for the part that attaches to the kite/balloon string:

Lots of guidance on the web – I drew inspiration from http://www.arch.ced.berkeley.edu/kap/equip/picavet.html#no3.
Next is the camera mount, which attaches to the suspension frame pictured above. We hope to test it out next week, and to tweak and adapt in advance of a project that will see students doing some aerial and ground surveying of a local nature area.