Katia (student and President of the Asian Pacific Islander Club) collaborated with Innovation Center on a katazome activity for her club. Katazome is a Japanese fabric dyeing process that uses a resist paste applied to fabric through a stencil, and we more or less followed the procedure detailed in Workshop no. 21: Natural Selections: Hands-on Katazome and Indigo with Graham Keegan.

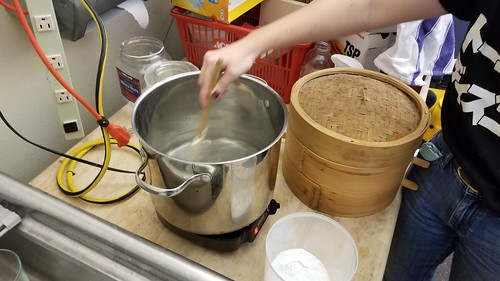
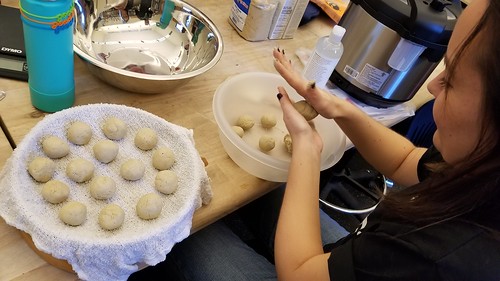
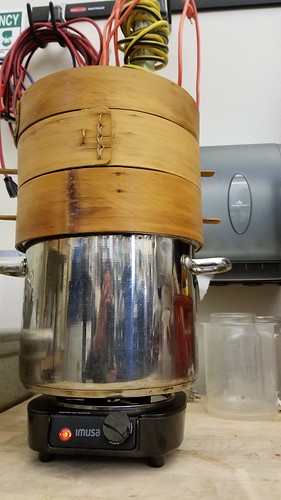
Early this morning, Katia made the dough using rice flour and rice bran…

20190315_101505

…which we then steamed for an hour and half.

20190315_111426

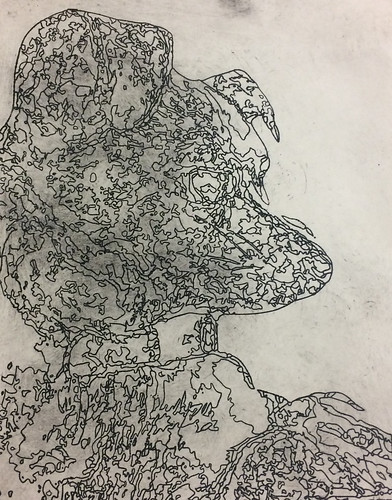
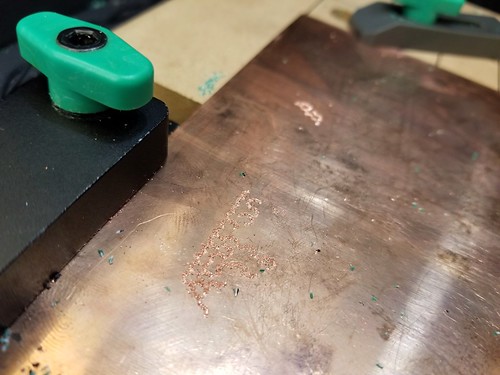
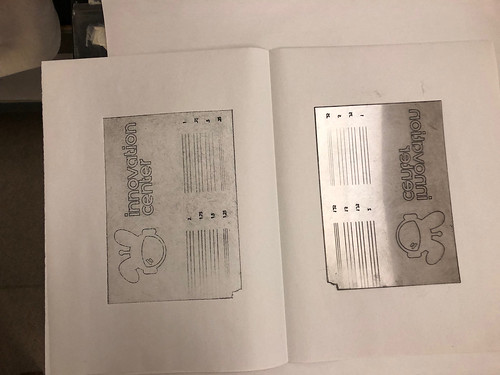
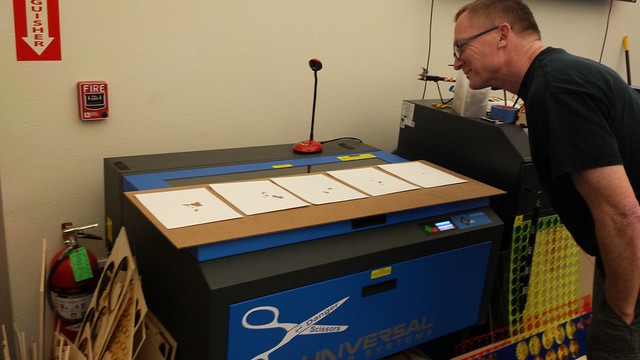
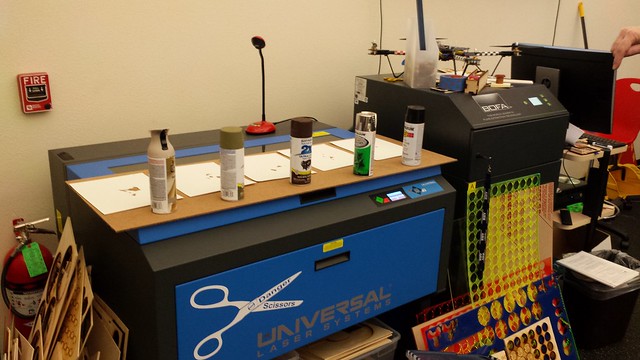
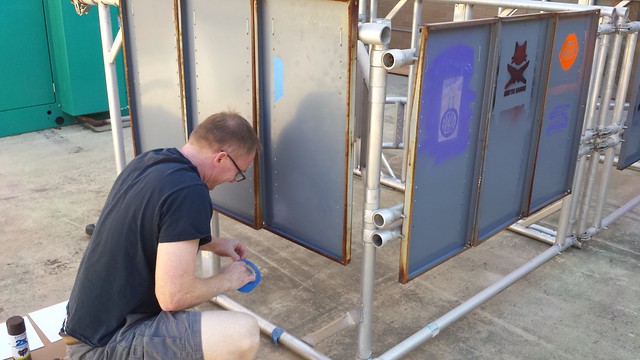
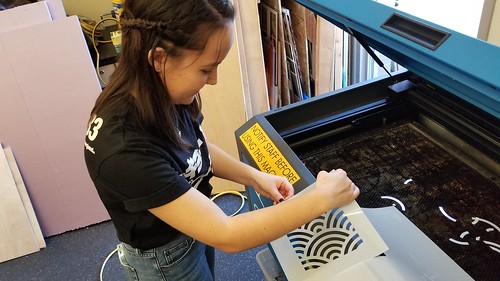
Meanwhile, we used the laser cutter to cut out some stencils, based on traditional Japanese designs.

20190315_111607

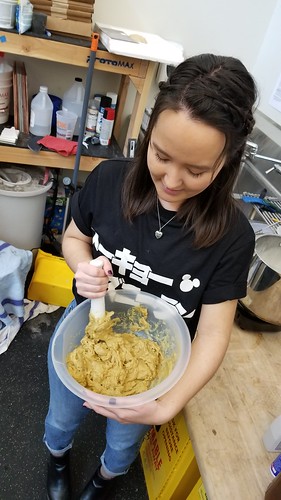
While Katia smashed up the now cooked dough balls, adding glycerine and water with hydrated lime to make a paste…

20190315_122234

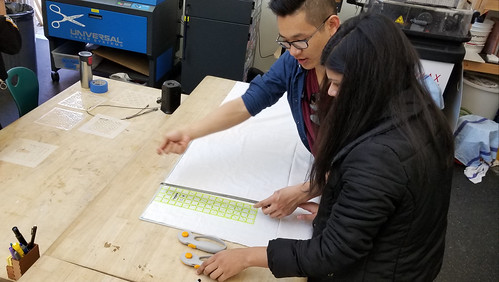
…other members of the club arrived, and set to work cutting cotton fabric into 8″x8″ squares…

20190315_122207

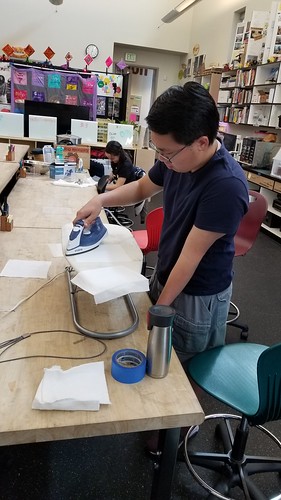
…and ironing the fabric to make it nice and flat for stenciling.

20190315_123351

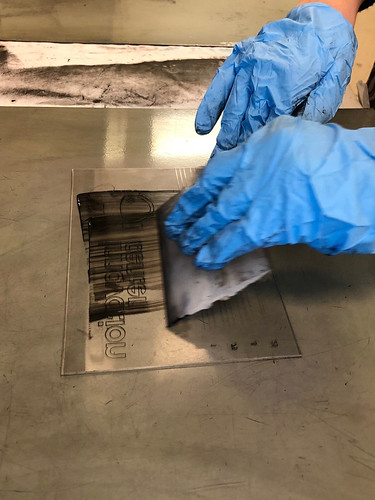
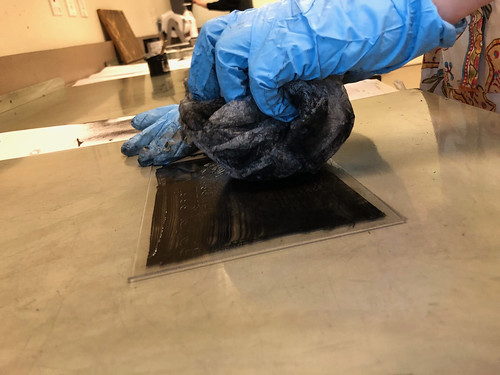
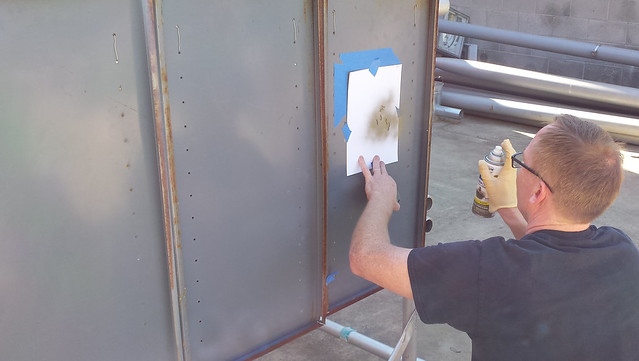
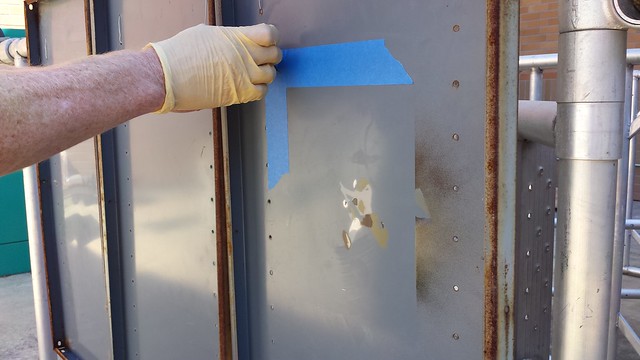
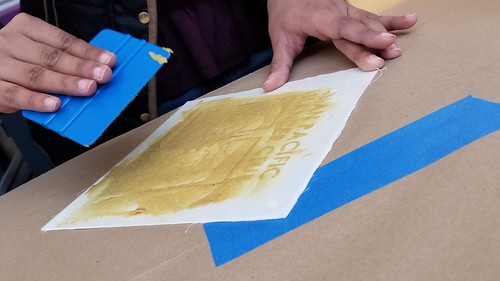
The paste ready, students set to work applying it to the fabric…

20190315_130004

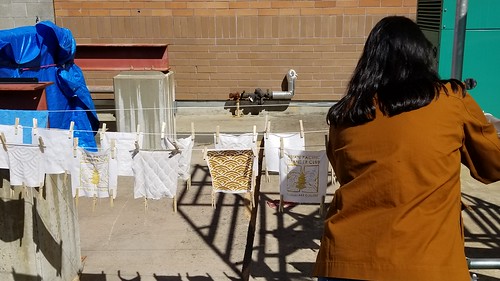
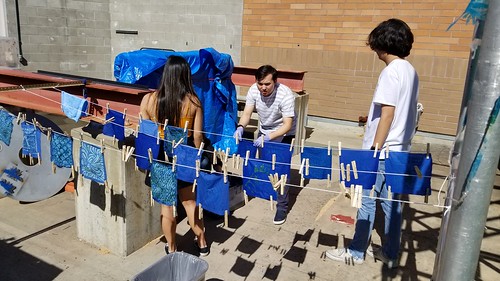
…and hanging the squares up to dry.

20190315_135025

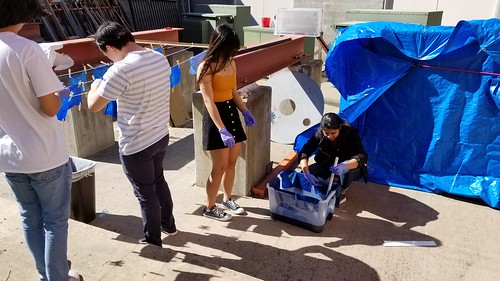
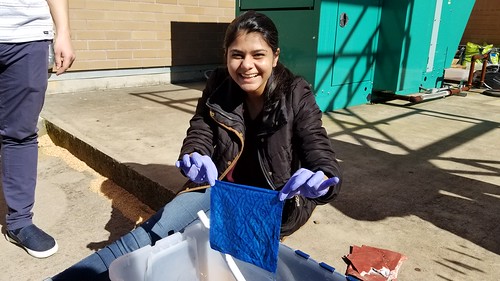
Once the squares were dry, it was into the dye for 20 minutes…

20190315_145350
..then back on the line to dry again…

20190315_145342

…before being rinsed.

20190315_152611

The rinsed pieces now dry, Katia trimmed the edges with pinking shears…

20190315_162005

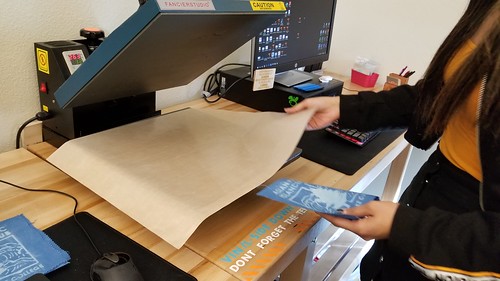
…while other students pressed the finished squares using the t-shirt press in the Clean Lab.
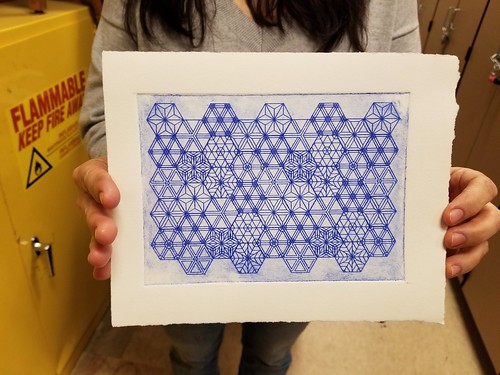
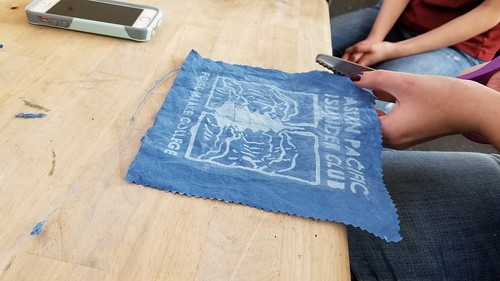
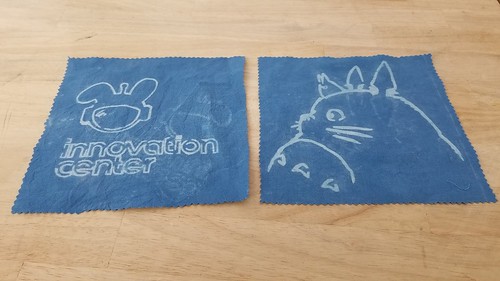
20190315_162439

The result!

20190315_165401

It’s exciting to find ways to combine traditional arts – katazome – with digital fabrication – the laser cutter – and we’ll incorporate what learned (a lot!) about the process and timing into v2.0 of the activity in a couple of weeks.

More photos from the activity:

Katazome in the Makerspace

Clarity (Making Social Change student and now Innovation Center employee) has continued to work on sharing the laser intaglio process with artists from the college’s printmaking course, here using Illustrator’s Image Trace functionality to achieve a sort of low-resolution abstraction of a photograph of a family pet.

Prepared

Ready To Roll

Inked Plate

Finished

This morning I stumbled upon (or perhaps became re-acquainted with?  Clarity might in fact already be working on it, but it’s sometimes difficult to keep all of the ongoing projects straight) this DIY Printmaking Press project via @joshburker on Twitter.  The files for the press can be downloaded from Thingiverse, and I can’t wait to get one of these tiny marvels printed and up and running in our space!

Marisa Sayago (Art), her student Clarity (late of our inaugural Making Social Change class) and I are prototyping a print making process using makerspace tools and techniques, with the goal of incorporating whatever we come up with – ideally intaglio using copper plates – into Marisa’s class this semester.  I decided to do some experiments using the Carvey, as it’s a quick machine and almost unbelievably easy to learn, even for novices to both software and hardware.  Unfortunately, early tests using engraving bits on copper were unsuccessful.  Though copper is soft metal, the fine (and expensive!) engraving bits pretty quickly broke or wore down, even after many different adjustments to feed rate and pass depth, and though I love Easel (the browser-based software that runs the machine), it’s sometimes difficult to be as precise with it as a job like this requires, in terms of fixed line weights.  Even doing the design work in Illustrator and importing *.svg files, I wasn’t quite able to get all of the variables to line up.  All that said, I was able to confirm that a 1/16″ bit on linoleum works well for relief prints, so that’s another print making avenue to explore.

Intaglio Test

With the Carvey out of the running, we decided to see about the capabilities of the laser cutter, which offers the kind of line precision that seems to lend itself to intaglio.  We set up a file in Illustrator to experiment with raster lines (pure RBG black:  0,0,0,) of varying weights (from .25 pt to 2 pt, in .25 pt increments) to see which produced the best results, and included our IC logo and Nova mascot as vector engraves (pure RGB blue:  0,0,255 with a line weight of .001 in Illustrator, hairline in CorelDRAW).  Of course I realized after it was engraved that I had forgotten to mirror the line weight indicators, but isn’t that why we prototype in the first place?

Using a sheet of PETG – as a novel material in the lab we first had to research its suitability for use with a laser, and it turns out it is indeed suitable – we ran the engraving job, handing the piece off to Clarity to complete the inking and other parts of the process.

deep inking

The result!

test pressing

Turns out the vector engrave (which with a 2″ lens should produce a line of about .005″) works well, and the vector engrave at all sizes was too big to retain ink during the surface preparation step. This is actually a great learning, as a) vector engraves are super accurate, and b) they also take way less time than raster ones – throughput is an important consideration in any sort of lab activity that relies on makerspace machines.  Now that we have narrowed down a general direction for the project, I’m going to work with Clarity to create a few more prototypes (testing things like line density) as we try to come up with a lab-ready process.  Stay tuned!

Here’s a photo gallery of Clarity completing the inking and pressing over in the art lab:

Laser Intaglio

Over the years, I’ve had the opportunity to work with a few studio artists to help them incorporate digital fabrication processes into their work, and it’s always fascinating to gain some insight into how they map various concepts from “traditional” studio arts to things like laser cutting and 3D printing.  This morning I had the opportunity to work with Mark Boguski (Professor of Ceramics and Ceramic Sculpture, Sacramento City College) on the laser cutter workflow.  I showed Mark the gallery of stenciled images created by our Making Social Change students, and after talking about things like abstraction, legibility, resolution, and the minimum detail required to communicate a particular image, we set out to create a multi-layer stencil.  Mark chose a famous image of Pete Townshend of The Who as his subject, and we used the stellar tools at stencilcreator.org to create the necessary *.svg files.  I showed Mark how to prepare the files for laser cutting using Adobe Illustrator, which mostly involves setting the lines to be cut to pure red (RGB 255,0,0), and setting the strokes to .001 (which would be “hairline” in most other software programs).

Some photos from our session…

All five images cut:

All Five Layers Cut

Spray paint colors chosen:

Five Colors Selected

Establishing a reference point:

Establishing a Reference

Spraying a layer:

Mark Painting

Finished image:

20171004_114715

Animated:

5 Layer Stencil of Pete Townshend

Mark and I learned a lot about the process, and there are some tweaks to be made, but it’s a great v1 prototype, and I’m eager to share it with our MSC students.

I had the opportunity to attend ISKME’s Big Ideas Fest 2012 earlier in the week, at the lovely Ritz-Carlton Hotel in Half Moon Bay, California. On the third day of the conference, artist John Q of Spectral Q posed conference participants (along with a few hotel employees and passersby to fill in the gaps) in the shape of the golden spiral and the words “open ed.”  With everyone in position, two operators, one controlling the aircraft and one controlling the camera gimbal, used this burly hexcopter:

Untitled

to take this marvelous image:

openED Group Photo for Big Ideas Fest #bif2012
(Photo by AeriCam / Spectral Q)

The hex was truly a beast, and bested the strong onshore breezes seemingly with ease.  According to ISKME, a video will follow shortly.  Another use for the quadcopter?