Some photos from the very successful cyanotype photography activity Max Mahoney (Chemistry) and Christa Oberth (Chemistry) and Heike Schmid (Art) led last week, using using the exposure boxes we built…

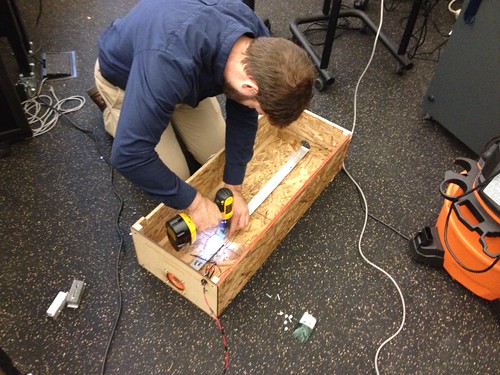
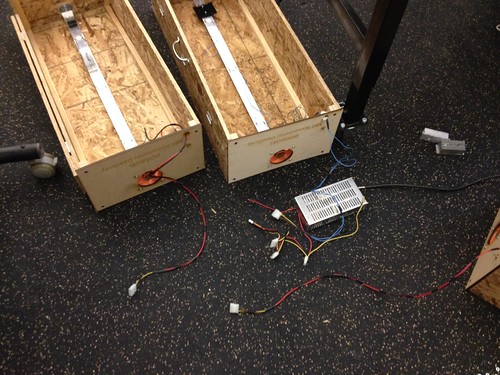
A view of the internals, and the wiring harness, which was scavenged from a PC power supply:

Untitled

Max attaching a heat sink to the light bar. We finished the final box at about 1:45 PM, and the activity started at 2!

Untitled

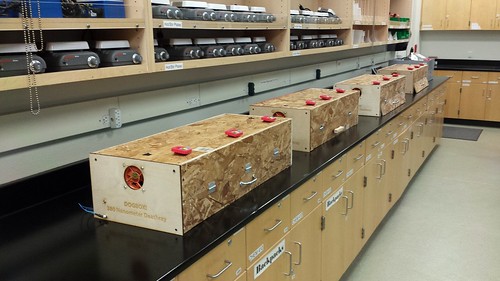
The boxes lined up in the Chemistry lab:

2017-04-08_09-50-37

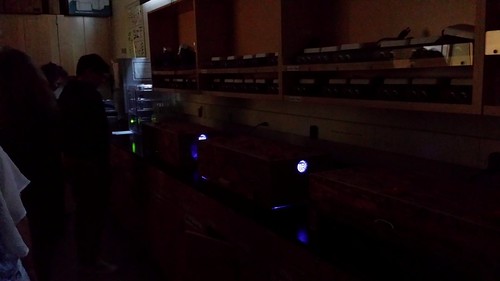
Fired up and working – students developing their prints:

2017-04-08_09-50-53

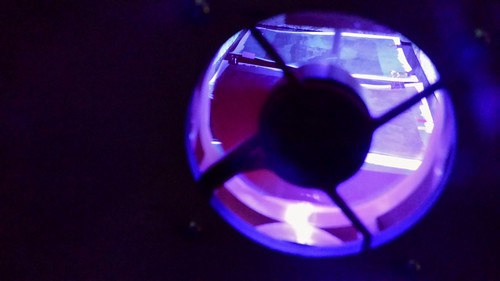
A view through the fan port:

2017-04-08_09-51-18

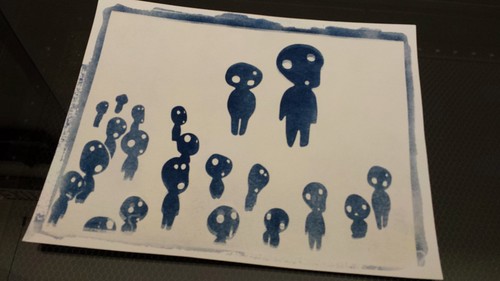
My kodama print:

2017-04-08_09-49-54

We were initially worried about the LEDs heating up, but the fans – poached from some recycled external CPU cooling units, and heat sinks, also from the parts bin – pulled so much air that the aluminum bars (themselves functioning as heat sinks) to which the LEDs were attached were entirely cool to the touch throughout the whole process. The LEDs in these particular units are super bright and powerful, and students were very pleased with the resolution, detail, consistency, and intensity of the finished prints.

Max Mahoney (Chemistry) and I have been working on version 2 of some UV LED boxes for use in a cyanotype photography activity.  We’ve been talking about these for a long time, so it’s nice to finally get to building.

Max Makes

Each box will have three 10 watt 380 nanometer UV LEDs arranged on a piece of aluminum bar stock. We were able to build up the prototype in about a day, working out some of the details about the access hatch, and the arrangement of the lights and so forth.

Success!

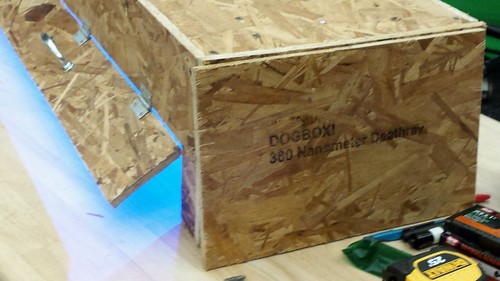
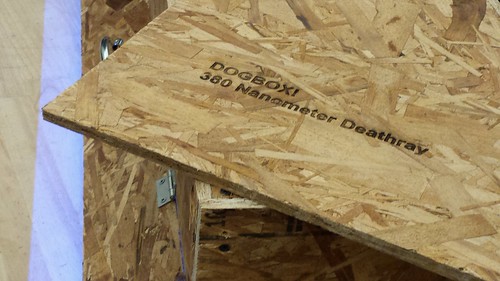
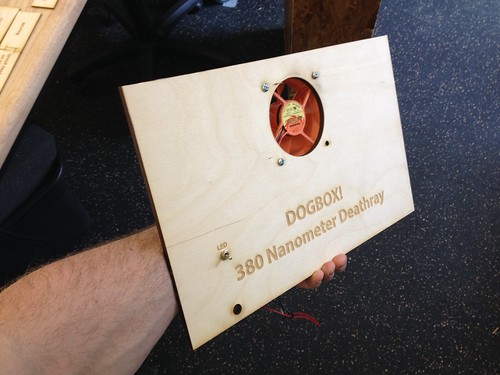
We also used the new laser to engrave one of the side panels.

Dogbox!

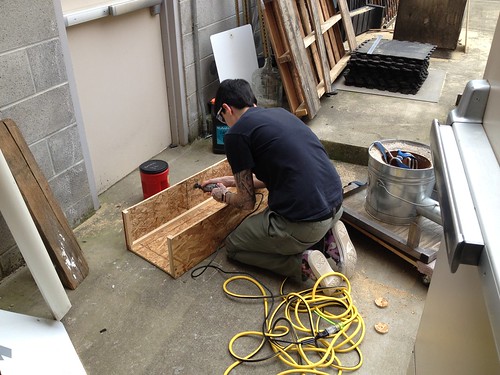
Today Nicole (student) helped out mass producing three additional boxes (for a total of four).

Nicole Building Boxes

As it turns out, these LEDs get HOT, so we brainstormed some fan arrangements, and settled upon a design.  We quickly developed a diagram using Illustrator, running a paper prototype on the laser to ensure that our measurements were correct before engraving and cutting the final piece out of 1/4 hobby plywood.

Cyanotype Exposure Box End

Looking forward to getting these buttoned up and in use at the end of the week!

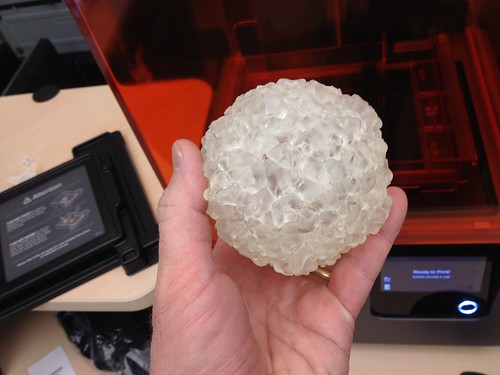
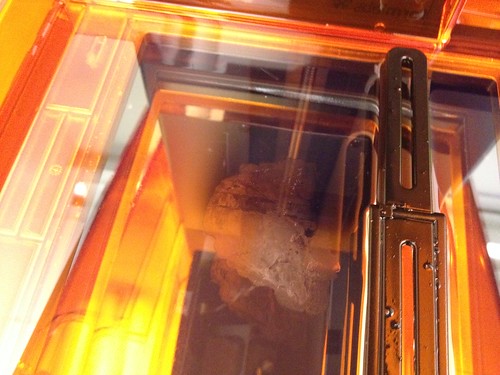
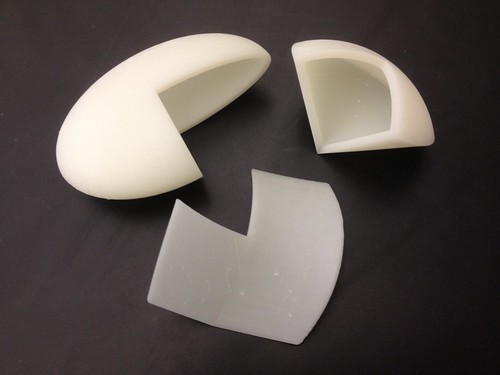
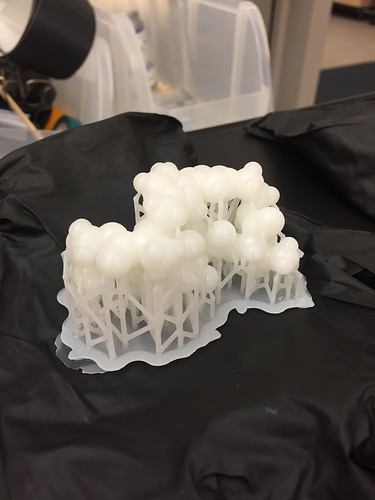
Some significant failures recently in the 3D printing department. Inspired by Steve Holzberg’s (Biology) cancer prints, Linda Abraham (Biology) found a model of a rhinovirus for printing. Given the complexity of the model, and the intricately folded surface detail, we decided the Form 2 was the printer to use. Loaded up the clear resin and let it print.  The result:

Rhinovirus in Clear Resin

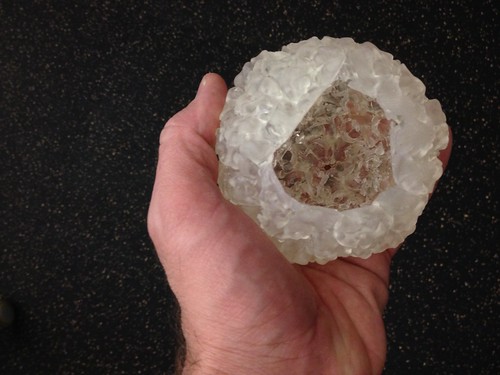
Mostly it worked fine, but the top of the model had problems. A strange rupture appeared in the sphere:

Failed Print

The anomaly coincided with, was caused by – or maybe left? – this cloudy residue in the tray:

Form 2 Fail

The tray was fresh out of the wrapper, and it was the very first run of clear, so I’m not sure exactly what caused the failure. In any case, the model is still perfectly usable, after a little filing to smooth out the jagged edges of the rip.

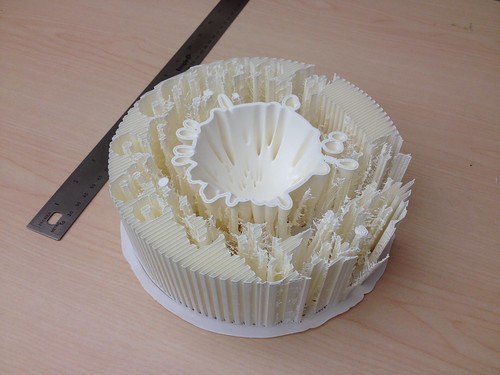
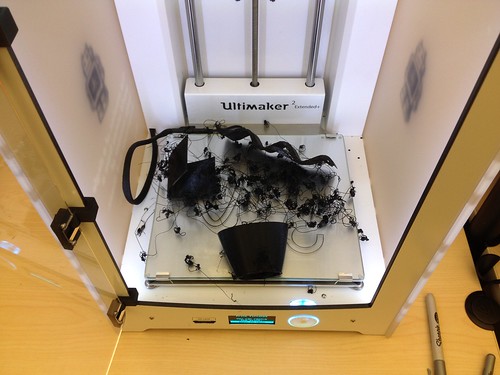
Meanwhile Max Mahoney (Chemistry) and Alex Hartigan (Student) continue to work on their 3D printed free energy surfaces project.  After something like 84 hours, the intricate nested conical structure, our largest print to date, began failing, and we pulled the plug on it to regroup (with 105 hours left on the print).

Ultimaker Fail

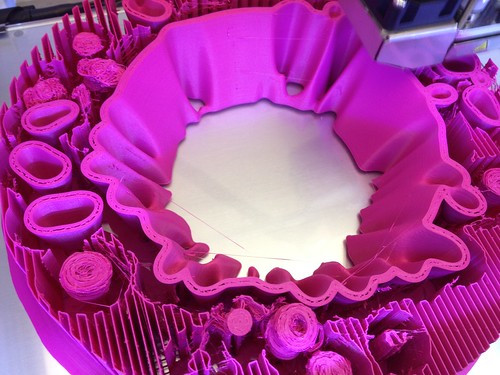
The center part of the model printed beautifully, and after some careful calculations to determine where things went wrong, Max set out to print the remainder of the model – in pink, since we ran out of white filament – with the idea of gluing them together somehow.

Untitled

This one too is failing out on the margins. Support material configured as a tower seems to be the common failure point. Stay tuned…

Max Upcycling an Old Computer Case

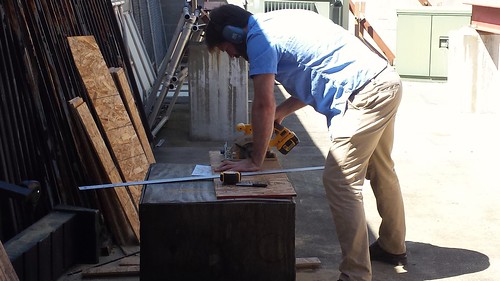
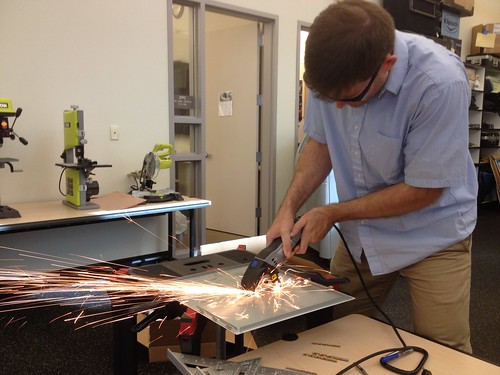
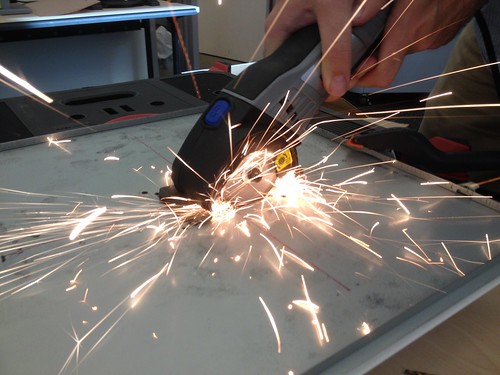
Max Mahoney (Chemistry) and I spent much of today building out some cyanotype exposure boxes for an upcoming Science Center activity.  The boxes are re-purposed lighting fixtures. For the lids, we used the removable access panels from old Gateway desktop computers I had stored in the closet years ago, cutting them in various ways to mount two different styles of UV LED lights that will be used to expose the prints.
Max Cuts

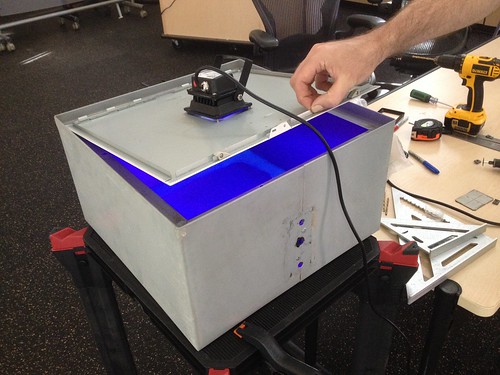
Next steps include installing some handles in the lids, adding some kind of reflective treatment – foil or silver metallic spray paint? – to the inside surfaces, and creating viewing windows with UV filtering acrylic to allow students to monitor the progress of their prints.
Cyanotype Development Box

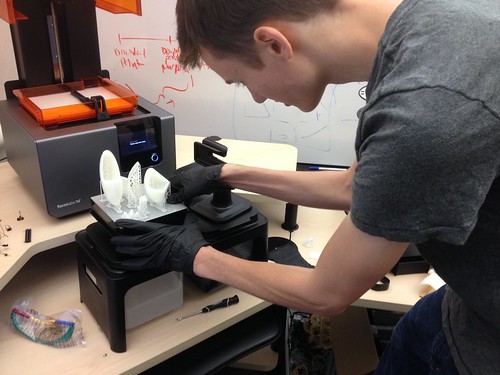
Below is Alex Hartigan, a Folsom Lake College Engineering student preparing some Calculus III models he’s been developing in collaboration with Kevin Pipkin (Math) and that he printed on the new Form 2, which has gotten a lot of use lately, most recently with the Enabling the Future project.

Untitled

Alex and I connected last semester, and finally got the chance to work together on this Math project. Alex has a lot of skills in 3D design and printing, as well as experience on the Form 1, and through the process of preparing the Calc models, he taught me a whole lot about the finer points of printing on the Form 2, including various layout tips, and the manual editing of supports.
The Form 2 models came out great:

Untitled

The Ultimaker 2 ones, not so much, though the failure at least resulted in some interesting artifacts:

Untitled

Best of all, Max Mahoney (Chemistry) dropped by, and we recruited Alex to work on the chemistry project we prototyped the other day. One of my favorite parts of working with students is learning from them, and I hope to learn a lot from Alex before he heads off to Sac State next fall.

Untitled

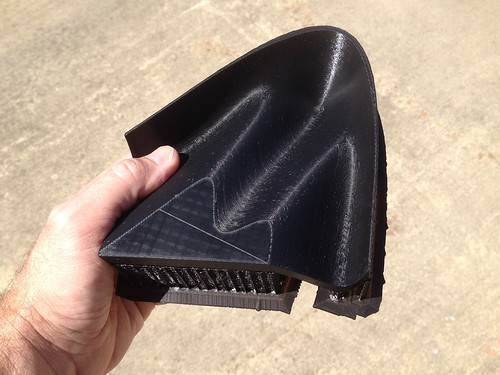
Working on a new prototype, combining the models from 3D Printed Potential and Free Energy Surfaces for Teaching Fundamental Concepts in Physical Chemistry (Kaliakin, Zaari, and Varganov) and something like this:

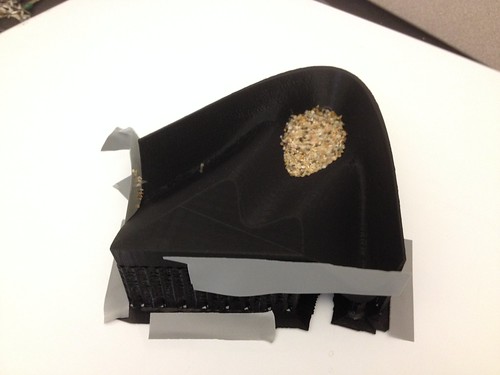
Max Mahoney (Chemistry) printed one of the models from the aforementioned paper, and we got to discussing how we might fill it with sand and inject some energy in the system to motivate the sand to shift around to demonstrate concepts of chemical reaction kinetics and dynamics.

Untitled

I found a Sonic Ghost VX-GH72 Electro-Mechanical Audio Transducer in the workshop. I purchased it some years ago hoping to replicate a sweet project I once saw at Maker Faire, developed by Sasha Leitman and involving 50 gallon metal drums with contact mics attached, with the drums acting as…well…drums, but also acting as speakers.  Anyhow, we hooked the transducer up to a piece of metal and threw some sand from the aquaponics project on there, and played around with different frequencies.

Untitled

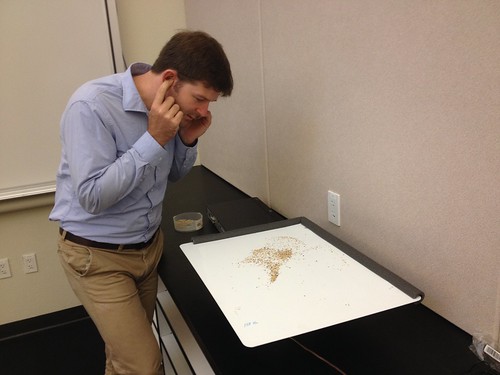
We ended up breaking the transducer, and substituting a speaker, upon which we place the metal sign, with the model taped to the top.

Untitled

We were able to get the sand to bounce out of the lowest spot and into one of the higher ones, so the rough prototype is showing promise…

Max Mahoney (Chemistry) is working on printing SpecPhone, a 3D-printed smartphone spectrophotometer develop by Dr. Adam W. Smith’s lab at the University of Akron.  From the developer:

The SpecPhone is a 3D-Printed smartphone spectrophotometer for research and education. The device can make analytically accurate measurements of concentration and can be used for teaching analytical chemistry and DIY science projects.

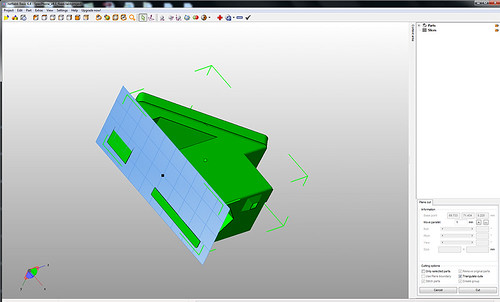
After some sketchy results and strange print decisions by the Ultimaker, it seems that the model doesn’t quite sit flat.  That is, the legs don’t seem to be the same height.  Using Netfabb Basic, I dropped in a Z plane to visualize:

NetFabb Basic Z Cut #1

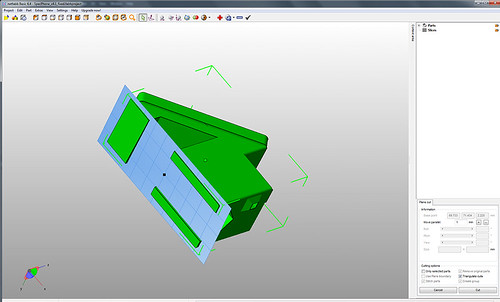
Taking that plane up, it seems that it’s not just the bottom of the model, but that the skew continues all the way to the top:

NetFabb Basic Z Cut #2

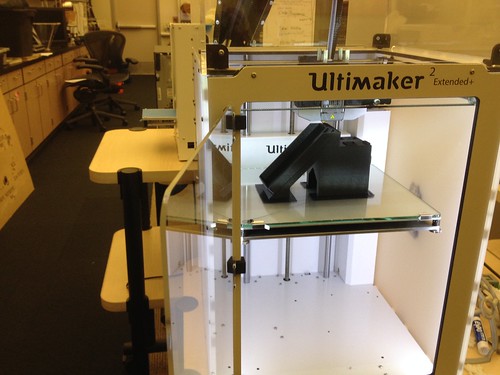
With support structure enabled in Cura, we were able to print it after a few botched attempts, so it’s not a deal-killer, just a bit awkward.  Now we just need to find an iPhone 5s…

Printing a SpecPhone

Max Mahoney (Chemistry) and I have been collaborating on a volumetric display for the 3D visualization of molecular models. We developed a pretty sweet prototype, and then Max had the idea that instead of one big monitor, wouldn’t it be easier to just have 4 identical small monitors?

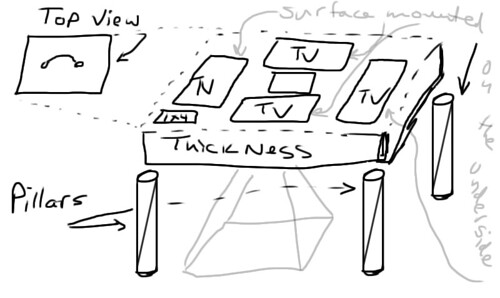
Sketch of Molecule Visualizer

Indeed I think it would be.

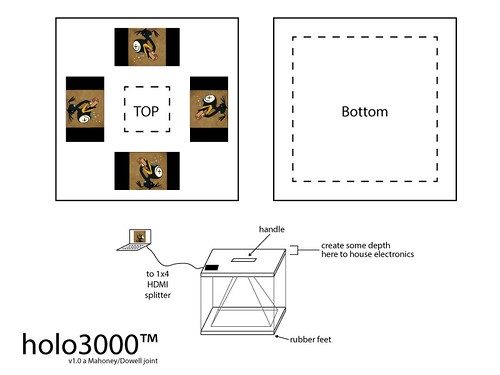
holo3000 Molecule Visualizer

The video can be sent from the computer to a 4 way HDMI splitter, then sent to 4 identical monitors – maybe 7″? – each rotated 90 degrees. No special software to deal with, no creation of a special 4plexed version of the video. An elegant volumetric appliance, at least on paper…

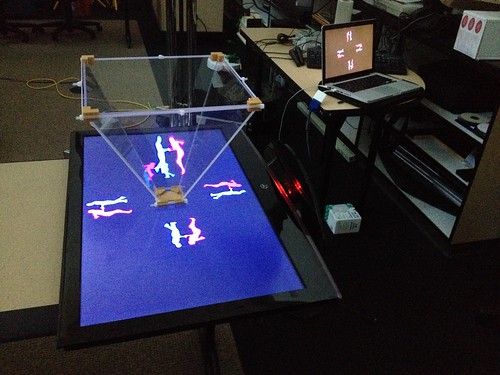
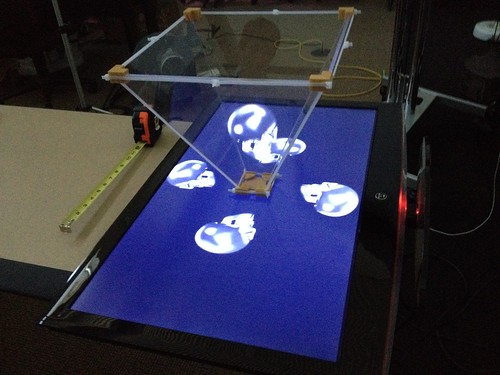
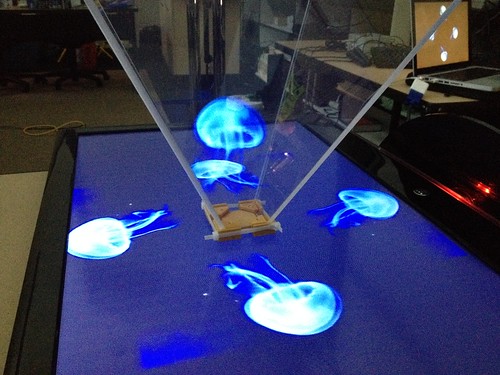
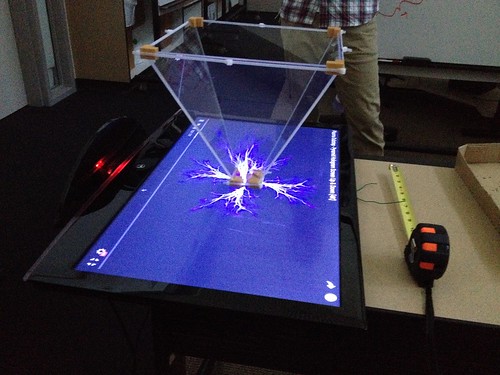
Working with Max Mahoney (Chemistry) on a molecule visualizer, and we had the opportunity to throw the prototype on a 30″ monitor. The results are encouraging!

30" Monitor-scale Volumetric Projection Prototype

30" Monitor-scale Volumetric Projection Prototype

30" Monitor-scale Volumetric Projection Prototype

Next up: Max is going to render a custom molecule video.  We’ll format that for the system, and assuming all goes as planned, work out the enclosure issues, which will likely involve some CNC work.