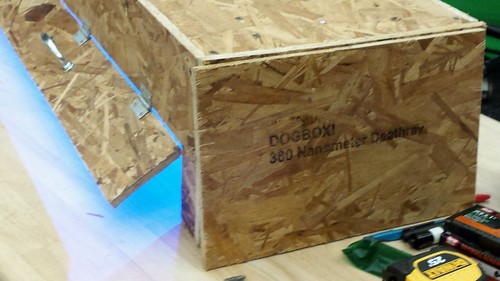
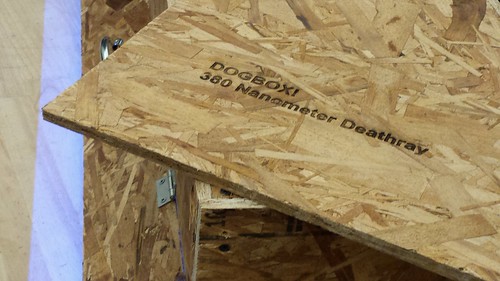
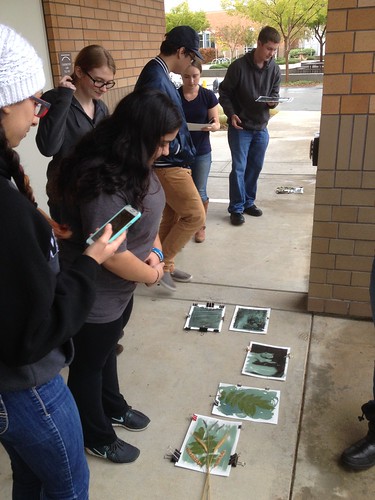
Some photos from the very successful cyanotype photography activity Max Mahoney (Chemistry) and Christa Oberth (Chemistry) and Heike Schmid (Art) led last week, using using the exposure boxes we built…

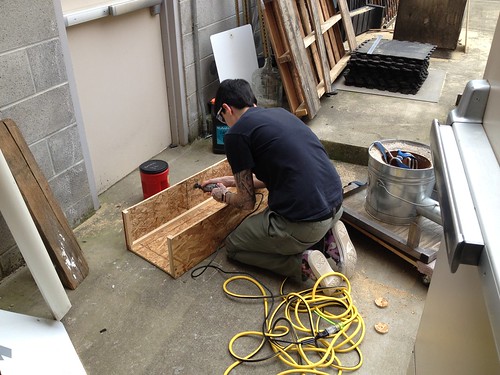
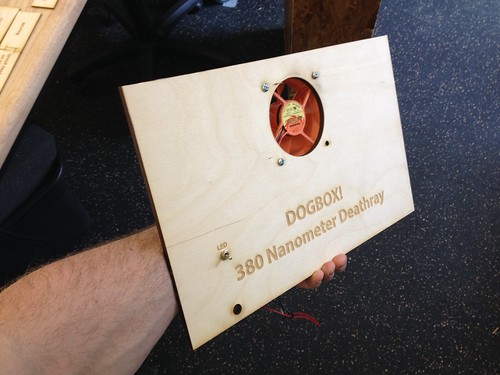
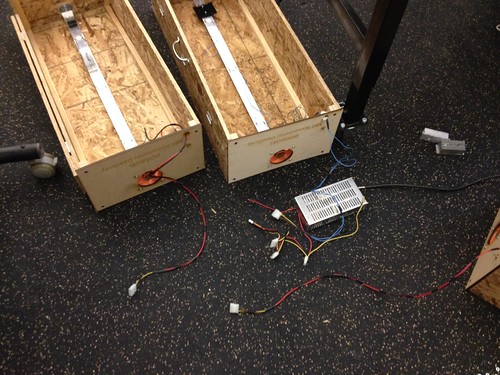
A view of the internals, and the wiring harness, which was scavenged from a PC power supply:

Untitled

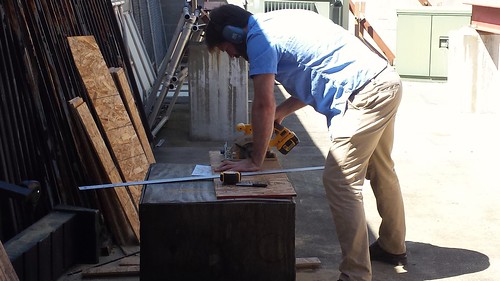
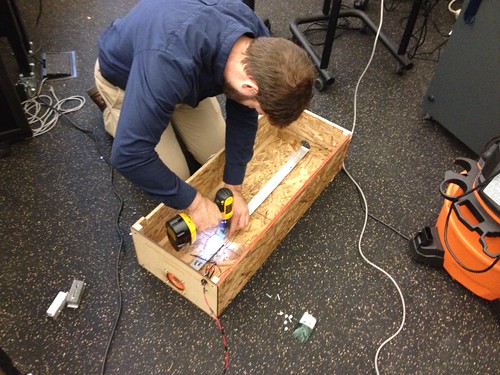
Max attaching a heat sink to the light bar. We finished the final box at about 1:45 PM, and the activity started at 2!

Untitled

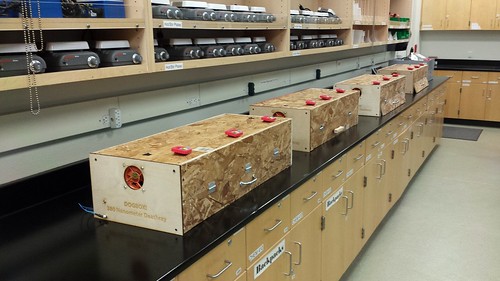
The boxes lined up in the Chemistry lab:

2017-04-08_09-50-37

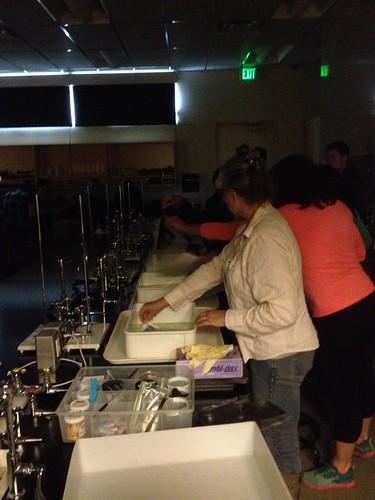
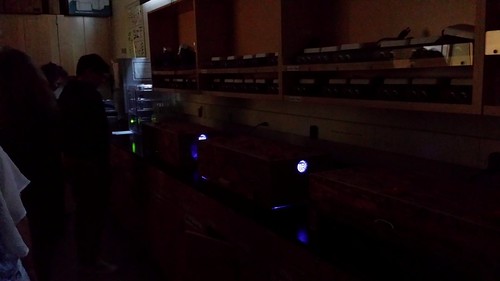
Fired up and working – students developing their prints:

2017-04-08_09-50-53

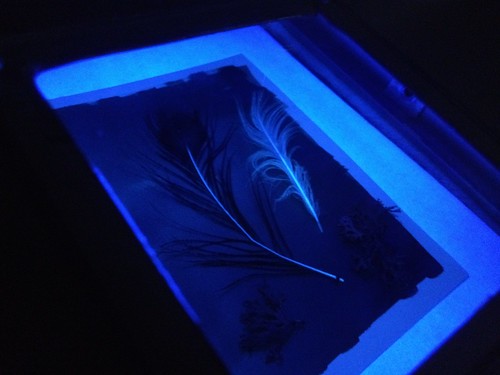
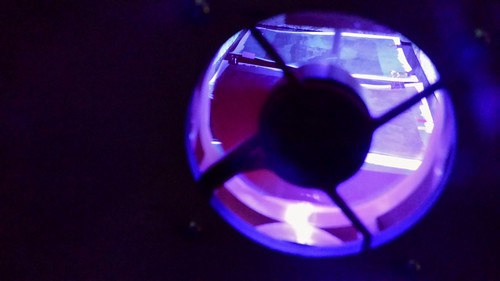
A view through the fan port:
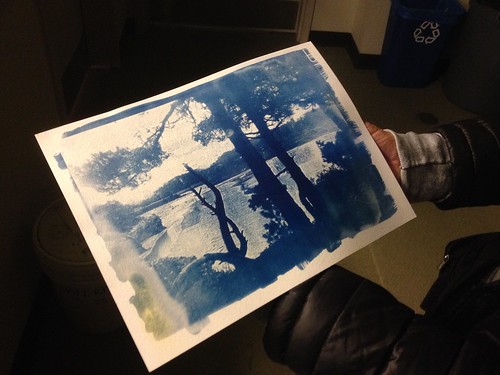
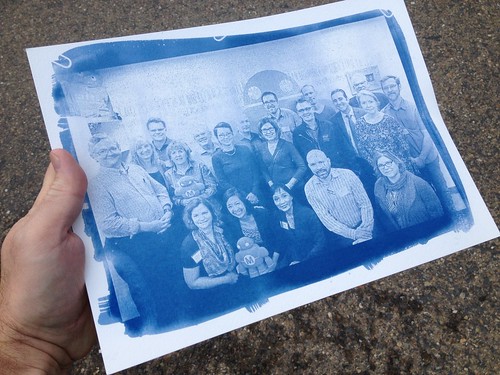
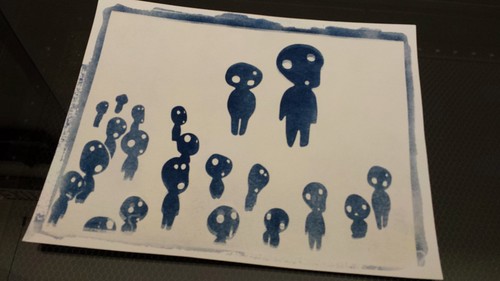
2017-04-08_09-51-18

My kodama print:

2017-04-08_09-49-54

We were initially worried about the LEDs heating up, but the fans – poached from some recycled external CPU cooling units, and heat sinks, also from the parts bin – pulled so much air that the aluminum bars (themselves functioning as heat sinks) to which the LEDs were attached were entirely cool to the touch throughout the whole process. The LEDs in these particular units are super bright and powerful, and students were very pleased with the resolution, detail, consistency, and intensity of the finished prints.

Max Mahoney (Chemistry) and I have been working on version 2 of some UV LED boxes for use in a cyanotype photography activity.  We’ve been talking about these for a long time, so it’s nice to finally get to building.

Max Makes

Each box will have three 10 watt 380 nanometer UV LEDs arranged on a piece of aluminum bar stock. We were able to build up the prototype in about a day, working out some of the details about the access hatch, and the arrangement of the lights and so forth.

Success!

We also used the new laser to engrave one of the side panels.

Dogbox!

Today Nicole (student) helped out mass producing three additional boxes (for a total of four).

Nicole Building Boxes

As it turns out, these LEDs get HOT, so we brainstormed some fan arrangements, and settled upon a design.  We quickly developed a diagram using Illustrator, running a paper prototype on the laser to ensure that our measurements were correct before engraving and cutting the final piece out of 1/4 hobby plywood.

Cyanotype Exposure Box End

Looking forward to getting these buttoned up and in use at the end of the week!

Finally got a chance to put the cyanotype UV boxes we worked on over the last couple of weeks into production! Max Mahoney (Chemistry), Christa Oberth (Chemistry), and Heike Schmid (Art) organized a Science Center activity working with students to produce cyanotypes.  Following Max’s explanation of the process and the chemistry involved, and Heike’s discussion of the art history side of the equation, everyone got to work, some preparing paper by painting it with the sensitizer solution, others drying the still wet paper with a hairdryer, and others arranging materials and printing negatives.

Some students used feathers, leaves, and other object to create beautiful photograms, seen here through the UV filtering viewing panels Max and I built into the boxes…

Feathers

…while others printed negatives on transparency film and used those to expose the photosensitive solution-treated paper.

Tree Photo

A lot of folks showed up, so some used the exposure boxes, and others used good old fashioned sunlight to expose their prints.

Letting the Sun Do the Work

About 16 minutes in the boxes, or longer in the sun, and the prints were ready for a rinse, and some optional post-processing in a bath of hydrogen peroxide (which was supposed to enhance the prints, though students were divided on whether it really did much at all), or tea or coffee (for a sepia look).

Production

I took the opportunity to reproduce a group photo from yesterday’s CCC Maker Advisory Committee.

CCC Maker Advisory

Lots of ideas about how to improve the boxes – bigger, more LEDs, etc. – but very pleased with the version 1 results, and really pleased also to see faculty working on interdisciplinary projects!