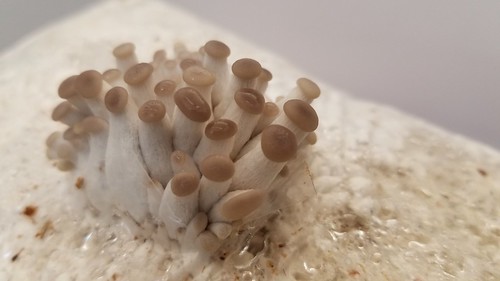
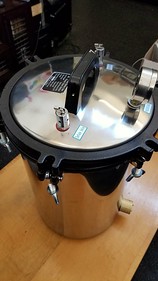
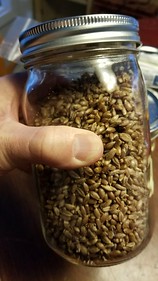
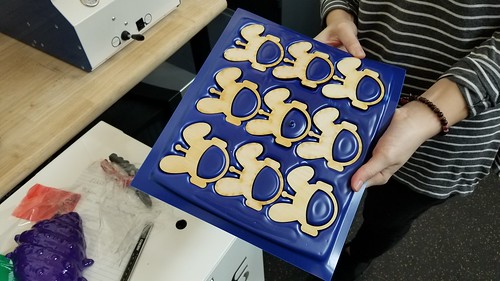
The liquid mushroom culture syringes arrived, so we inoculated some sterile rye berry jars.
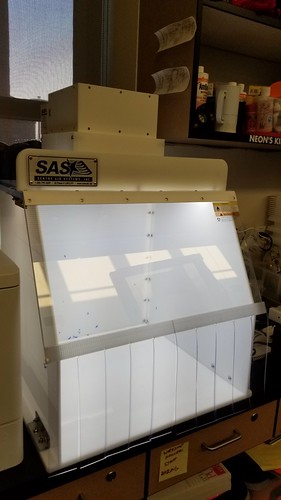
With any luck, the jars will take, and we’ll be able to begin mass production. Meanwhile, we’re figuring out our new Formech vacuum former, and we think there are opportunities to use it in conjunction with our 3D printers and CNC machines to create custom forms for growing mushrooms in the makerspace.
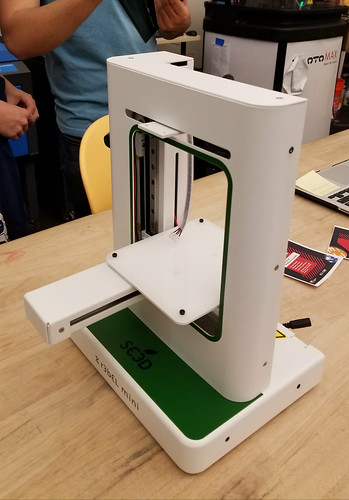
We recently unboxed our SE3D r3bEL mini bioprinter, which we plan to use for research and development aligned with our fermentation science and other biotinkering efforts.
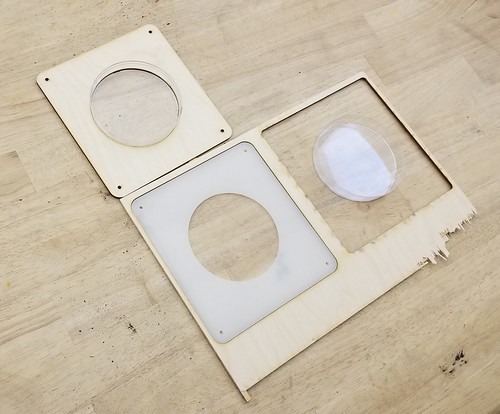
After some initial setup, I realized that the build plate meant to house petri dishes didn’t fit our petri dishes, so I contacted SE3D and asked for a vector file of the shipped build plates so as to modify one. While waiting for the email back, I went ahead and just measured the existing one, and after a few prototypes, I was able to cut a new one to the right size and shape out of acrylic. In the meantime, Vignesh got back to me – they’re very responsive! – with the DXF file of the build plates that arrived with the machine.
With the petri dish sorted, I set out to print the stock test file. So far, so good.
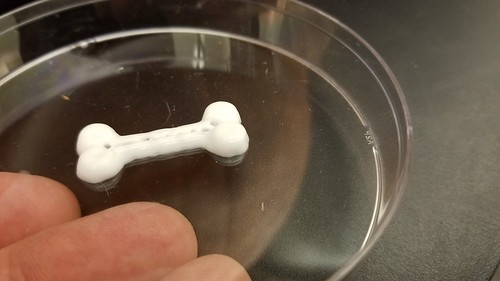
A successful test completed, I found a *.stl file of Nova (our Innovation Center mascot and the thing we traditionally create using any new machine), imported it into Slic3r, exported as G-code, and fired up the r3bEL. Other than the fact that the syringe ran out of lotion before the print was finished, it worked a treat!
I feel fairly confident in saying that this might be the first time in the history of the world that a rabbit wearing a space helmet was 3D printed out of lotion. #fiteme
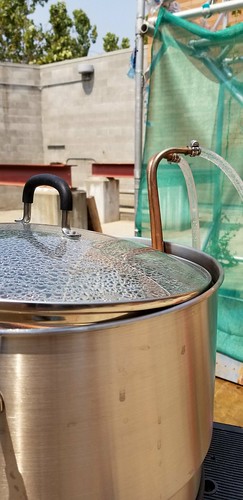
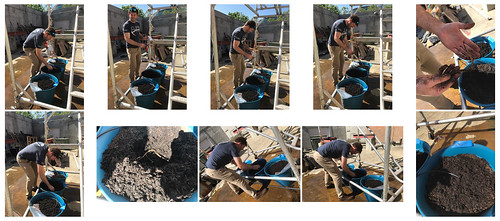
Given the exciting potential for using SCOBY as a makerspace material, we spent the day brewing up a big batch of kombucha to grow large SCOBY sheets. Using an electric water bath canner, we boiled 5.25 gallons of water, then cooled it down using Max’s wort chiller.
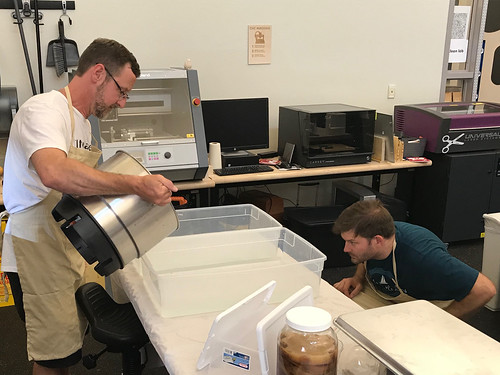
We divided the water into two large plastic bins that CJ (student and makerspace employee) cleaned and sterilized for the project.
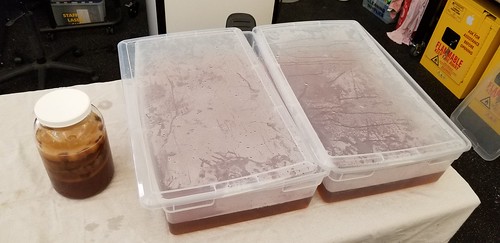
In a separate pot, we brewed 8 quarts of tea, then added the sugar, and divided that between the two bins. The temperature was a little high – 91 degrees Fahrenheit or so – so we waited a loooong time while it cooled before adding some finished kombucha.
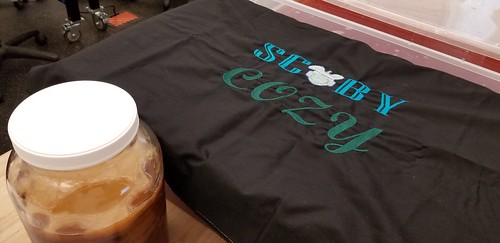
In the meantime, Clarity (student and makerspace employee) quickly and skillfully embroidered this SCOBY cozy to cover the batch while it ferments.
We put the two big batches to bed in a dark and warm place to ferment for the next couple of weeks. With any luck, we’ll have two big pieces of SCOBY to work with right around the start of the semester.
While we had all the supplies out, we decided to make a batch of kombucha of least resistance. We took ordinary tap water, poured in some sugar and shook it up, and then added a tea bag for a short while, removed it, and then added to each jar an amount of finished kombucha, and in one jar, the unused SCOBYs from the first kombucha leather batch.
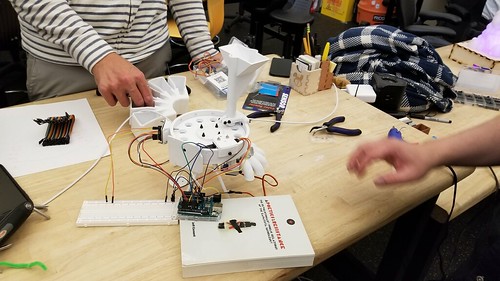
We’ll see if and how well this low-effort kombucha works out. Throughout the day, we took notes about how we can scale the activity up for some fall workshops as part of our fermentation science initiative. Brett (student and makerspace employee) is working on plans for a temperature-controlled fermentation chamber, so we’ll be able to add some microcontrollers to monitor and control our ferments, with the goal of producing and lot of SCOBY for lots of experimentation.
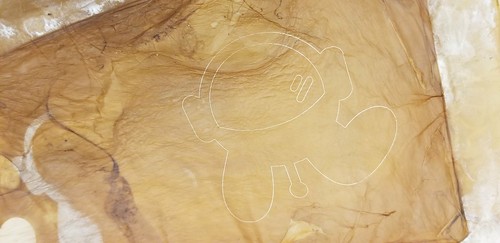
Ran some laser tests on the kombucha leather. Specifically, we wanted to test raster and vector engraving, and vector cutting. We used the Natural -> Paper -> Construction Paper setting in the laser driver, and cooked up a test file using our mascot Nova.
The material wasn’t perfectly flat, so the raster engrave worked, but inconsistently. The vector engrave left a crisp line on the material, but it could be easily scratched away with a fingernail.
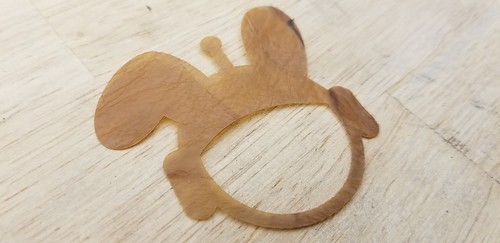
The vector cut worked well, the edges crisp and clean. The surface of the material is textured in an interesting way, and really resembles skin.
Tomorrow we’re going to try to start some kombucha in larger vessels – we’re going to need a lot of SCOBY!
As part of an effort to integrate biology and biohacking into our makerspace offerings, we’ve been working on a fermentation science initiative, which will hopefully lead to workshops, activities, courses, and certificates. Fermentation science sits at the intersection of a number of disciplines, including Biology, Chemistry, and Nutrition, and with the addition of Internet of Things technologies for monitoring and automation, dovetails nicely with our ongoing aquaponics and smart garden efforts.
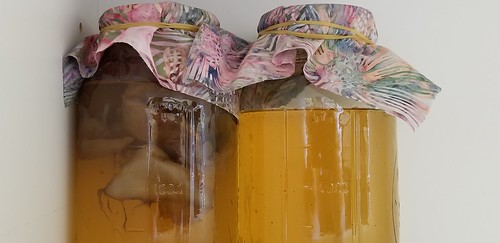
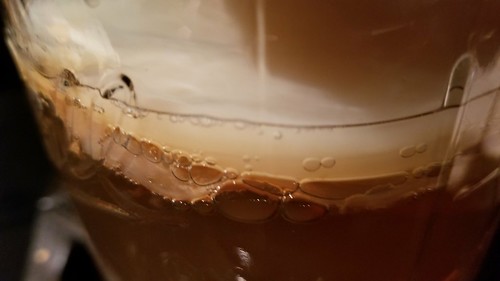
We’ve started experimenting with kombucha, with the goal of exploring the kombucha SCOBY as a renewable and novel makerspace material, inspired by Scihouse’s SCOBY leather experiments.
We’ve been fostering some kombucha SCOBYs…
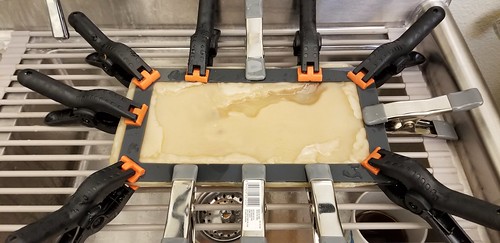
and eventually grew one out in a small rectangular vessel. We knocked together an acrylic drying rack on the laser cutter, and set the SCOBY to dry.
It’s a little rough, but it is after all a version 1 prototype.
We’re planning to develop an incubation box so that we can manipulate temperature variables, and have talked about all kinds of basic science sorts of experiments to see how far we can take the material. We’re also developing workshops around lactic acid fermentation, and have created some nice krauts and ferments over the past month, including this red cabbage. Lots of opportunities to science this up too, and to monitor, tweak, and manipulate variables.
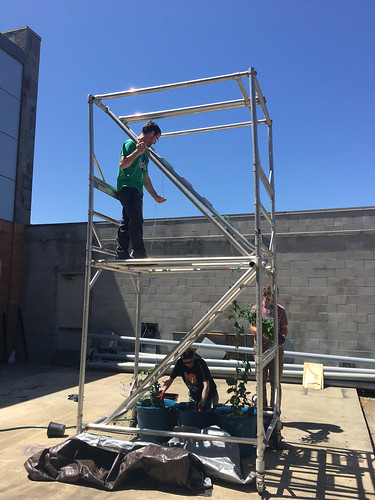
Our eventual goal is to stand up a brewing program that should integrate nicely with the college’s viticulture efforts. We’ve got some work to do to get that up on wheels, but we’re nibbling around the edges by, for instance, growing hops. We repurposed some scaffolding – most recently the art gallery for our Making Social Change laser cut stencil project – as a hops yard.
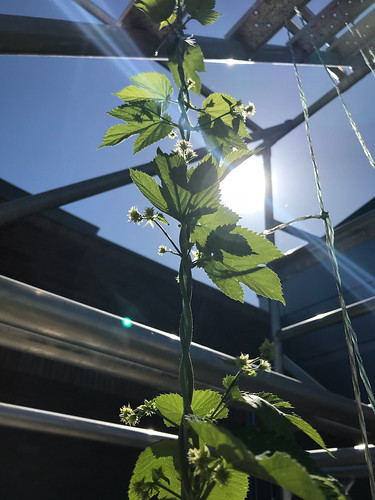
Despite some ups and downs with the automatic watering, one of the plants is flowering! Pro tip: raw hops cones are incredibly bitter.
Stay tuned for Innovation Center Makerspace MicroTechno Brew.
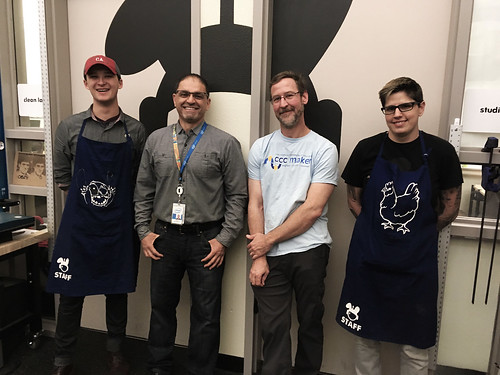
A visit from Intel’s Samer Batarseh to talk about the three ships: partner, mentor, and intern…
Max Mahoney planting hops out in the Backyard for some fermentation science and IoT experiments…
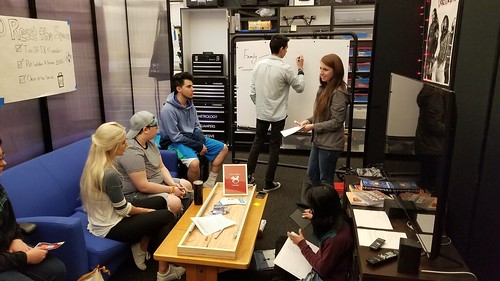
Sociology students doing some design thinking in the Living Room…
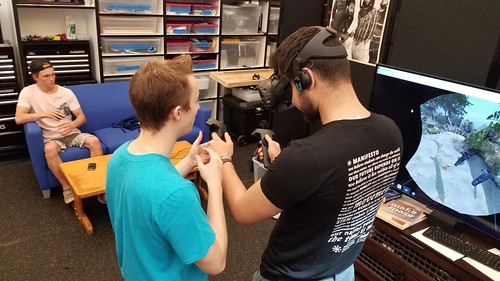
Volunteers converting the Living Room into a Vive holodeck…
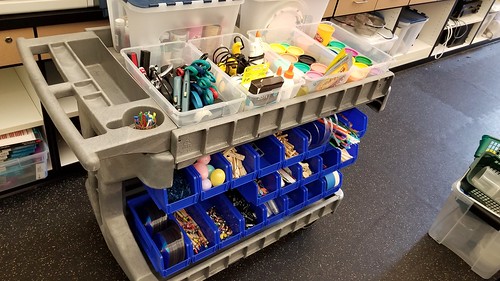
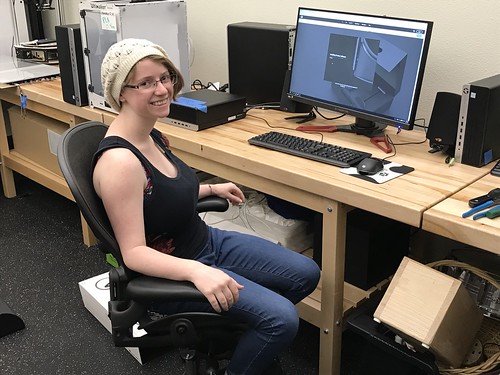
Rebekah perfecting our new low resolution prototyping supply cart…
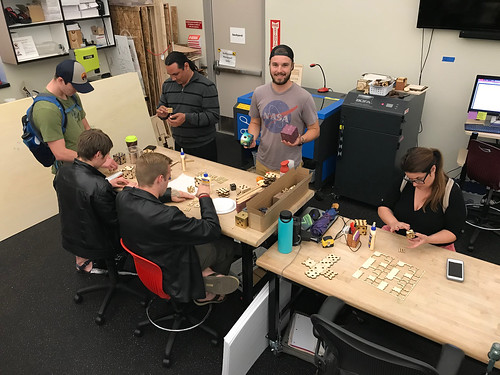
A student-organized/planned/led workshop using the laser cutter to create dice…
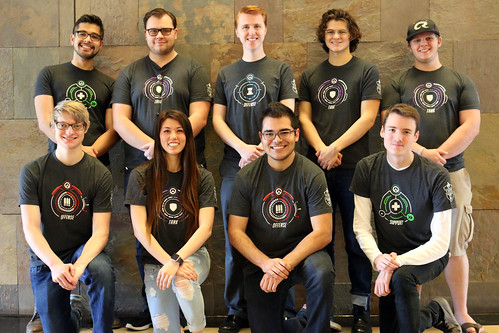
FLC Raptors Overwatch team photo…
A Skittles sorter?
Emma (student and VR volunteer at the Folsom Public Library) standing up our Oculus rig…
The space – the community, really – feels different these days. The point at which it becomes difficult to keep track of all the creative things happening is the point at which the community seems to have achieved a level of momentum, of (sometimes shambolic) vibrancy. I open my office door and am surprised by the buzz. Daily.