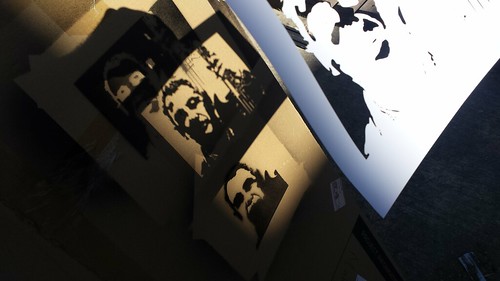
This week in Making Social Change we’re looking at the Zapatista movement. One of the themes we’ll have some discussion around is political symbolism, and the use of imagery in social movements, including the various images of Subcomandante Marcos (in his ski mask and sometimes with his pipe) that came to symbolize the EZLN.
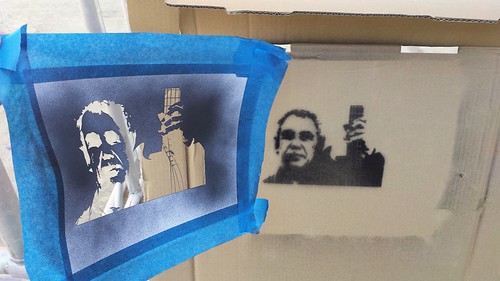
This morning I prototyped a class activity around using the laser cutter to create stencils. One of the challenges of the course is finding ways to make some of the prerequisite skills of digital fabrication – chiefly vector graphic creating and editing – more accessible to a group of students with varying levels of digital media creation skills. Enter Stencil Creator, a sophisticated web-based stencil maker. Upload an image to Stencil Creator, and the robust toolset enables some of the same sorts of functionality found in Illustrator’s Image Trace function. The system outputs files in *.svg format, and after just a few tweaks in Illustrator – haven’t yet found a way to take it out of the workflow entirely – the stencil can be sent to the laser cutter. Here’s one of the test cuts, featuring bass hero and DIY champion Mike Watt:
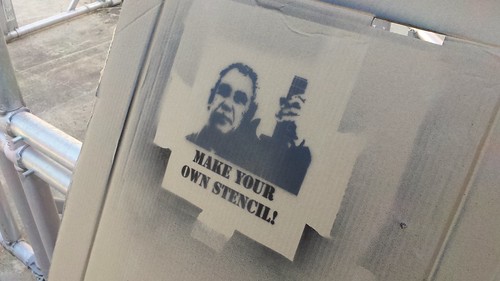
Watt closes his shows with a call to “Start your own band! Paint your own picture! Write your own book!” so I added “Make your own stencil!” I think D. Boon would be pleased.
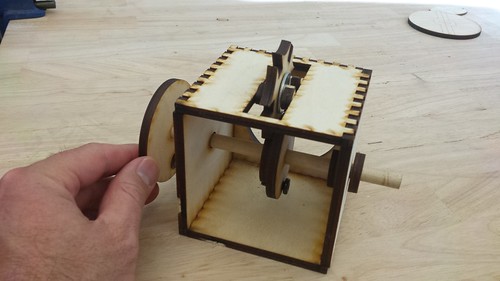
Max Mahoney (Chemistry) and I worked on a mechanical automata project this morning. Our long-term goal is to create laser cut wooden versions of the various mechanical mechanism building blocks in the beautiful book Karakuri: How to Make Mechanical Paper Models that Move by Keisuke Saka. To get a sense of what the design and development considerations might be, we decided to start with a Thingiverse search, and found Simple Machines – Geneva Stop (CC BY-NC-SA) by Zombie Cat. A few minor adjustments to the layout, and we cut the parts out of 1/4″(ish) hobby plywood. We ended up having to tweak a few of the parts to fit the dowels we had on hand, and we made a few slight modifications to the design based on the differences between the vector files and the thickness of our plywood, but overall it’s a great design and turned out pretty well for our first automata.
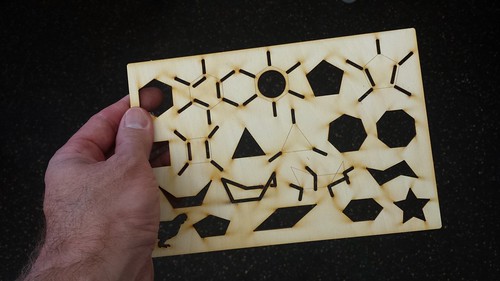
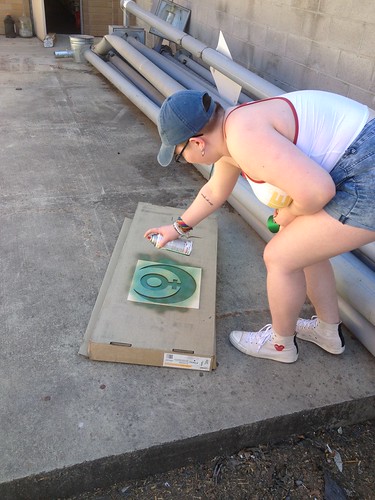
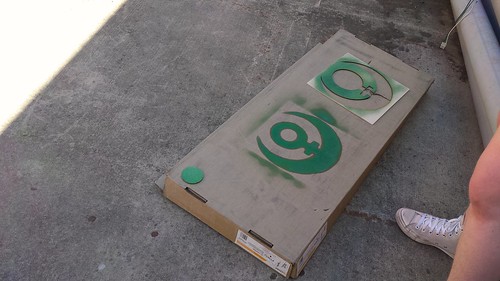
The rest of the afternoon was spent working with Nicole (student and Innovation Center staffer) on a stencil for organic chemistry. Max hung around finishing the automata, and answered a few technical questions as Nicole and I worked through the layout in Illustrator. We tested the first prototype, and decided that the various cut-outs representing the bonds needed to be scaled up a bit. Below is version 2, including Nicole’s beloved chicken in the lower left hand corner, and a fancy star on the right.
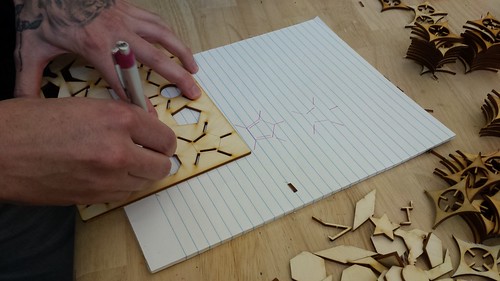
Test stenciling…
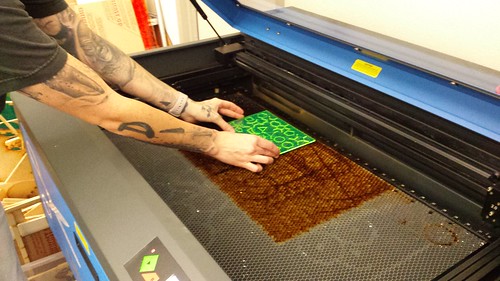
The design finished and tested, we cut the final version out of acrylic. Success!
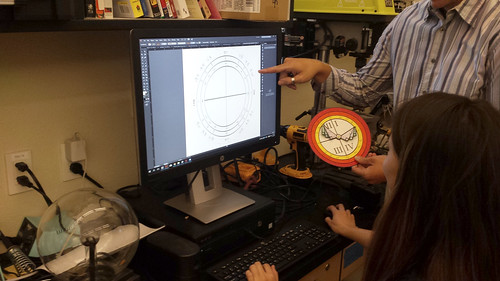
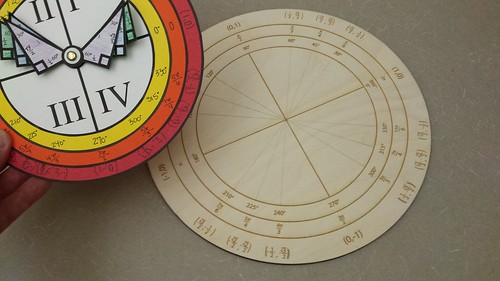
Creating an environment where faculty and students collaborate to make things, from Calculus models to history game tiles is one of our goals. The other day, Marc Olsen (Math) and Rebekah Keely (student) worked together to create a unit circle for use in the Trigonometry classroom.
Basing their design on a paper model, they created the vector file using Illustrator – Rebekah has mad skill with this particular program – and then cut the file from 1/8 plywood using the laser cutter.
Marc has ideas about version two, which will have a center post onto which can be snapped some triangles, as in the paper model. Download the file on Thingiverse, or grab the PDF here..
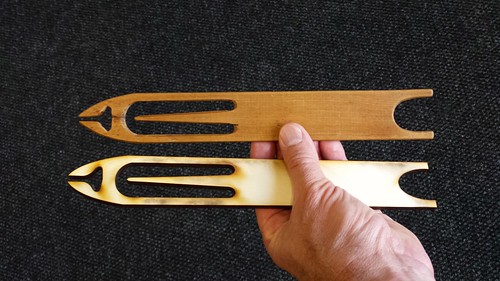
Having recently had students spinning yarn, I decided to make another shuttle for our community loom, as the one we’ve got has a crack in it. I snapped a photo of it, brought it into Illustrator, added a few guides, and was able to pretty quickly create a fairly similar copy.
I cut the shuttle out of 1/4 birch plywood using our laser cutter. It needs a bit of sanding and filing, but I think it will make a pretty decent replacement.
The files (Illustrator *.ai and PDF) and instructions are up on Thingiverse, or you can just grab the pdf here: simple_shuttle
Gena Estep (History, @HistProfG, she of the history game tile project) and some students have started a Feminist Alliance club (@flc_fems), and Luna (student) and I used the laser cutter to cut a stencil of their rad logo…
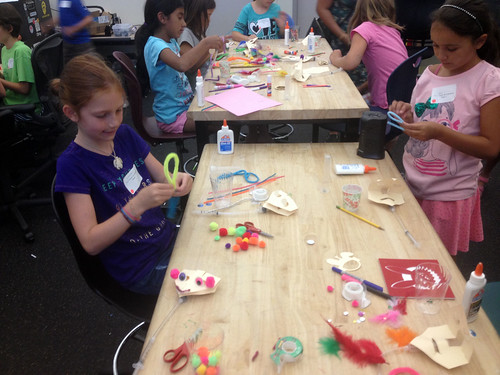
The last couple of Fridays we’ve had children from the Folsom Lake College Youth Art Academy in the makerspace. In week 1, two of the three groups worked on building pneumatic monsters…
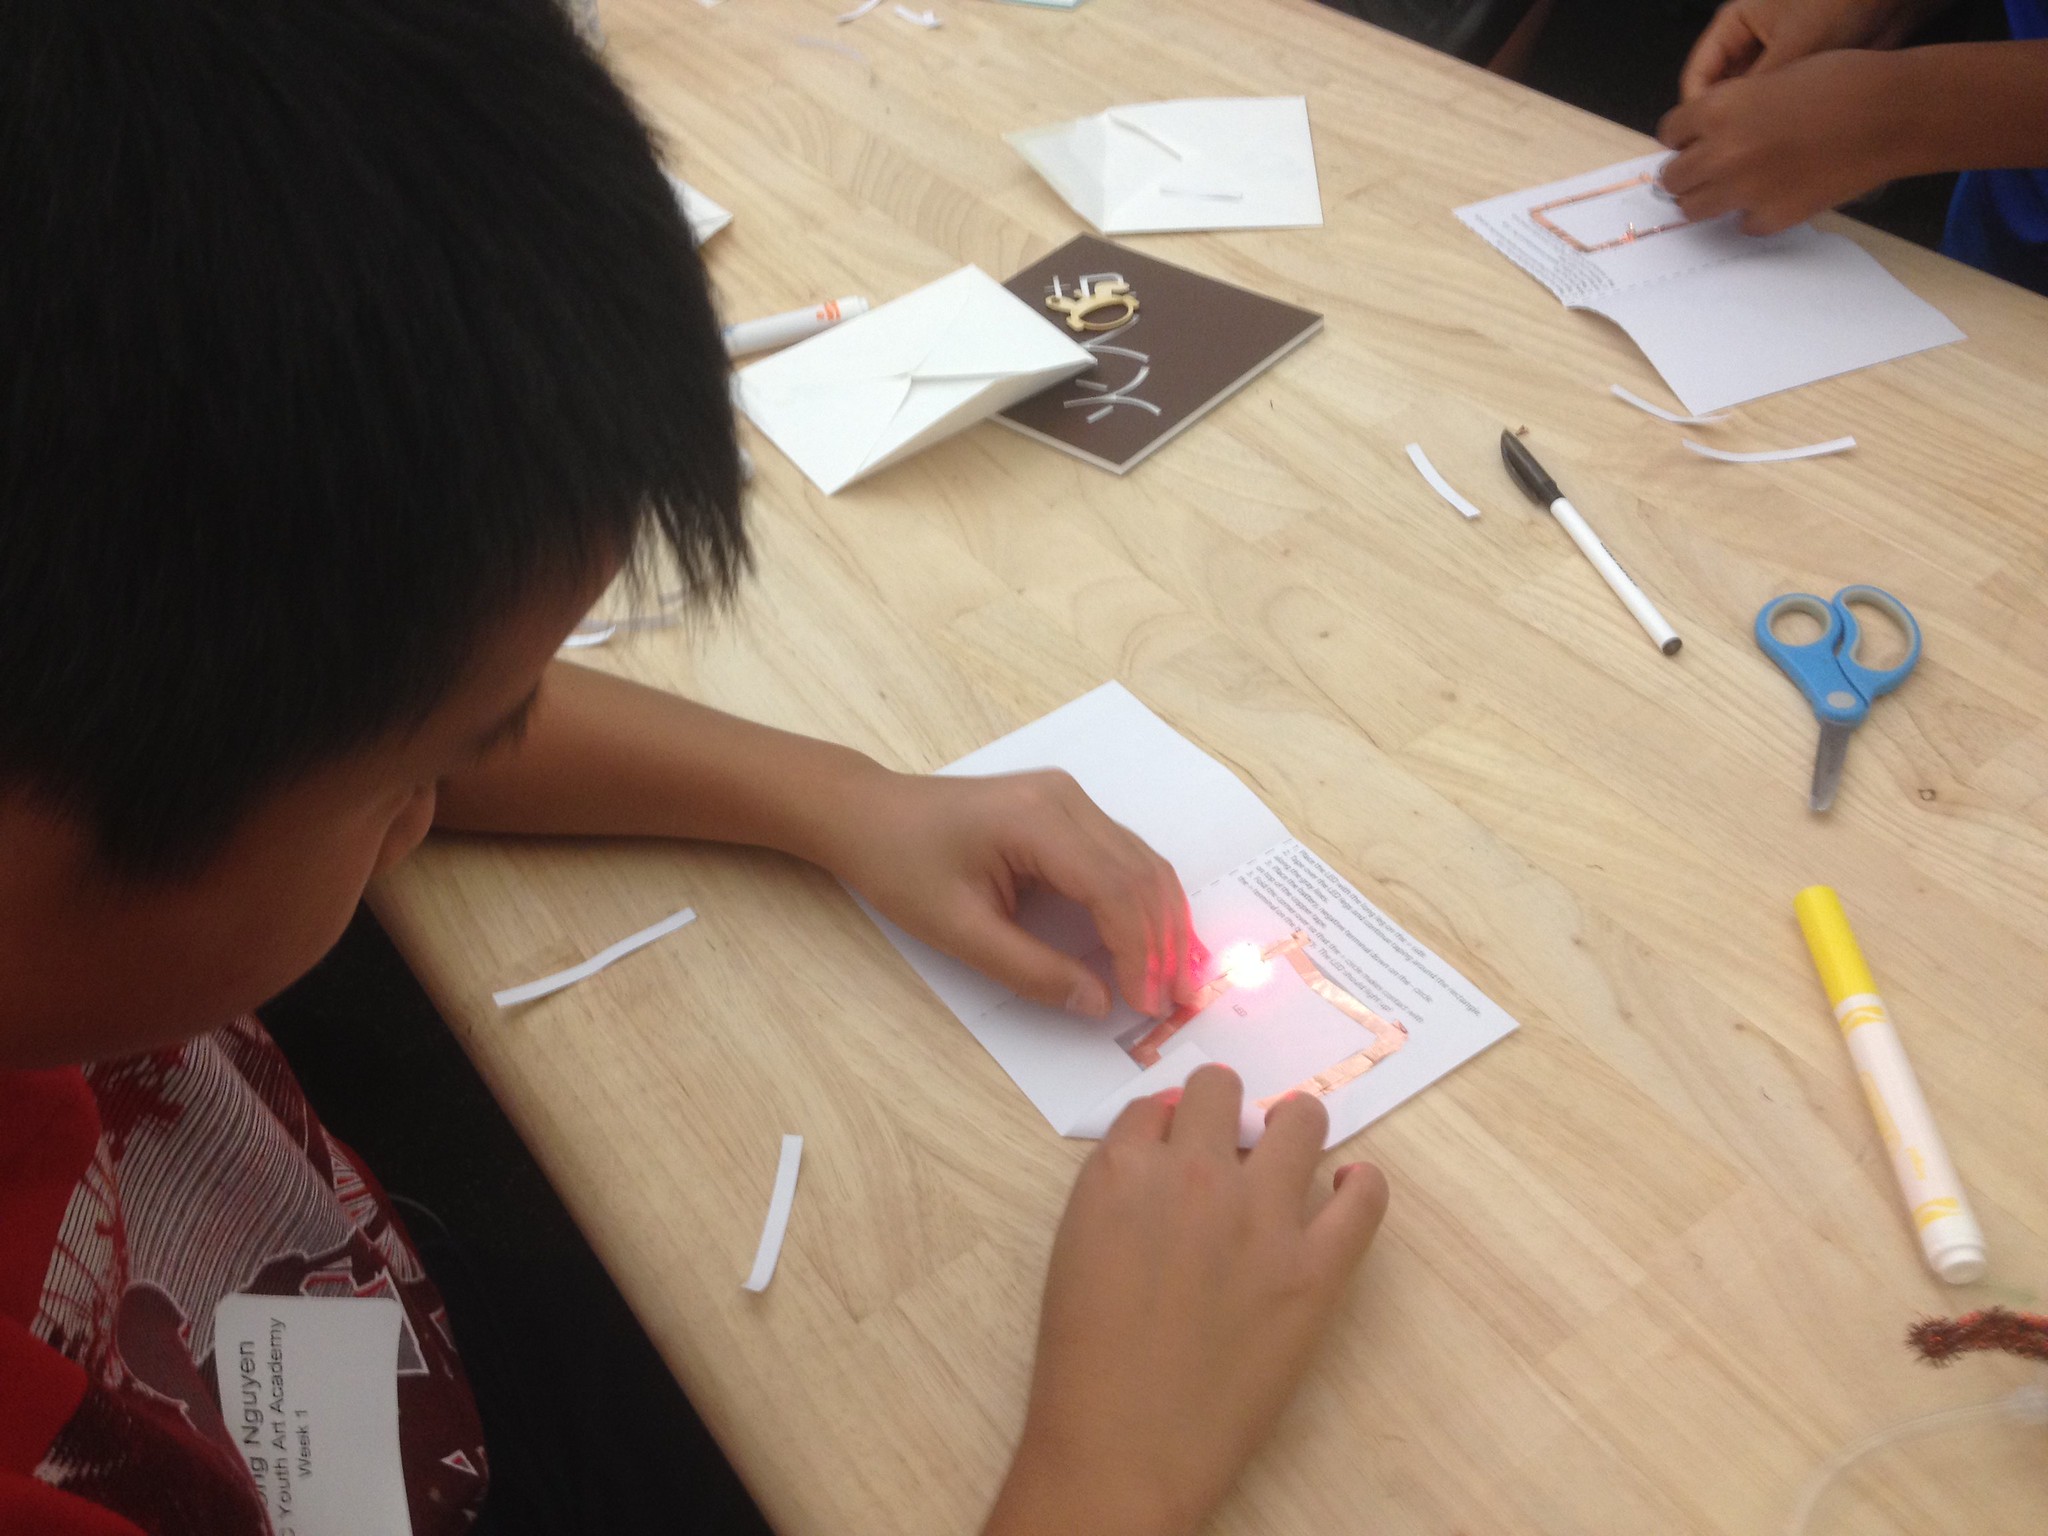
and paper circuits…
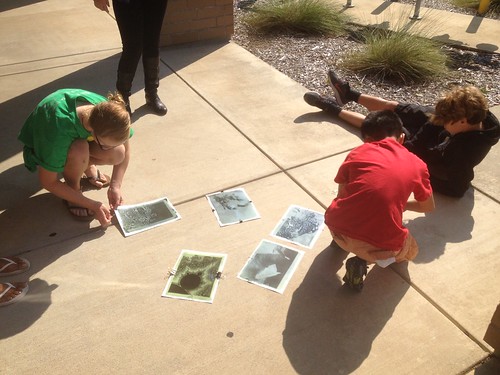
…while Max Mahoney had the third group in the Chemistry lab doing cyanotype photography…
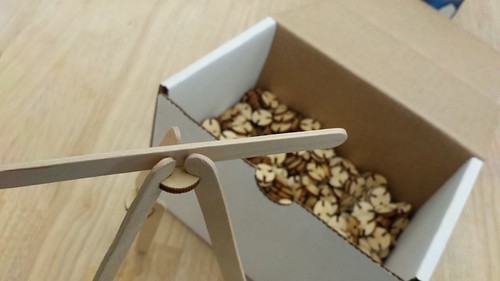
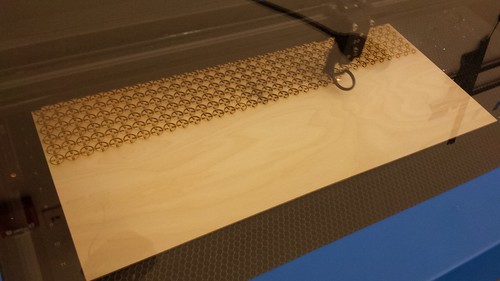
A number of the children were attending both weeks of the camp, so we wanted to mix it up a bit for week two. After researching various engineering challenges, we developed and prototyped a building system of laser cut connectors that could be used with standard popsicle sticks.
We were able to cut 578 per sheet, ~41 minutes per sheet.
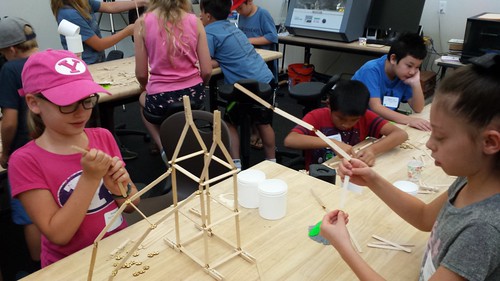
The children worked in pairs on engineering challenges, beginning with heaviest weight with minimum sticks…
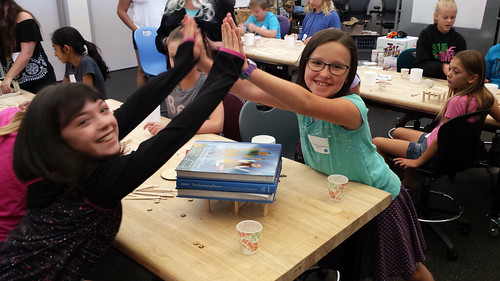
…and moving on to tallest freestanding structure:
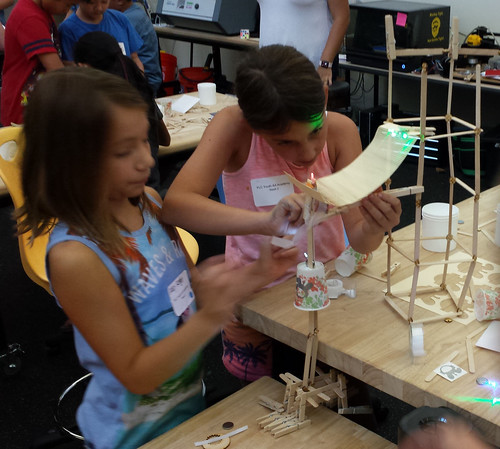
…after which they connected their towers using living hinge bridges laser cut from cardstock, and decorated with LEDs, giving us a chance to talk a little bit about circuits and electricity.
The building system worked surprisingly well for a version 1, and we learned some things – specifically, that the pieces were a little small and the tolerances a little tight for some 8 year olds – that we’ll incorporate into version 2. More photos from the YAA makerspace visit.
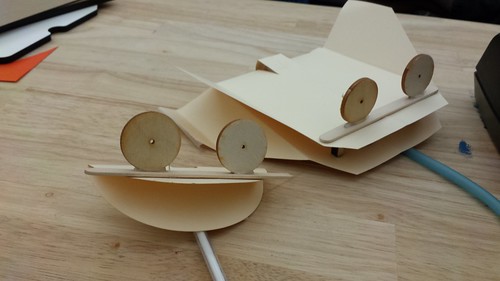
The Innovation Center recently came by several 100 count boxes of 1 mL and 3 mL syringes, and we set about seeing how we might work them into an activity for an upcoming STEAM camp, inspired by this post from @zackboston…
To start, we duplicated the procedure detailed in the Ivydale video above to create the basic model…
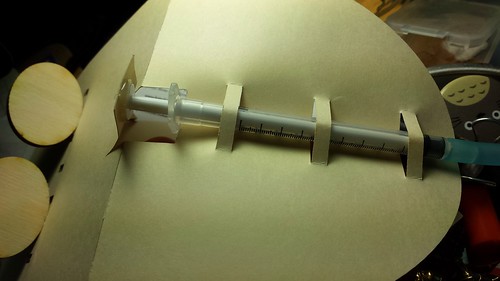
…and then set to work seeing how we might use the laser cutter to create the monster form, with the goal of streamlining the production process to minimize taping and hot gluing. I created several iterations in Illustrator, and the laser made quick work of the card stock. Here’s a closeup of the “final” version, which securely holds the syringe without tape, and which requires only a small bit of hot glue to attach the plunger to the hinge mechanism…
Here’s a pdf of the file used to create the monster. It’s sized to cut two ovals from an 8.5 by 11 sheet of card stock. To make the file work on our laser, the strokes have to be set to “hairline” in CorelDRAW, or .001 weight in Illustrator, pure RGB red (255.0.0). Overall, I’m happy with how it’s working, though the small syringes – a 1 mL on the monster and a 3 mL for the remote – make for a sort of dreamy, organic, delayed reaction that only operates on the push…
The basics established, I set to work creating a mix-and-match, interchangeable eyes-and-teeth system, cut from 1/8″ hobby plywood. I’ll upload the vector files of all of these once I get them finished up. With the laser cutter humming, one idea led to another (as they often do), and I started to wonder how a living hinge might be incorporated into the design. The results are interesting, and there’s probably a whole other related project in there somewhere…
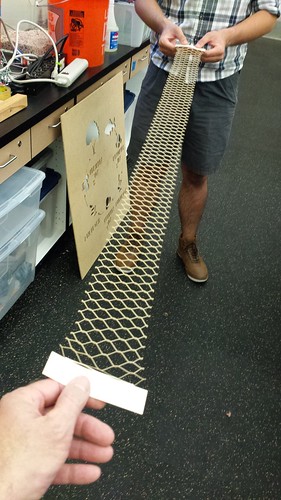
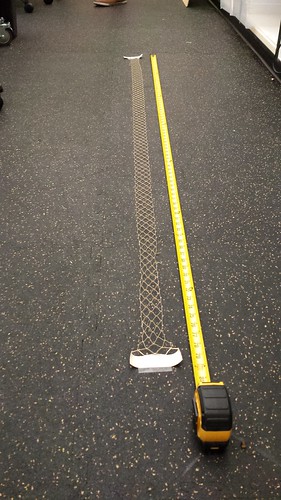
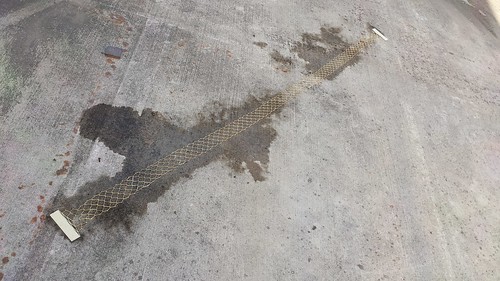
Fascinated by living hinges, Nathaniel (student) and I began experimenting, and were able to take an 8 inch paper hinge…
…and stretch it to 80 inches before it started failing!
Next, I dunked a yet-to-be-expanded laser cut paper living hinge in a mixture of glue and water, and then stretched it out and let it dry…
As predicted, the glue and water mixture stiffened the paper, and it kept its shape (mostly) once dry. There’s a lot to be explored with living hinges – jumping off points include Patrick Fenner’s Laser-cut Lattice Living Hinges, a fascinating look at the math behind them, and this Customizable Tessellating Living Hinge by drxenocide. There’s nothing quite like having the tools, materials, and time to work an idea!

.jpg)