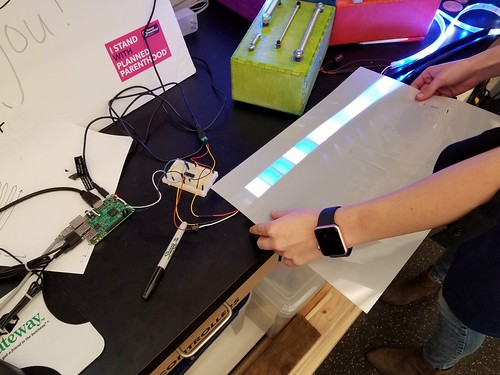
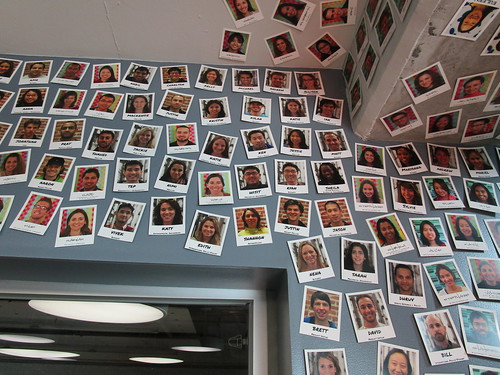
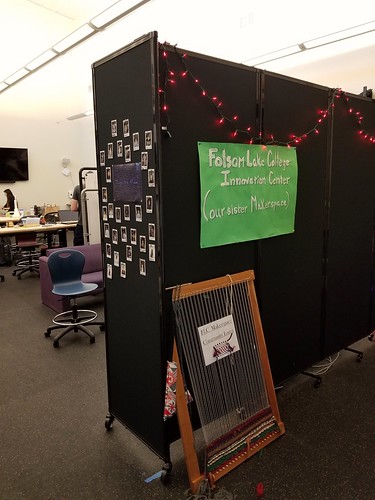
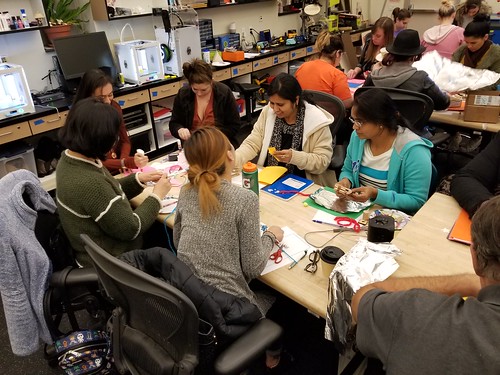
Brie Lindsey (from CCST) was out at the college the other day scouting rooms for the upcoming CCC Maker symposium, and dropped by the Innovation Center.  Brie is an accomplished maker, with a lot of experience with sewing and other fiber arts, and she offered to help get the embroidery machine (which has a place to live, now that the fiber arts work table is built) up and running.

Threading the Needle

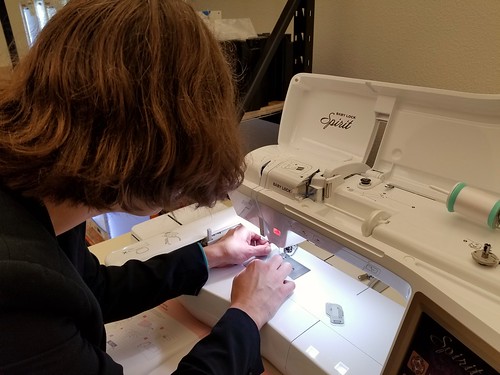
Brie showed me how to wind the bobbins and thread the needle, and after backing the fabric with stabilizer and mounting it to the smaller of the two embroidery frames, we let the machine do its work.

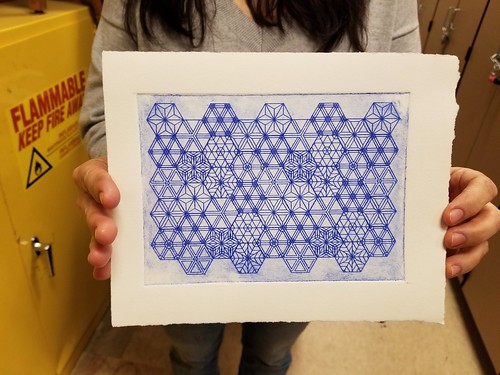
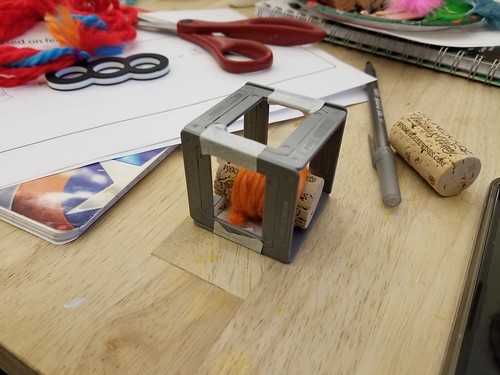
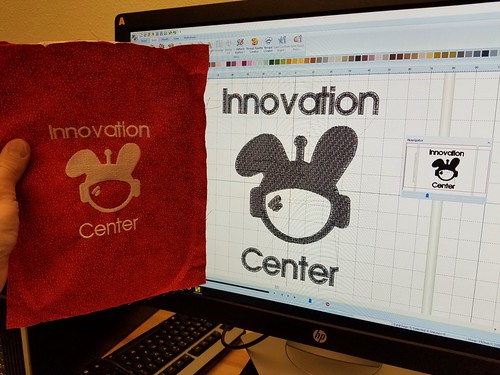
Here’s the view of the finished piece, analog and digital…

Software to Finished Piece

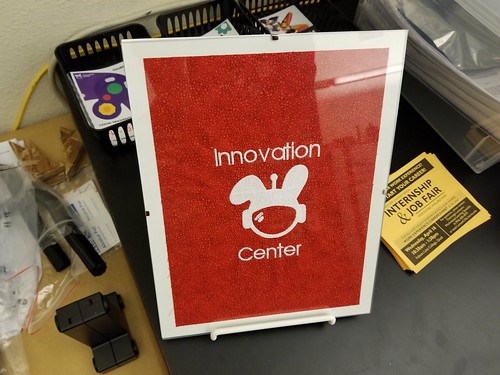
…and here it is framed up in the entrance to the space.

Finished!

In parallel, I’ve been experimenting with TurtleStitch, essentially a mashup of Snap! (itself inspired by Scratch) and Logo that seems to be a perfect jumping off point for combining basic programming and automated embroidery.  From the website:

Turtlestitch is based on a browser-based educational programming language (Snap!) to generate patterns for embroidery machines. It is easy to use, requiring no prior knowledge in programming, yet powerful in creating novel patterns for embroidery. It is useful for designers to experiment with generative aesthetics and precision embroidery as well as tool for innovative workshops combining an introduction to programing with haptic output.

Turtlestitch

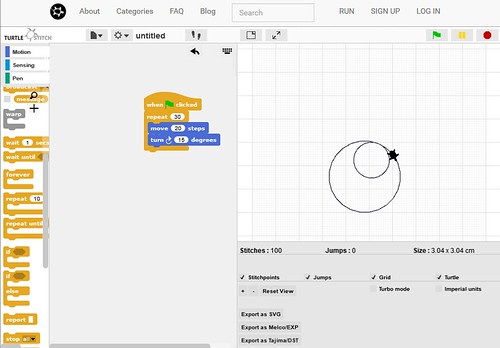
Now that the machine is up and running, my plan is to work with faculty collaborators from Math, CIS, and ECE to develop activities and workshops using the software so that students can both program and sew.  Software to stitches.

It’s great to watch a project progressing, and Rebekah and Nathaniel (with help from Aaron and Nathan) have made a lot of progress on their Tetris coffee table project. Just a couple of days ago, Rebekah prototyped a grid system…

One Row

…and after a bunch of soldering and laser cutting and assembly, the full grid system took shape.

Lights

This evening, Aaron contributed some of his coding wizardry…

Wizard!

…and voilà!

Still lots of work to do, but great progress being made!

As people enter our space, we’re looking to find ways to communicate answers to the questions “Who belongs here?” and “What kinds of making are valued?”  To the first question, we were influenced by some of the practices of Stanford University’s d.school.  On our University Innovation Fellows trip last summer, we spent some quality time there, learning about and documenting the ways that physical space can be used to communicate and encourage various ideals and behaviors.  The walls of the d.school are covered with photos of people who use the space.

IMG_0096

We decided to borrow and adapt that idea, and purchased a little Instax Mini 9 camera…

Instamax

…to begin to create our own version.

Entryway

We take photos of visitors and users, and ask them to write their name and major on the bottom of the photo, just using a Sharpie.  The goal is to fill up the mobile wall, top to bottom.

Things We Make

As a multidisciplinary and interdisciplinary space, Making Across the Curriculum is an important part of our mission, and we hold as a cultural value an inclusive vision of making.  In the center of our emerging “people wall” is a word cloud generated by Jennifer Kraemer (Early Childhood Education and maker educator champion), based on a student discussion during a “tinkering night” activity for her Constructive Math and Science in Early Childhood Education Class.  The kinds of things represented – largely crafts and more “traditional” arts and activities – signal to people the range of making valued in the space, and offer something of a counterweight to the idea that making is only about 3D printers and laser cutters.

Things We Make

The space is always a work in progress, but we hope that through intentional signalling – putting our community loom front and center, for instance – we can continue to create a welcoming and inclusive environment.

Max (Chemistry) recently completed an astronomy project, a laser-cut wall hanging display of the night sky.  I had the chance to help with some early prototyping for the project, and we first set out to just get a sense of how light would interact with acrylic.  We created a ruler of sorts, with different holes of known size…

Max's Star Projector

…and took it into a dark room with a flashlight for testing…

Testing...Testing...Testing...

Max used In-The-Sky.org Planetarium to generate a star map of the sky in a particular location on a particular date at a particular time, and then exported that map as an SVG file for post processing in Illustrator to generate the cut file needed by the laser.  He cut the map out of opaque black acrylic, and we got back in the Clean Lab to try it out.

Prototyping a Star Map

Beautiful.

Stars

Here’s the finished product, housed and ready to hang:

Star Map

Rebekah Keely (student and Innovation Center staff) and Marc Olsen (Math) collaborated on a laser cut version of Napier’s Bones, a manual mathematical multiplication manipulative for Marc to use with his Math students.

Math Manipulatives

It takes a minute to get the hang of it, but it’s a quick and hands-on way to do multiplication.

Napier's Bones

Rebekah has mad Illustrator skills, and designed and perfected the file.  It’s up on Thingiverse, if you’d like to grab one and make it.

Marisa Sayago (Art), her student Clarity (late of our inaugural Making Social Change class) and I are prototyping a print making process using makerspace tools and techniques, with the goal of incorporating whatever we come up with – ideally intaglio using copper plates – into Marisa’s class this semester.  I decided to do some experiments using the Carvey, as it’s a quick machine and almost unbelievably easy to learn, even for novices to both software and hardware.  Unfortunately, early tests using engraving bits on copper were unsuccessful.  Though copper is soft metal, the fine (and expensive!) engraving bits pretty quickly broke or wore down, even after many different adjustments to feed rate and pass depth, and though I love Easel (the browser-based software that runs the machine), it’s sometimes difficult to be as precise with it as a job like this requires, in terms of fixed line weights.  Even doing the design work in Illustrator and importing *.svg files, I wasn’t quite able to get all of the variables to line up.  All that said, I was able to confirm that a 1/16″ bit on linoleum works well for relief prints, so that’s another print making avenue to explore.

Intaglio Test

With the Carvey out of the running, we decided to see about the capabilities of the laser cutter, which offers the kind of line precision that seems to lend itself to intaglio.  We set up a file in Illustrator to experiment with raster lines (pure RBG black:  0,0,0,) of varying weights (from .25 pt to 2 pt, in .25 pt increments) to see which produced the best results, and included our IC logo and Nova mascot as vector engraves (pure RGB blue:  0,0,255 with a line weight of .001 in Illustrator, hairline in CorelDRAW).  Of course I realized after it was engraved that I had forgotten to mirror the line weight indicators, but isn’t that why we prototype in the first place?

Using a sheet of PETG – as a novel material in the lab we first had to research its suitability for use with a laser, and it turns out it is indeed suitable – we ran the engraving job, handing the piece off to Clarity to complete the inking and other parts of the process.

deep inking

The result!

test pressing

Turns out the vector engrave (which with a 2″ lens should produce a line of about .005″) works well, and the vector engrave at all sizes was too big to retain ink during the surface preparation step. This is actually a great learning, as a) vector engraves are super accurate, and b) they also take way less time than raster ones – throughput is an important consideration in any sort of lab activity that relies on makerspace machines.  Now that we have narrowed down a general direction for the project, I’m going to work with Clarity to create a few more prototypes (testing things like line density) as we try to come up with a lab-ready process.  Stay tuned!

Here’s a photo gallery of Clarity completing the inking and pressing over in the art lab:

Laser Intaglio

Professor Jennifer Kraemer (ECE), longtime faculty makerspace champion and creative maker, brought her ECE 342 – Constructive Math and Science in Early Childhood Education class to the Innovation Center this week to work through the design thinking process.  After a general makerspace tour, students enthusiastically worked through the d.gift design challenge…

20180123_203909

…and produced some interesting prototypes…

20180123_204142

…after which we had a really robust discussion about the ways in which they use (or might apply concepts of) human centered design in their own practice, developing activities and environments and lesson plans for children. We spent some time talking about the parallels between design thinking and the scientific method as problem-solving paradigms for children, using this video of Pre-K children creating solutions to prevent Humpty Dumpty from cracking as a leaping off point.

In addition to learning another methodology to use in designing lessons and activities, the class left with some ideas about how Innovation Center resources might help them in their work with children.  A great group of students!

Fired up by the sewing lab from a few weeks back, one of our Making Social Change groups ran with the quilt theme, creating an A-Z of Planned Parenthood quilt as their final group project. They used the laser cutter to cut various shapes and letters, and employed a variety of techniques, including embroidery and applique, to create their squares, and PVC pipe to assemble the frame.  Here they are putting the finishing touches on their project.

Preparing for Visit from Planned Parenthood

On Thursday, December 7, representatives from Planned Parenthood tabled outside the Falcon’s Roost, and our students staffed the booth and displayed their quilt. They got a lot of foot traffic, answered a lot of questions, and distributed lots of literature, including some from built-in pockets on the quilt.

Planned Parenthood!

It’s great to see our students using their skills and passion to take a project from idea to application, and this project is a perfect example of exactly what we hoped would be the outcomes of this course when it was just some ideas on a whiteboard back in 2015.