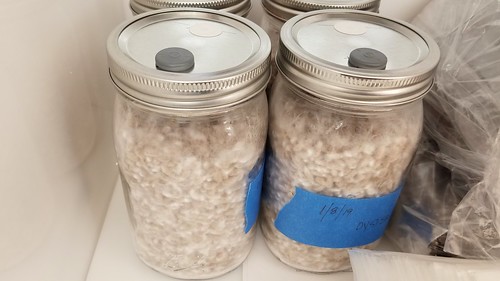
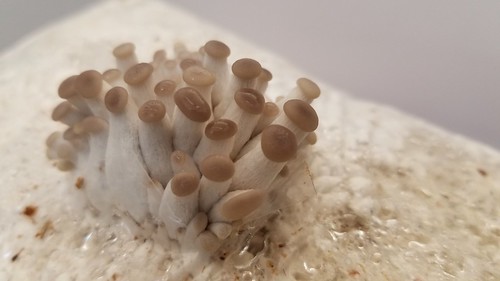
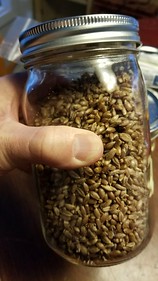
Finally got around to prototyping the first of what will hopefully be a variety of useful objects created from waste materials, knitted together with mycelium, part of our larger efforts with biofabrication, bioprinting, and fermentation science. As our first mycelium project, we’re trying to make a 4″ planting pot that can be composted. We’ve got oyster mushroom jars rolling, ready to inoculate a variety of materials, including straw, rice hulls, coffee grounds (we worked out a deal with the coffee cart on campus to gather their grounds), waste cardboard, and hopefully various combinations of those things.
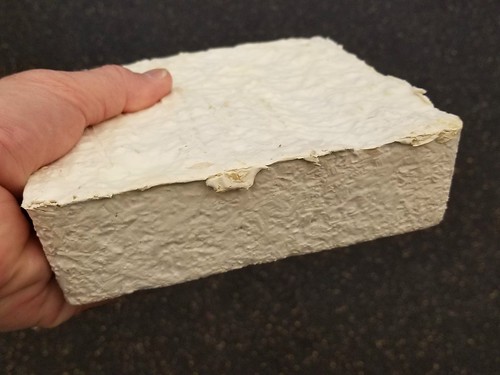
The sample mushroom packaging material arrived last week, so we’ve gotten to touch and feel and get a sense of a commercial version of the material.
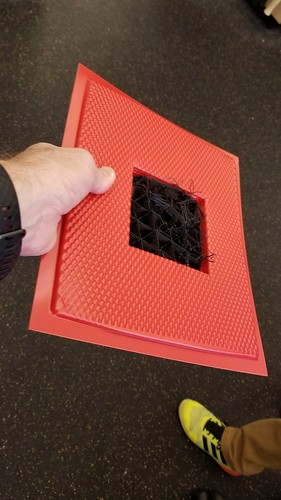
I created a model of the pot using Tinkercad, with the goal of 3D printing it in PLA and then using that model to create the form using the Formech Compaq Mini. The vacuum former tends to hold onto objects, so I designed the inside and outside walls to slope slightly, the outsides toward the middle – / \ – and the insides away from the middle – \ /, which I thought might make the plastic mold more likely to let go of the model. It didn’t quite work out that way, but more on that later. I also included a hole in the center, partly for drainage, and partly because I thought it would aid in the vacuum forming process.
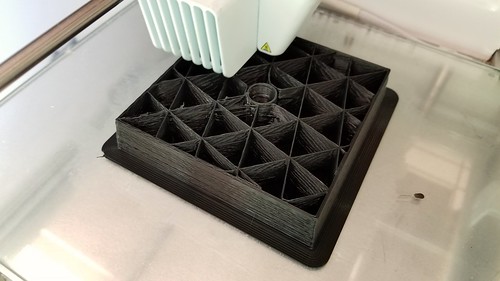
Hayes (student and Innovation Center staff) was kind enough to print the model to my specifications, which turned out to be wrong. More on that later. Anyhow, I asked for minimum infill, as the pot itself is 4″ at the base, and at least that tall, and I was interested in a quick print, rather than a durable one.
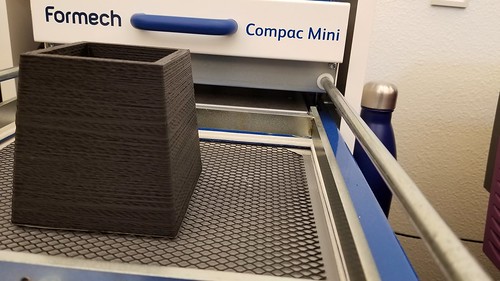
The model was ready this morning, so we set it up on the vacuum former.
It took a few rounds of heating, because we didn’t realize that the frame that holds the plastic down and creates the seal that allows the vacuum to form was out of alignment. Once we solved that problem, the process seemed to work really well, except…
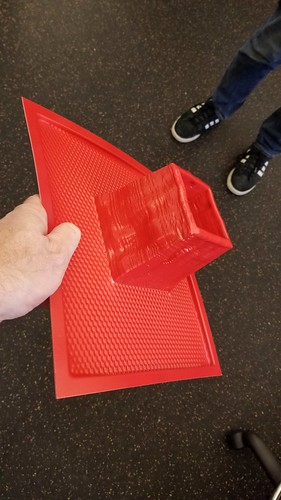
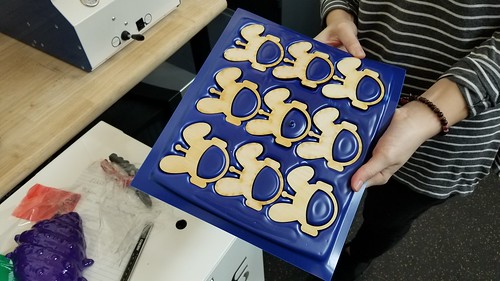
The repeated heating, coupled with my desire for a fast print rather than a strong one, added up to a mistake. Specifically, the PLA model melted and warped – you can see the jankiness above – and as a consequence, the model stuck in the deformed plastic sheet, and I had to pull it apart layer by layer to get it release.
Even with the less than perfect walls, the form is more or less usable, but we’re going to print a much more solid version in PLA on the Ultimakers, and a more solid version using the Form2 and maybe the tough resin. We learned a lot from the process, which is the beauty of prototyping!

