Got our new DJI Inspire 2 up in the air for the first time today!

2019-06-14_05-05-36

Using DroneDeploy for mission planning is surprisingly easy, and the quad is easy to control, with auto takeoff and auto landing.

The technology has come a long way since we built and flew our first quad back in 2012. We plan to use this one to continue to support remote sensing in the Geosciences, and to fly vineyards as part of our FermSci and viticulture efforts.

We reached a big milestone in our FermSci efforts this evening, pouring for the public for the first time a Kveik Pale Ale and a Lavender Kombucha that we brewed in the Innovation Center and the Spider Shed (the brew house we’re developing on campus).

Pouring @ the Harris Center

The event was reported to have something close to 400 attendees, and while we didn’t pour for all of them – it was mostly a wine sort of thing – those who were able to sample our wares seemed genuinely pleased, and we were able to tell the story about how Fermentation Science has the potential to connect a lot of students from a lot of different disciplines.

Tasting

We have plans to brew and pour quarterly for events at the Harris Center in the coming year, and will be scaling up our brewing operation as soon as the plumbing and other improvements to the Spider Shed are completed. Stay tuned!

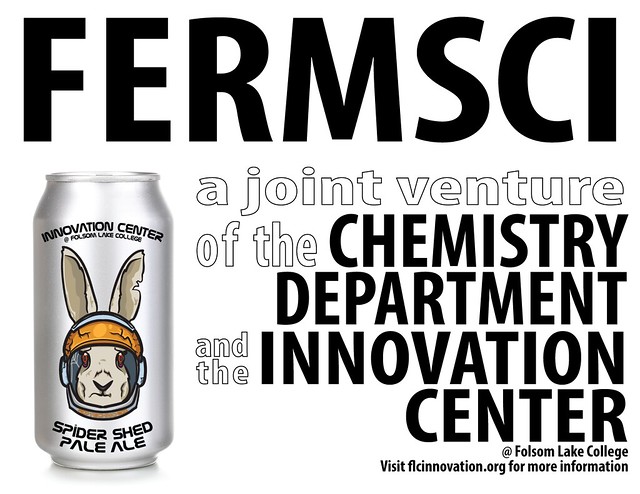
FermSci

Building on the initial success of casting pewter into laser cut forms, I spent some time this afternoon prototyping some coins, with the ultimate goal of creating limited edition thank you gifts for special guests and benefactors.

I created the file for the laser cutter using Illustrator, reversing the text on the face plates, and adding a sprue and two vents into the middle piece, which is sandwiched between the two outer squares and defines the outline of the coin.

Coin File

Here are the pieces, cut out of 3mm plywood….

Version 1.0

…and the first pour.

Not Bad

Not bad, but with some voids up near the ears and some loss of detail in the letters.
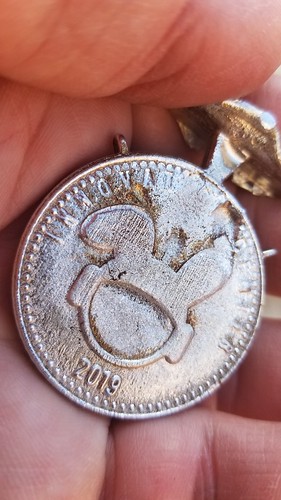
First Coin

I decided to melt this one down, and make some changes to the forms to try and get the metal down into the mold faster.

Melting Down

There are apparently formulas for sprue sizing, but I just decided to try making at a wee bit bigger. I also increased the size of the original vents, and added a couple more.

20190527_164747

Better, but still some detail loss up near the top.

More Vents

For the next iteration, I decided to flip the outside plates upside down, the thought being that any detail loss at the bottom of the coin would be less noticeable than at the top. I also remembered to char the detail plates – a thin layer of carbon seems to function as a release agent.

Sprue on the Bottom

Success! I removed the sprues and vents using flush cutters, and performed an initial polish with fine steel wool.

Both Sides

A really good prototype in hand, I decided to try different kinds of wood for the forms. Here’s walnut.

Walnut?

Not great. Next, I found a small scrap of fine-grained wood – not sure what, exactly – but I only had enough to engrave the plates, so I used the standard birch middle piece.

20190527_174528

The metal picks up the grain of the wood, and this being a much finer grain, the result was a very shiny and smooth surface. Definitely an avenue worth exploring in future versions.

Shiny

I did one more test, spraying ingot release spray on the detail plates. This caused the metal to boil and bubble, resulting in an interesting (but unusable) outcome.

20190527_180520

Really pleased with the prototype coin, and I’m excited to continue perfecting this technique, and to finding other applications for molding metal using multi-part laser cut molds.

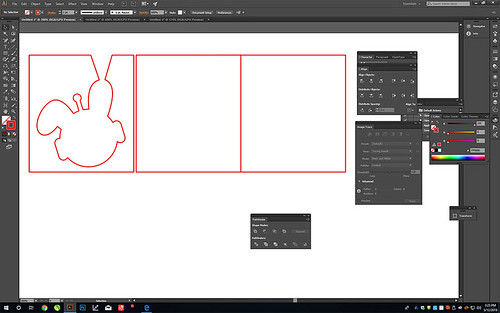
We’ve been accumulating gear to do small scale – think jewelry – metal pours, including a little electric casting furnace ordinarily used for making bullets, a larger propane-fired casting furnace, and all the crucibles, stirring implements, ingot makers, casting ladles, and other miscellaneous items to make the process work. This afternoon, I decided to try my hand at using the laser cutter to create forms into which to pour pewter, which is relatively inexpensive and melts at low temperatures. The idea was to create a pewter version of Nova, our space bunny mascot. I prepared the outline by adding a sprue (for pouring the metal)…

Nova With Sprue

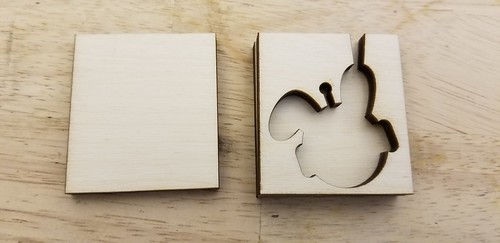
…and cutting the outline (plus pieces for the front and back) from ~1/4″ hobby plywood using the laser cutter.

20190512_122715

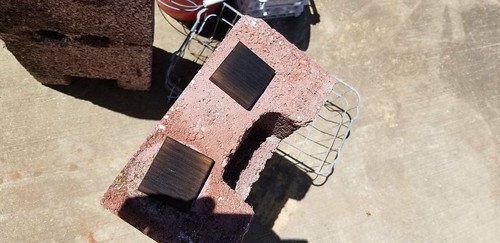
I read somewhere that a little carbon on the surfaces of the mold would make the metal release more easily, so I blackened the insides of the pieces that would form the outsides of mold, using a propane torch.

20190512_123358

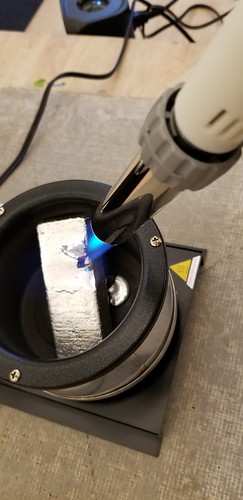
I needed to get the pewter melting, and placed it into the casting furnace, helping it along with butane torch, which I also used during the process to heat the carbon stirring rod and ladle before using them.

20190512_123955

The metal ready, I clamped the pieces of the form together, placed the form on a firebrick, and poured the pewter, using a cast iron ladle.

I over poured some, and put a little more in when I saw a bubble pop up, but the leftovers were easily reincorporated into the pot. A couple of minutes later, and the form was cool enough to crack open.

20190512_125931

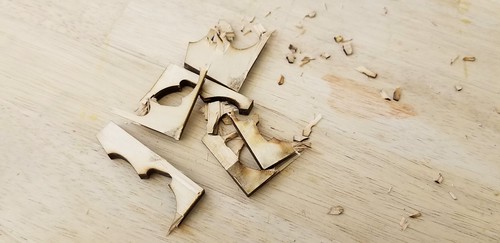
The outside pieces separated just fine, but the metal didn’t want to be freed from the wood, so I ended up breaking apart the form.

2019-05-12_03-09-21

It worked!

20190512_130738

I used a file to remove the sprue leftovers, and (after taking this picture) polished using steel wool. I like the rustic surface, and how the metal picked up the grain of the plywood. It looks very handmade.

2019-05-12_04-08-40

I was truly surprised at how simple the whole process seemed, and I have lots of ideas about using raster engraves on the front and back pieces to create detail, and about milling graphite using one of the CNC machines to create more durable forms for a series of limited edition coins we’d like to produce to give to special guests and supporters.

Another FermSci lab, this time about off flavors.

IMG_2131

As before, students started out in the lab…

IMG_2018

FermSciWorkshopPic

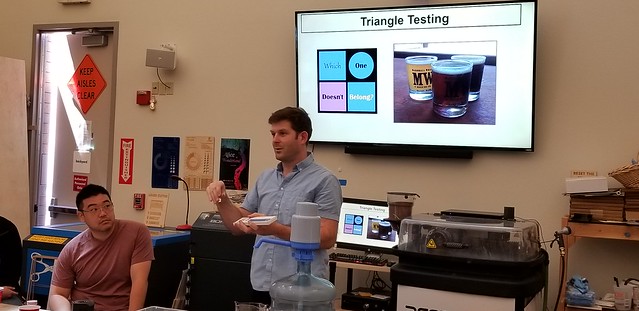
…and ended up in the Innovation Center for triangle test tasting, trying to identify off flavors…

20190510_144149

…in spiked brews.

20190510_151610

20190510_143830

20190418_094154

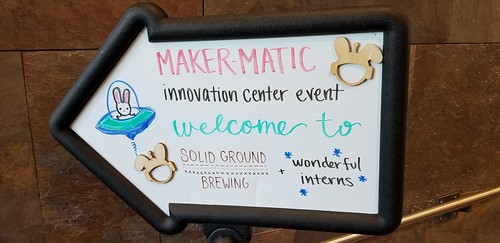
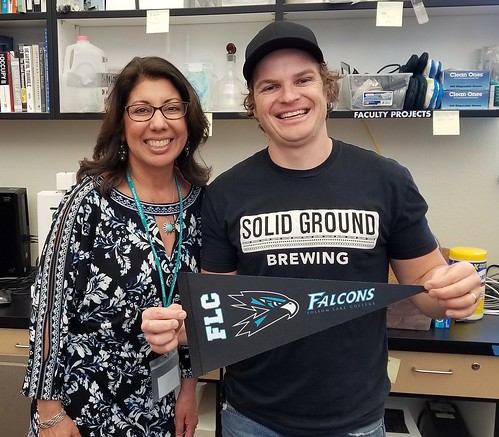
Student interns just wrapped up three days in the Innovation Center working in teams to solve a business challenge as part of the CCC Maker Makermatic program. Created by our friends at Sacramento City College Makerspace to meet the internship goals of the CCC Maker statewide grant, and coordinated locally by Seeta (FLC’s Innovation Center Internship Opportunities Specialist), the program was an opportunity for students to propose solutions for business challenges in partnership with Solid Ground Brewing, a local brewery and restaurant. Solid Ground also makes wine, and winemaker Scott came out to the Innovation Center to provide context and listen to student presentations.

2019-04-18_08-43-16

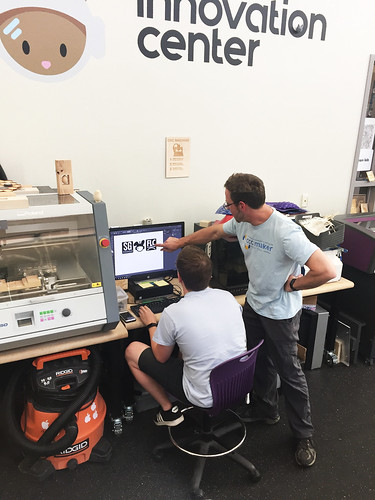
The night before final student presentations, Max (Chemistry), CJ (student and Makerspace Facilitator) and I worked to create a gift to present to Solid Ground at the close of the event. We decided to design a beer flight sampler display, with custom-etched flight glasses. CJ fired up Safety Scissors (the name for the smaller of our two laser cutters), and we worked out a design that combined Solid Ground’s logo and Nova, our own space bunny logo/mascot/spirit guide.

Collaborating

Here Max is evaluating different etching parameters. We didn’t have any beer in the space, so we filled the test glass with a combination of soy sauce and water to provide a little contrast while we worked out the details.

Prototyping a Flight Glass Etching

After a few rounds of prototyping – size, placement of thumb and finger indexes, type – we cut, glued, and assembled the pieces.

2019-04-19_07-41-32

The glue dry, we sanded away the laser burn marks, friendlied up the sharp edges of the plywood, and sealed everything with cutting board conditioner.

Flight

Each glass has a number etched into Nova’s (our space bunny mascot’s) faceplate, corresponding to a numbered position on the flight corral.

2019-04-19_07-41-46

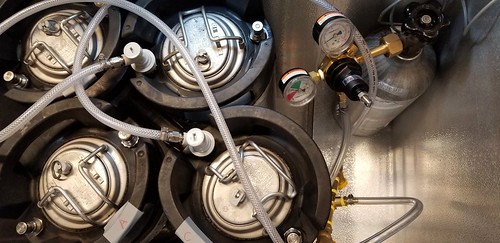
At  the close of the Makermatic event, we took Scott over to the Spider Shed (our nascent brewhouse) to talk about ways we might work together with Solid Ground, and to sample some kombucha Max had kegged from one of our brew days.

Keezer

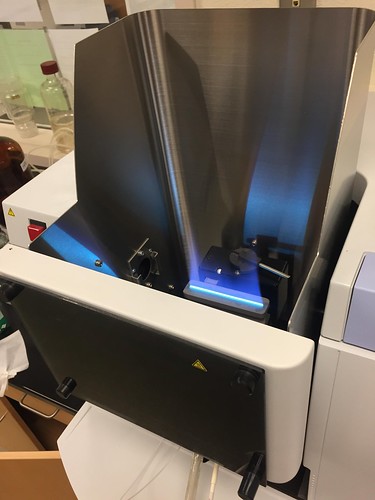
Max has been perfecting some procedures using Atomic Absorption Spectroscopy (AAS) equipment in the Chem lab, and we talked with Scott about the potential to have students work with local breweries to provide water quality analysis as part of our larger FermSci efforts.

Atomic Absorption Spectrometer

We like traditions in the Innovation Center (things like Builders’ Rights – see ROSTOCK MAX V3 BUILD DAY – PART TWO), and Scott became the first brewer/winemaker to sign our (nascent) keezer!

2019-04-18_08-51-38

Unsurprisingly, there’s been a lot of making in the makerspace lately. For instance, Sydney (student and Makerspace Facilitator) is working on this magnificent costume helmet.

Rad Helmet

It lights up. N’omi (student) has been manufacturing these custom cutting boards…

Industrious

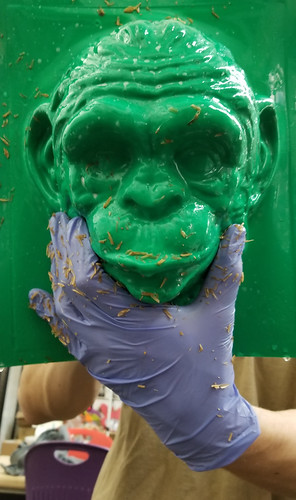
…and we freed the mycelium chimp face from it’s mold…

Mycelium Chimp

Meanwhile Sophie (student and Makerspace Facilitator) has been designing and producing these custom patterned rolling pins.

Rolling Pin

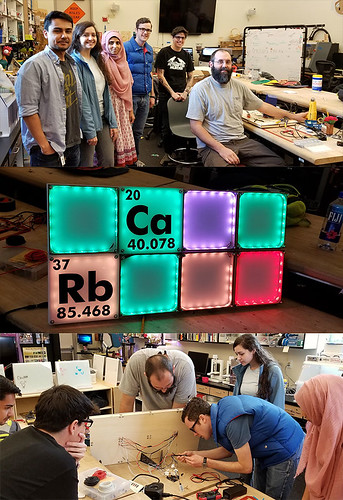
Meanwhile, Nicole (student and Makerspace Facilitator) has been directing the efforts of a skillful group of student interns as they continue with a large-scale, interactive periodic table that will be mounted in on of the large lecture halls on campus.

Periodic Crew

The lit up the latest prototype yesterday – it’s controlled by an Android app – and if this latest prototype is any indication, this project is going to be amazing!

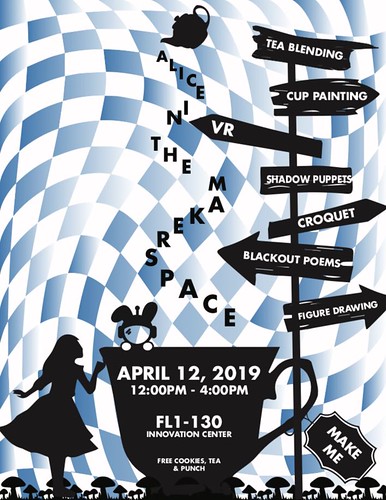
FLC’s Falcon’s Eye Theatre is staging a spring production of Alice in Wonderland, and the Innovation Center decided to host a party to support the show.

Alice in the Makerspace

Staff planned a variety of activities, including blackout poetry…

Blackout Poetry

flamingo croquet with 3D printed wickets…

Flamingo Croquet

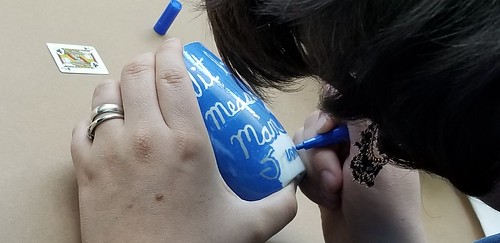
teacup painting…

20190412_125448

VR…

20190412_150004

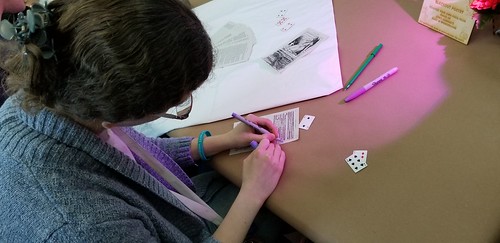
and figure drawing…

Figure Drawing

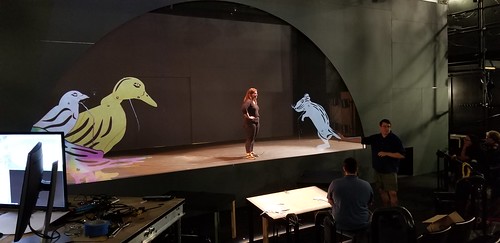
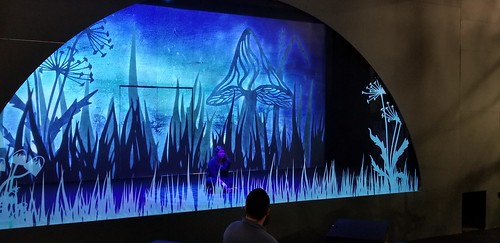
Toward the end of the party, we walked down to the Harris Center for a preview of some of the visual effects and technical theater magic that will be part of the show, which opens in a couple of weeks.

20190412_153425

The show promises to be a technical tour-de-force, with shadow puppets, real-time motion capture, facial recognition, live compositing, and other visually stunning techniques. The Falcon’s Eye Theatre always puts on a wonderfully creative production, and this one looks to be pushing the envelope. Can’t wait for the show!

20190412_154208

A few more photos from the event…

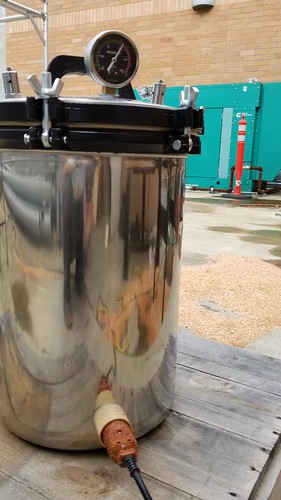
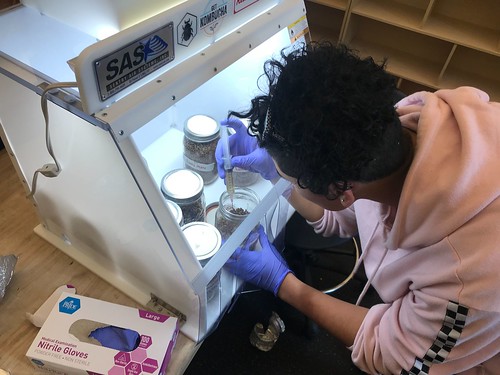
A few weeks back, Max (student and aspiring mycologist) spent some time preparing jars of rye berries for starting mushrooms, as part of our larger effort to produce planting pots for a coffee farm. We got to try out the new autoclave, which seemed to work well, though it’s noisy and a little startling. Rye berry steam smells wonderful, by the way.

Autoclave

Max returned a few days later to inoculate the jars with a few different kinds of mushrooms.

Myco Max

Myco Max

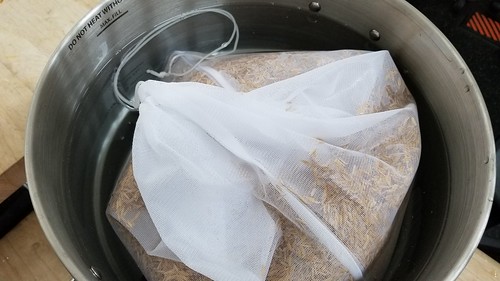
Fast forward to today. We pasteurized a quantity of rice hulls in a mesh bag in the big kettle…

Pasteurizing Rice Hulls

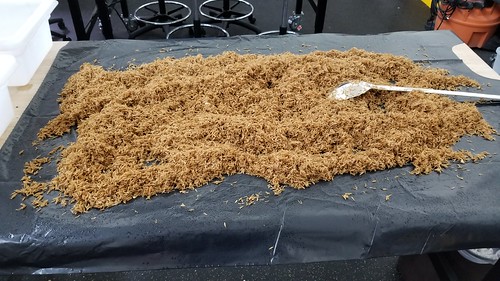
…then turned them out on a sanitized surface to cool before adding the contents of the three remaining King Oyster mushroom jars we inoculated back in February.

20190323_141743

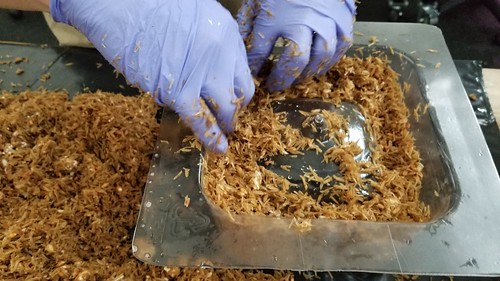
We packed the rice hulls into a form that we ordered from the good folks at Ecovative

20190323_143117

…and into sterilized four inch planting pots from the garden, and (inspired by the work of Corinne Okada Takara) still had enough to fill up the chimpanzee mask that came with the vacuum former.

20190323_143942

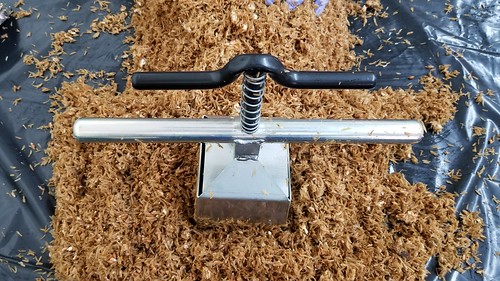
I have been kicking around the idea that we might be able to eliminate forms entirely by using a soil blocker, which is typically used to create planting pots out of soil. As it turns out, rice hulls almost but don’t quite hold together enough. I think the idea has merit, and am eager to try different substrate combinations to see if it might work, which would speed up production of finished pots considerably. One idea would be to inoculate a lot of substrate, and wait for it to begin knitting together with mycelium. Presumably at this point it would be more likely to cohere, and we could then use the soil blocker to compress it into a form. I think it’s worth a shot.

Soil Blocker

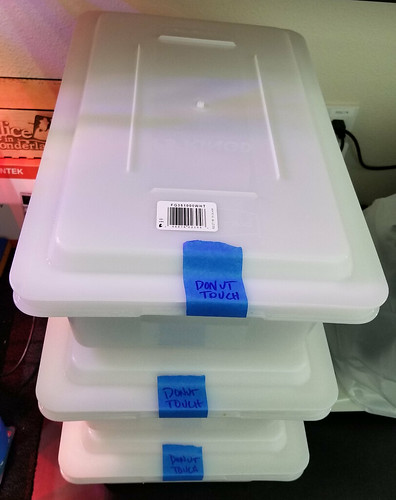
We placed all the filled forms in sterile containers, and we hope to see signs of mycelium growth in the next little bit.

Donut Touch

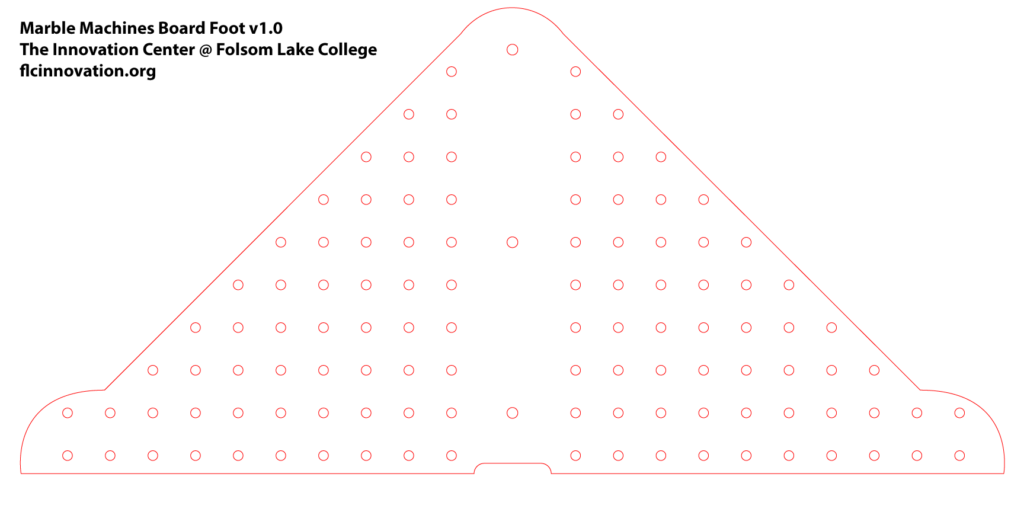
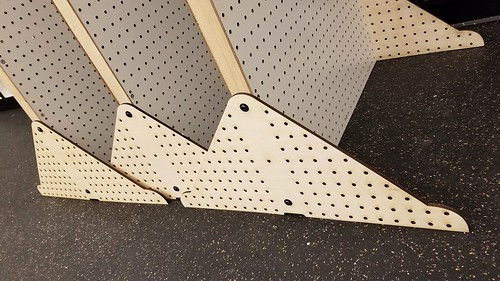
Inspired by the Tinkering Studio’s Instructable Make a Marble Machines Board, we set about to construct three of them for our Making for Educators class. I designed a custom foot, which we cut from 1/4″ plywood on the laser cutter in our makerspace. I put the file up on Thingiverse, in case you want to download it.

The feet include 1/4″ holes, so that dowels can be used to support marble machine elements down low.

Modified Design

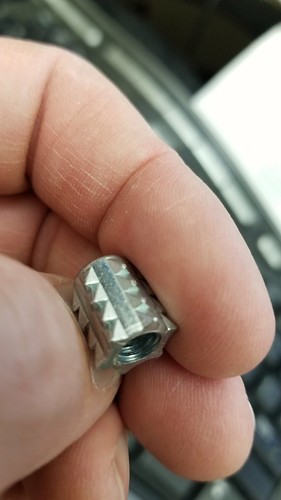
We’re pretty space constrained in the Innovation Center, so we need to be able to remove the feet so as to store these marble machine boards flat when not in use. If I had it to do over again, I would have used pronged t-nuts, but we had already affixed the pegboards to the frames, so these insert nuts will do fine.

2019-03-21_04-59-01

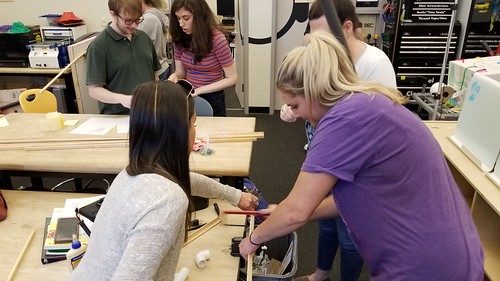
Students spent a little bit of time in class this week working on their machines, sawing and cutting wood and foam and PVC pipe…

20190318_184314

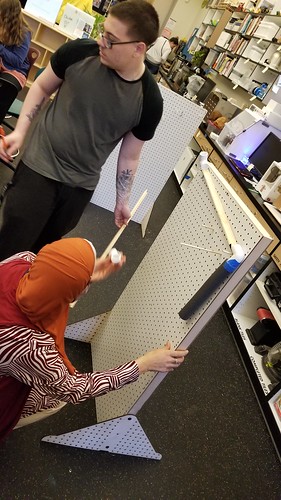
…and beginning to attach their tracks.

Marble Run

We introduced the idea of embedding Makey Makey into their machines, and they’ll have more time to work on them in the next class session.