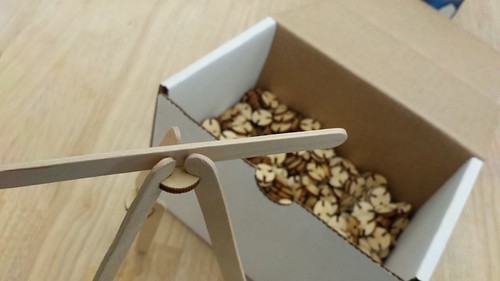
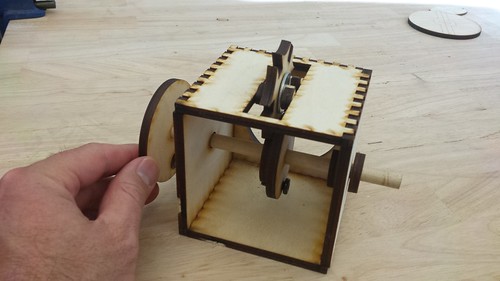
Max Mahoney (Chemistry) and I worked on a mechanical automata project this morning. Our long-term goal is to create laser cut wooden versions of the various mechanical mechanism building blocks in the beautiful book Karakuri: How to Make Mechanical Paper Models that Move by Keisuke Saka. To get a sense of what the design and development considerations might be, we decided to start with a Thingiverse search, and found Simple Machines – Geneva Stop (CC BY-NC-SA) by Zombie Cat. A few minor adjustments to the layout, and we cut the parts out of 1/4″(ish) hobby plywood. We ended up having to tweak a few of the parts to fit the dowels we had on hand, and we made a few slight modifications to the design based on the differences between the vector files and the thickness of our plywood, but overall it’s a great design and turned out pretty well for our first automata.

Geneva Drive

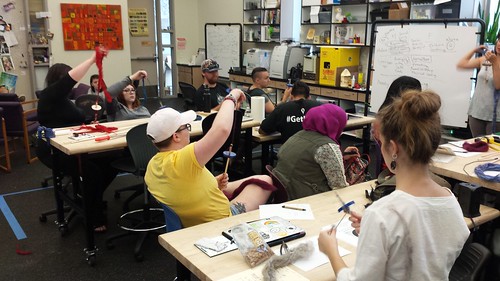
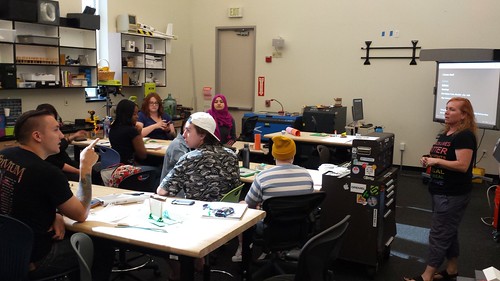
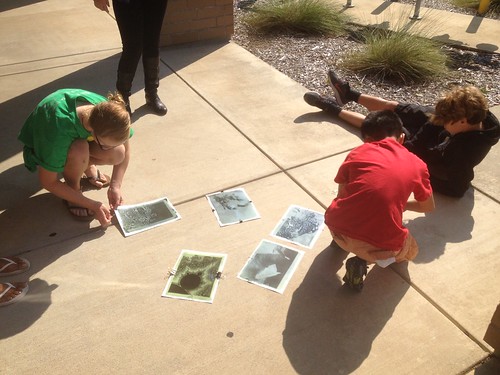
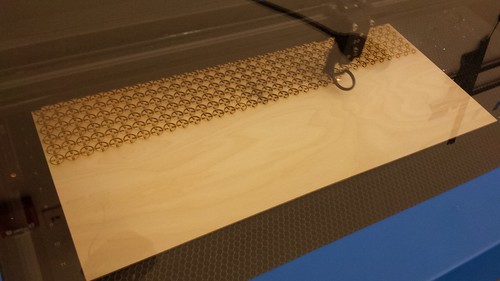
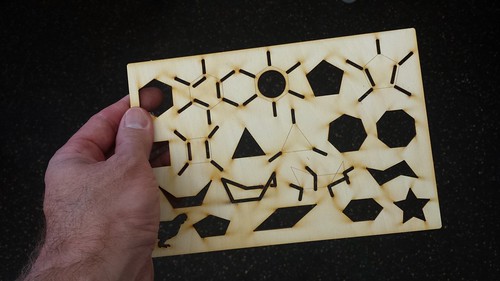
The rest of the afternoon was spent working with Nicole (student and Innovation Center staffer) on a stencil for organic chemistry.  Max hung around finishing the automata, and answered a few technical questions as Nicole and I worked through the layout in Illustrator.  We tested the first prototype, and decided that the various cut-outs representing the bonds needed to be scaled up a bit.  Below is version 2, including Nicole’s beloved chicken in the lower left hand corner, and a fancy star on the right.
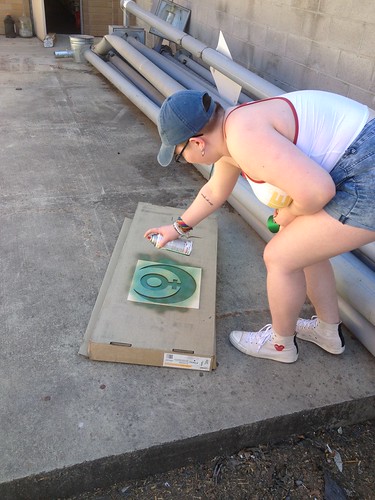
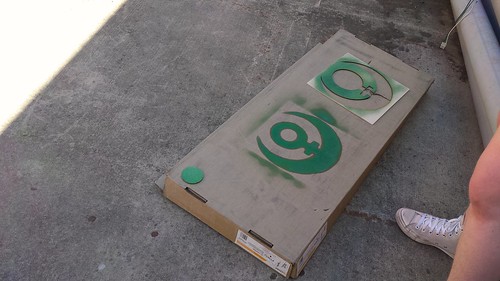
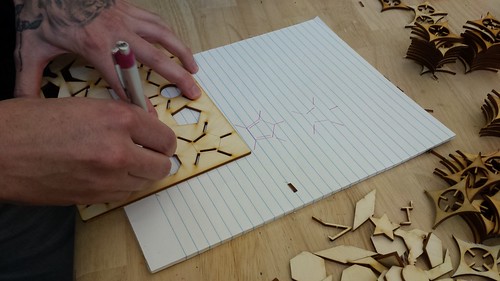
Ochem Stencil

Test stenciling…

Nicole Testing the Stencil

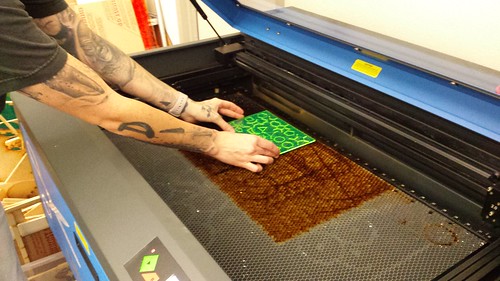
The design finished and tested, we cut the final version out of acrylic.  Success!

Final Version Leaves the Laser

The file is up on Thingiverse, or you can just grab the PDF if you’d like to cut your own.

Creating an environment where faculty and students collaborate to make things, from Calculus models to history game tiles is one of our goals. The other day, Marc Olsen (Math) and Rebekah Keely (student) worked together to create a unit circle for use in the Trigonometry classroom.

20170913_174648

Basing their design on a paper model, they created the vector file using Illustrator – Rebekah has mad skill with this particular program – and then cut the file from 1/8 plywood using the laser cutter.

20170913_193656

Marc has ideas about version two, which will have a center post onto which can be snapped some triangles, as in the paper model.  Download the file on Thingiverse, or grab the PDF here..

Having recently had students spinning yarn, I decided to make another shuttle for our community loom, as the one we’ve got has a crack in it. I snapped a photo of it, brought it into Illustrator, added a few guides, and was able to pretty quickly create a fairly similar copy.

Making a New Shuttle

I cut the shuttle out of 1/4 birch plywood using our laser cutter. It needs a bit of sanding and filing, but I think it will make a pretty decent replacement.

2017-09-12_02-57-47

The files (Illustrator *.ai and PDF) and instructions are up on Thingiverse, or you can just grab the pdf here: simple_shuttle

In week 4 of Making Social Change, we talked about Indian independence, and about the emblematic role of khadi – handspun and hand-woven cloth – in the movement. Building upon the prototype Erica Tyler (Anthropology) developed as part of the Making Across the Curriculum faculty maker academy of summer 2016, and on our preview event from spring 2017, students created drop spindles using dowels, hooks, and laser cut whorls.

20170911_150541

Erica made herself available to talk about “women’s work” in the Archeological record, and showed students how to spin roving into yarn.

20170911_154401

With any luck, the community loom will soon have a bit more handspun yarn added to it.

About two years from our original idea, and after many hours on the greaseboard, and many prototypes and preview events, Sociology 379: Making Social Change has finally been born!  We’re joined by twelve brave, multi-talented, fascinating students, passionate about a wide array of social justice issues.

Making Social Change

The class meets once a week on Mondays from 1pm – 4:05pm, and we’ve met twice. We spent the first session framing the course and getting to know each other, doing some design thinking with the help of the Making Connections card game from the Children’s Museum of Pittsburgh, and building some low res prototypes.

Untitled

In our second session, we took a critical look at the “maker movement,” spending some time discussing “Making Through the Lens of Culture and Power: Toward Transformative Visions for Educational Equity.” (Harvard Educational Review, 86(2), 206-232.Vossoughi, S., Hooper, P. K., & Escudé, M. (2016), https://pdfs.semanticscholar.org/fa5b/4e88c78f380b4727d445afa33bea5212a21d.pdf), before students had the chance to begin work on their contribution to our tile project, which is a low risk/high reward, very accessible “first project” in digital fabrication.

David Creates his Tile

Really looking forward to continuing to work with these students, and to learning from this “version 1” prototype of the course!

FLC’s Science Center runs a series of hands-on Friday science activities, and we decided to support their efforts by creating a collectible sticker for each activity. We based the sizing on the hexbin hexagonal sticker specification, and Rebekah (student) designed and cut a sheet of prototypes…

Rough Draft Hands-on Science Center Friday Stickers

…which were refined to create version 2.0 (Neuroscience: Brainwaves, Polygraphs, Action potentials, and Remote-Control your Classmates, UCD: College of Agricultural and Environmental Sciences recruiting session, Cadaver Viewing, Cyanotyping, Essential Oil Extraction Using Steam Distillation, Infectious Diseases, Fun Science Activities Suitable for Home, The Innovation Center Makerspace, GIS and Geography)

Stickers!

We’ve moved into production, using our vinyl cutter to create the first batch (for Max Mahoney’s cyanotype activity).  Gotta catch ’em all!

Cyanotype Stickers

The last couple of Fridays we’ve had children from the Folsom Lake College Youth Art Academy in the makerspace.  In week 1, two of the three groups worked on building pneumatic monsters

Untitled

and paper circuits…

Untitled

…while Max Mahoney had the third group in the Chemistry lab doing cyanotype photography

Untitled

A number of the children were attending both weeks of the camp, so we wanted to mix it up a bit for week two.  After researching various engineering challenges, we developed and prototyped a building system of laser cut connectors that could be used with standard popsicle sticks.

20170720_185157

We were able to cut 578 per sheet, ~41 minutes per sheet.

20170720_165709

The children worked in pairs on engineering challenges, beginning with heaviest weight with minimum sticks

20170721_111827

…and moving on to tallest freestanding structure:

20170721_114029

…after which they connected their towers using living hinge bridges laser cut from cardstock, and decorated with LEDs, giving us a chance to talk a little bit about circuits and electricity.

20170721_115519

The building system worked surprisingly well for a version 1, and we learned some things – specifically, that the pieces were a little small and the tolerances a little tight for some 8 year olds – that we’ll incorporate into version 2.  More photos from the YAA makerspace visit.

The folks from Paton Group came out yesterday to train us on the Roland Modela MDX-50 we’ve got in the makerspace.

First impressions…

The machine is well-built, and the rotary attachment is especially nice, with precisely machined aluminum parts and the most amazingly smooth bearings. It’s quiet, at least when milling chemical wood.  It creates a LOT of dust, and took a while to vacuum after the part was finished.  The lighting cues are nice, and it’s easy to monitor the machine from anywhere in the lab.  The software – SRP Player CAM – is dead simple to use. I don’t have much experience machining, but I was able to pretty easily set up and run a job after being shown the process just once. It takes standard .STL files, so it should be pretty accessible to those with some 3D printing experience.

MDX-50 First Carve

The model I picked – Totoro by joo on Thingiverse – was maybe not the best choice, in terms of size (I didn’t make the best use of the material) and because of where the supports needed to be (between the ears, though I learned that custom supports can be built into the .STL file to solve such challenges), but I am happy with the result overall.  The chemical wood is a new material to me, and is easily worked with an X-ACTO knife, sandpaper, and files.

My Neighbor