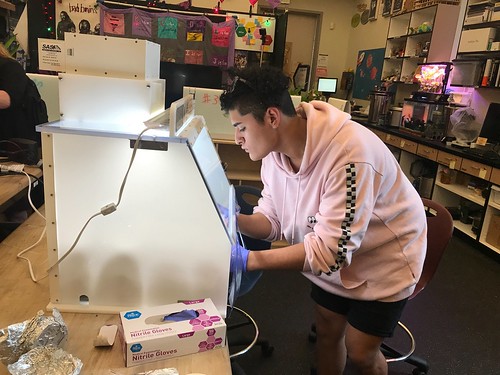
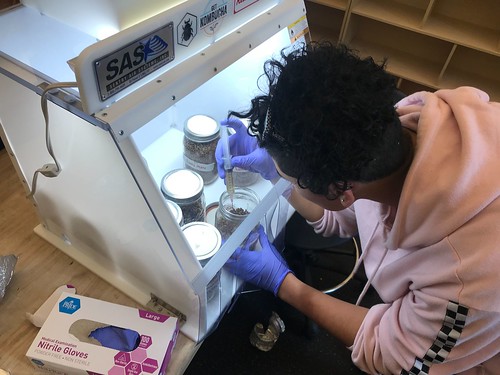
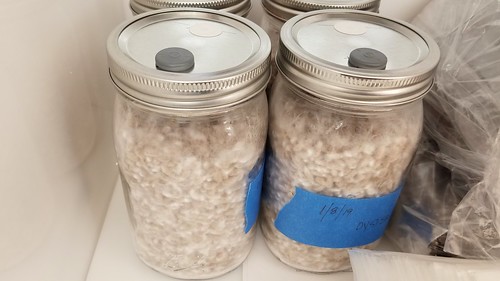
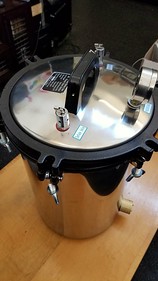
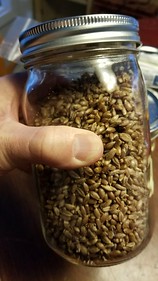
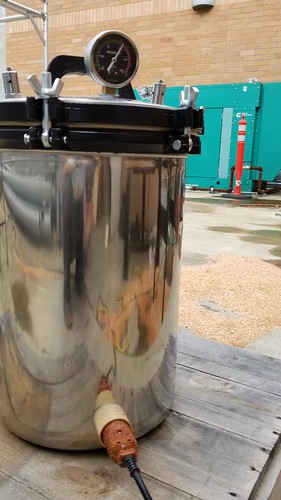
A few weeks back, Max (student and aspiring mycologist) spent some time preparing jars of rye berries for starting mushrooms, as part of our larger effort to produce planting pots for a coffee farm. We got to try out the new autoclave, which seemed to work well, though it’s noisy and a little startling. Rye berry steam smells wonderful, by the way.

Autoclave

Max returned a few days later to inoculate the jars with a few different kinds of mushrooms.

Myco Max

Myco Max

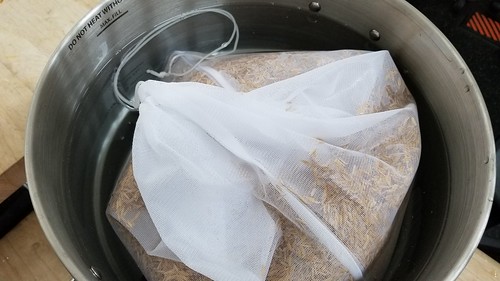
Fast forward to today. We pasteurized a quantity of rice hulls in a mesh bag in the big kettle…

Pasteurizing Rice Hulls

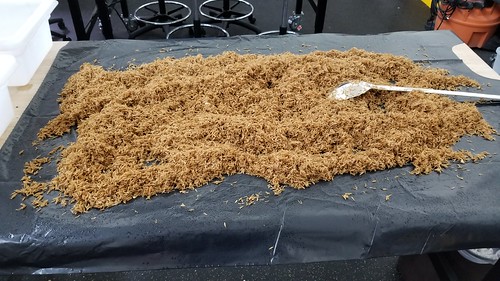
…then turned them out on a sanitized surface to cool before adding the contents of the three remaining King Oyster mushroom jars we inoculated back in February.

20190323_141743

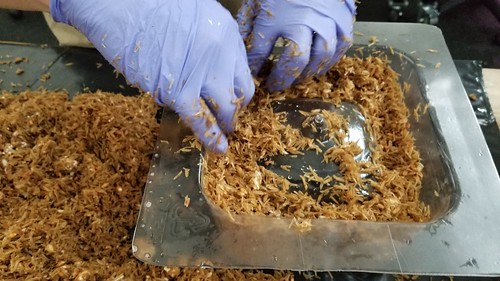
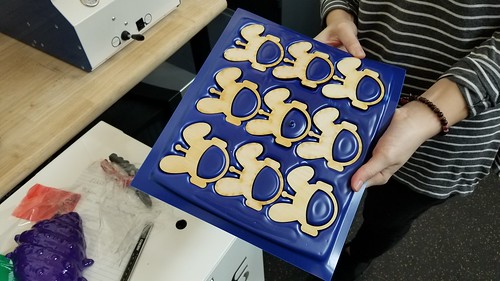
We packed the rice hulls into a form that we ordered from the good folks at Ecovative

20190323_143117

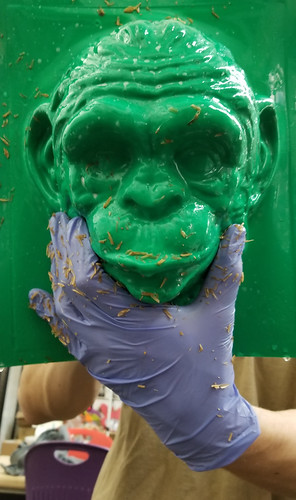
…and into sterilized four inch planting pots from the garden, and (inspired by the work of Corinne Okada Takara) still had enough to fill up the chimpanzee mask that came with the vacuum former.

20190323_143942

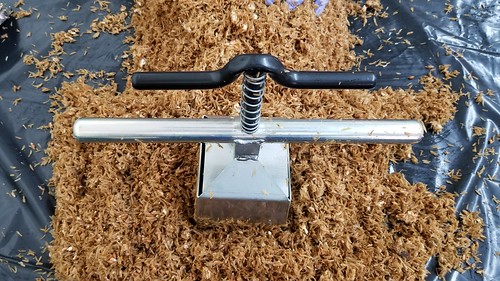
I have been kicking around the idea that we might be able to eliminate forms entirely by using a soil blocker, which is typically used to create planting pots out of soil. As it turns out, rice hulls almost but don’t quite hold together enough. I think the idea has merit, and am eager to try different substrate combinations to see if it might work, which would speed up production of finished pots considerably. One idea would be to inoculate a lot of substrate, and wait for it to begin knitting together with mycelium. Presumably at this point it would be more likely to cohere, and we could then use the soil blocker to compress it into a form. I think it’s worth a shot.

Soil Blocker

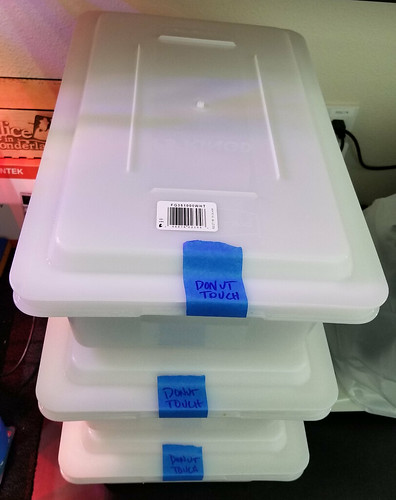
We placed all the filled forms in sterile containers, and we hope to see signs of mycelium growth in the next little bit.

Donut Touch

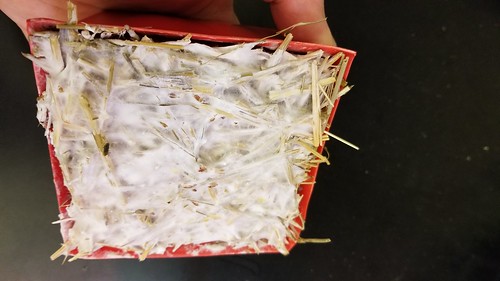
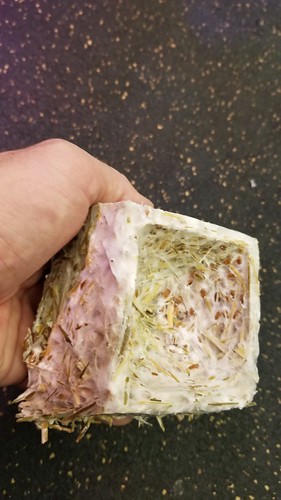
Today we got a look at the first prototypes of our mycelium-based 4″ planting pot project. Here’s how they looked, still in the forms.

20190221_103744

The “good” one – the one where the 3D printed PLA positive didn’t deform during the vacuum forming process – is really solid and feels done.

20190221_103819

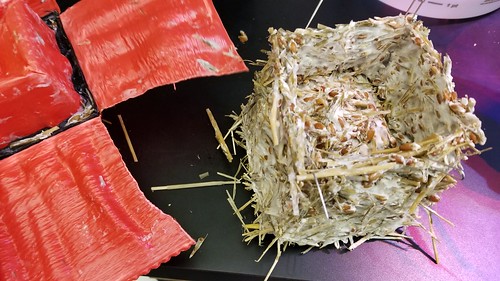
The second one didn’t want to release from the form, which was not surprising, given how much deformation occurred during thermoformer’s heating cycle, so I had to cut it free from the pot, and use few paper clips to keep the top section attached to the more substantial base.

20190221_105257

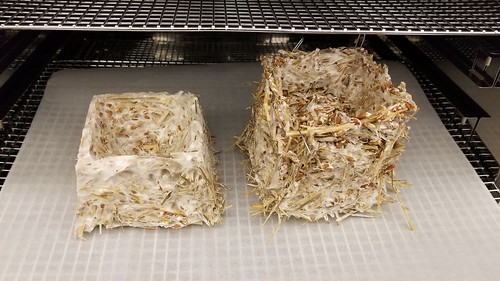
Into the dehydrator at 100 degrees Fahrenheit for about three hours, and we’ll see how they feel after that.

20190221_105459

For this iteration, we used oat hay as the substrate, into which we mixed rye berries inoculated with King Oyster mushroom spawn. Since we set up v1, we’ve received a food processor, in order that we might more finely chop up the substrate, and we also have some other substrates in the shop, including rice hulls and various wood chips. V2 next!

Finally got around to prototyping the first of what will hopefully be a variety of useful objects created from waste materials, knitted together with mycelium, part of our larger efforts with biofabrication, bioprinting, and fermentation science. As our first mycelium project, we’re trying to make a 4″ planting pot that can be composted. We’ve got oyster mushroom jars rolling, ready to inoculate a variety of materials, including straw, rice hulls, coffee grounds (we worked out a deal with the coffee cart on campus to gather their grounds), waste cardboard, and hopefully various combinations of those things.

Mycelium!

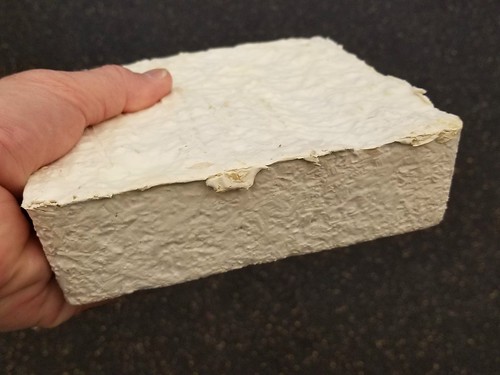
The sample mushroom packaging material arrived last week, so we’ve gotten to touch and feel and get a sense of a commercial version of the material.

Mushroom Packaging

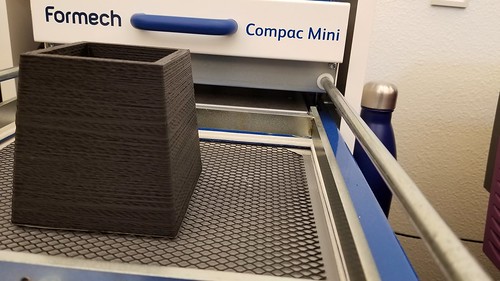
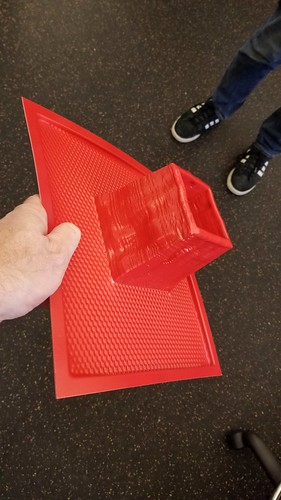
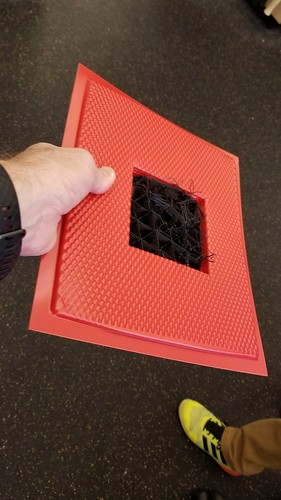
I created a model of the pot using Tinkercad, with the goal of 3D printing it in PLA and then using that model to create the form using the Formech Compaq Mini. The vacuum former tends to hold onto objects, so I designed the inside and outside walls to slope slightly, the outsides toward the middle – / \ – and the insides away from the middle – \ /, which I thought might make the plastic mold more likely to let go of the model. It didn’t quite work out that way, but more on that later. I also included a hole in the center, partly for drainage, and partly because I thought it would aid in the vacuum forming process.

Plant Pot Model

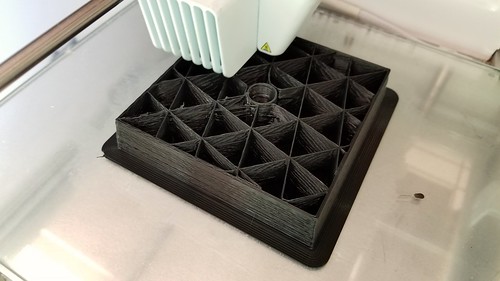
Hayes (student and Innovation Center staff) was kind enough to print the model to my specifications, which turned out to be wrong. More on that later. Anyhow, I asked for minimum infill, as the pot itself is 4″ at the base, and at least that tall, and I was interested in a quick print, rather than a durable one.

Printing the Pot

The model was ready this morning, so we set it up on the vacuum former.

Prototype In Place

It took a few rounds of heating, because we didn’t realize that the frame that holds the plastic down and creates the seal that allows the vacuum to form was out of alignment. Once we solved that problem, the process seemed to work really well, except…

V1 Mycopot Model

The repeated heating, coupled with my desire for a fast print rather than a strong one, added up to a mistake. Specifically, the PLA model melted and warped – you can see the jankiness above – and as a consequence, the model stuck in the deformed plastic sheet, and I had to pull it apart layer by layer to get it release.

V1 Mycopot Model Melted

Even with the less than perfect walls, the form is more or less usable, but we’re going to print a much more solid version in PLA on the Ultimakers, and a more solid version using the Form2 and maybe the tough resin. We learned a lot from the process, which is the beauty of prototyping!

The new semester has started, and things seem to be happening at a furious pace.

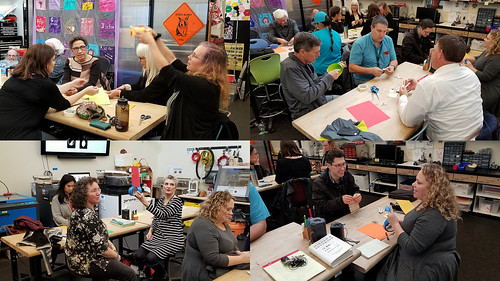
As part of professional development days preceding the semester, we invited faculty and staff for a makerspace update, and facilitated a prototyping workshop, solving problems having to do with babies and robots.

Flex Workshop Prototyping

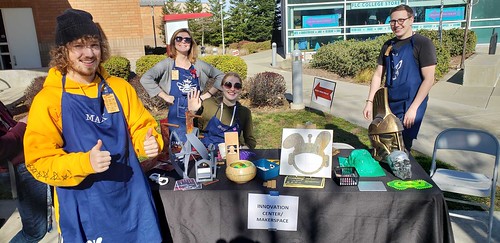
Our staff did some outreach to invite students to participate in our community.

Falcons_Day

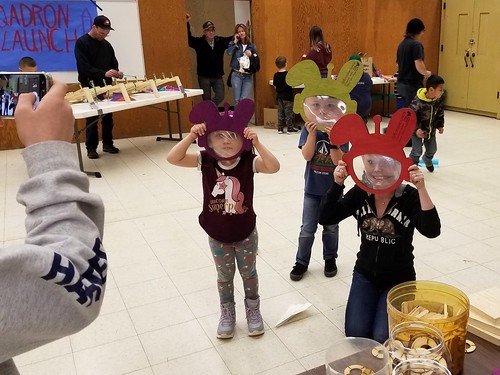
Also on the community front, we participated (for the third time) in the third annual Georgetown School Family Tinker Night, an event coordinated by our sister lab at Georgetown School. We brought out a 3D bioprinter and a plotter, and the ever popular Nova (our space bunny mascot) fresnel lens family face distorters.

Nova Faces

Meanwhile, back in the lab…

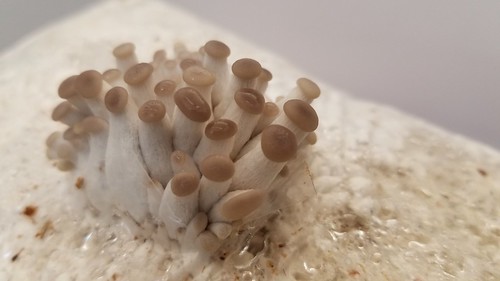
The jars we inoculated with mushroom spawn earlier in the month are thriving, and we’ll be scaling that project up soon.

Mycelium!

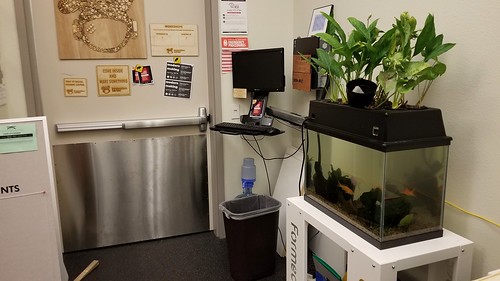
The Science Fish have returned from the library, as we plan and implement whatever v2.0 of our aquaponics efforts will look like. Yes, those are the same three fish – Phoebe, Phinley, and Phreud – still with us after more than two years, and yes, the water cleared up quickly and it’s crystal clear now.

2019-01-26_08-38-13

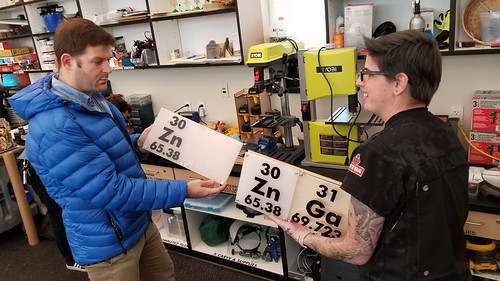
As part of the CCC Maker grant, we’re able to pay interns to do makerspace-related projects, and some of them are working on a large-scale, interactive periodic table of the elements, to be installed in our large lecture hall. Here Max Mahoney (Chemistry) and Nicole (makerspace facilitator extraordinaire) review some prototypes.

20181207_130554

We’re looking forward to starting the semester with a Grand Opening next week, and to continuing to advance various efforts, including FermSci and biotinkering, some salon-type events in the planning stages, and a million other things I’m probably forgetting. Onward and upward.

MUSHROOMS!

Babies

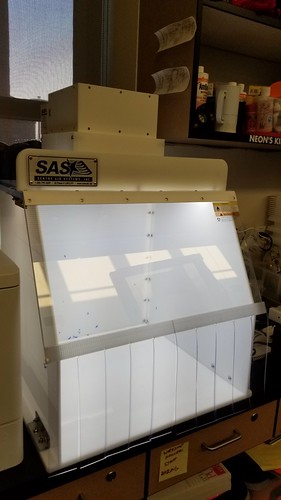
Inspired by projects like Ecovative’s building and packaging materials – check out this guide to How to Make Your Own Growth Forms – and in line with our other biotinkering and fermentation science efforts, we’ve been slowly gathering mushroom making gear, including an autoclave…

Pressure

and a laminar flow hood.

Hoodie

The liquid mushroom culture syringes arrived, so we inoculated some sterile rye berry jars.

Innoculated

With any luck, the jars will take, and we’ll be able to begin mass production. Meanwhile, we’re figuring out our new Formech vacuum former, and we think there are opportunities to use it in conjunction with our 3D printers and CNC machines to create custom forms for growing mushrooms in the makerspace.

20181221_130925