Toward the end of last semester – after lengthy and vigorous and unflinching hacking of red tape – we offered the first workshop – Beer Science: Measuring Beer Bitterness – as part of our ongoing Fermentation Science efforts. We started the day in the Chemistry lab, where Max Mahoney (Chemistry professor and makerspace faculty champion) described the chemistry of beer, and led students through a procedure for measuring beer bitterness.

20181109_122745

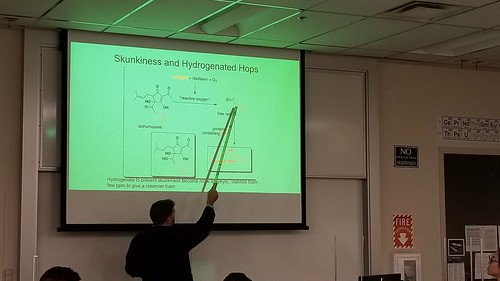
Here’s how Max describes it:

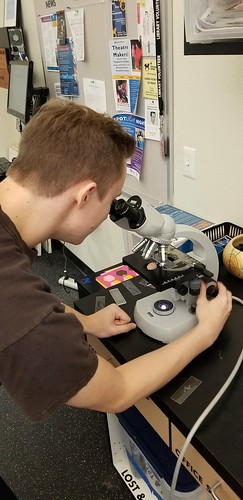
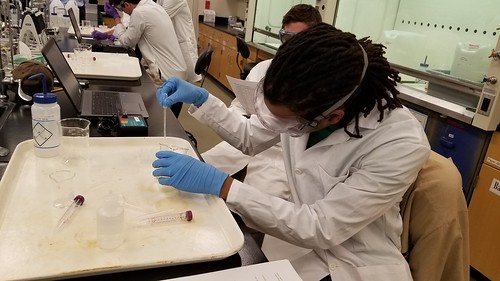
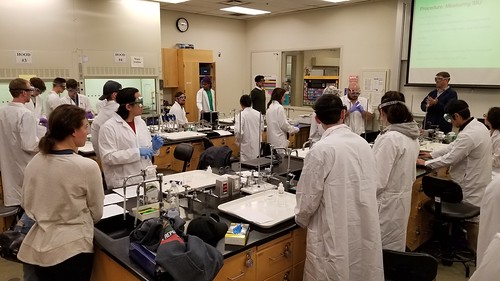
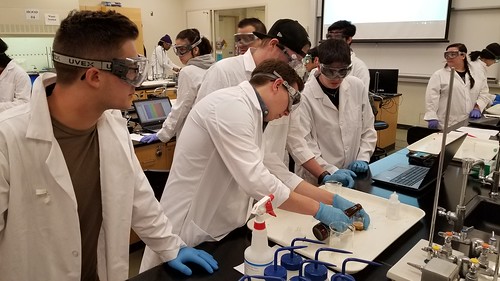
The goal of this workshop was to expose students to a quantitative and qualitative analysis of beer bitterness. The chemistry of hops and bittering compounds was presented along with a discussion of the chemical procedures involved in this analysis. The following procedure was used to quantitatively analyze beer bitterness. Three beers were selected containing different levels of the hop-derived bittering agents. Students sonicated the beer to expel carbon dioxide, performed a liquid-liquid extraction of the hop acids with iso-octane, and measured the UV and visible absorption spectrum for their sample. We used the visible absorption spectra to help classify the style of beer. The UV absorption was used to quantify the concentration of hop acids and thus the bitterness of the beer (measured in IBUs).

Chemistry students of all levels were able to learn advanced analytical methods used in the beverage industry to analyze beer bitterness. General and organic chemistry lab techniques were utilized including UV-Vis spectroscopy, usage of micropipettes, and liquid-liquid extraction of organic compounds.

20181109_130346

20181109_124717

20181109_125106

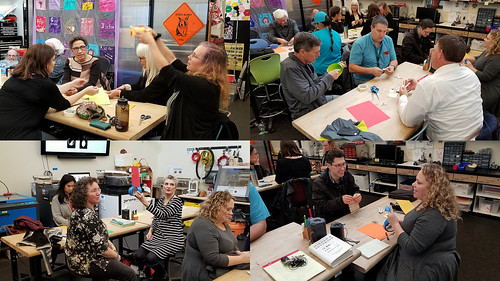
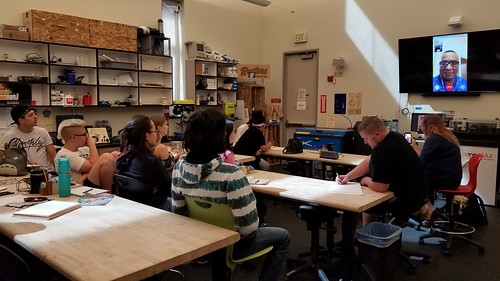
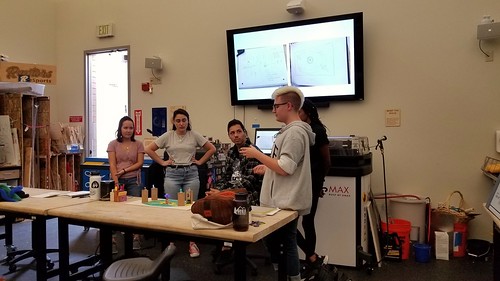
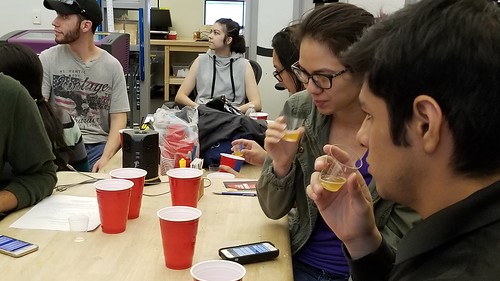
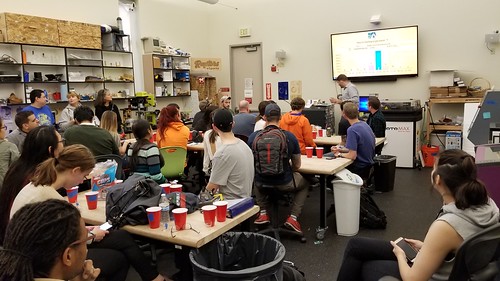
The Chemistry lab portion completed, we went over to the Innovation Center for some blind taste tests. Students sampled various beers, and then used PollEverywhere to report the perceived bitterness of the sample, the results of which we compared to the lab-derived values.

20181109_141610

20181109_143051

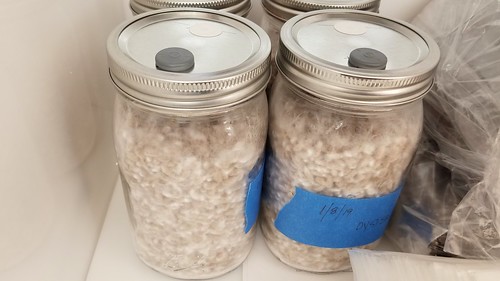
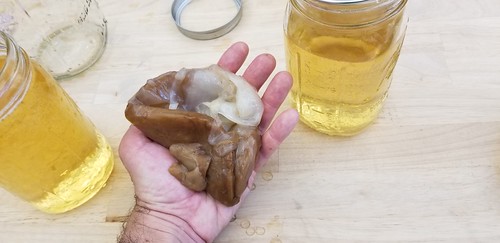
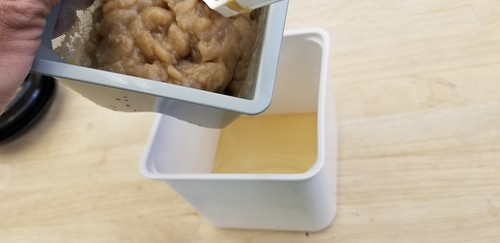
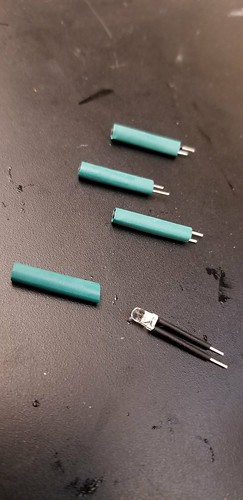
The event was a terrific success, and students were engaged and enthusiastic. We’ve got additional interdisciplinary FermSci workshops and projects planned for this semester, including more beer chemistry, sauerkraut making, curriculum development, and a partnership with a local employer for integrating IOT technology into kombucha fermentation.

The new semester has started, and things seem to be happening at a furious pace.

As part of professional development days preceding the semester, we invited faculty and staff for a makerspace update, and facilitated a prototyping workshop, solving problems having to do with babies and robots.

Flex Workshop Prototyping

Our staff did some outreach to invite students to participate in our community.

Falcons_Day

Also on the community front, we participated (for the third time) in the third annual Georgetown School Family Tinker Night, an event coordinated by our sister lab at Georgetown School. We brought out a 3D bioprinter and a plotter, and the ever popular Nova (our space bunny mascot) fresnel lens family face distorters.

Nova Faces

Meanwhile, back in the lab…

The jars we inoculated with mushroom spawn earlier in the month are thriving, and we’ll be scaling that project up soon.

Mycelium!

The Science Fish have returned from the library, as we plan and implement whatever v2.0 of our aquaponics efforts will look like. Yes, those are the same three fish – Phoebe, Phinley, and Phreud – still with us after more than two years, and yes, the water cleared up quickly and it’s crystal clear now.

2019-01-26_08-38-13

As part of the CCC Maker grant, we’re able to pay interns to do makerspace-related projects, and some of them are working on a large-scale, interactive periodic table of the elements, to be installed in our large lecture hall. Here Max Mahoney (Chemistry) and Nicole (makerspace facilitator extraordinaire) review some prototypes.

20181207_130554

We’re looking forward to starting the semester with a Grand Opening next week, and to continuing to advance various efforts, including FermSci and biotinkering, some salon-type events in the planning stages, and a million other things I’m probably forgetting. Onward and upward.

MUSHROOMS!

Babies

Inspired by projects like Ecovative’s building and packaging materials – check out this guide to How to Make Your Own Growth Forms – and in line with our other biotinkering and fermentation science efforts, we’ve been slowly gathering mushroom making gear, including an autoclave…

Pressure

and a laminar flow hood.

Hoodie

The liquid mushroom culture syringes arrived, so we inoculated some sterile rye berry jars.

Innoculated

With any luck, the jars will take, and we’ll be able to begin mass production. Meanwhile, we’re figuring out our new Formech vacuum former, and we think there are opportunities to use it in conjunction with our 3D printers and CNC machines to create custom forms for growing mushrooms in the makerspace.

20181221_130925

We recently unboxed our SE3D r3bEL mini bioprinter, which we plan to use for research and development aligned with our fermentation science and other biotinkering efforts.

Bioprinter Arrives!

After some initial setup, I realized that the build plate meant to house petri dishes didn’t fit our petri dishes, so I contacted SE3D and asked for a vector file of the shipped build plates so as to modify one. While waiting for the email back, I went ahead and just measured the existing one, and after a few prototypes, I was able to cut a new one to the right size and shape out of acrylic. In the meantime, Vignesh got back to me – they’re very responsive! – with the DXF file of the build plates that arrived with the machine.

20181115_143256

With the petri dish sorted, I set out to print the stock test file. So far, so good.

3D Printed Bone

A successful test completed, I found a *.stl file of Nova (our Innovation Center mascot and the thing we traditionally create using any new machine), imported it into Slic3r, exported as G-code, and fired up the r3bEL. Other than the fact that the syringe ran out of lotion before the print was finished, it worked a treat!

2018-11-15_04-33-04

I feel fairly confident in saying that this might be the first time in the history of the world that a rabbit wearing a space helmet was 3D printed out of lotion. #fiteme

You Are Here

We are here.  Diane Carlson (Sociology) and I are co-teaching v2.0 of Making Social Change, a hands-on course at the intersection of making and Sociology, in which we explore social movements and the ways that they use tools to enact change. We teach the class in the makerspace, and we’re working with a brave cohort of interesting students. We’ve been tweaking and adapting the content, activities, and flow, building on what we learned offering a prototype of the course in fall of 2017.

So far, we’ve spoken with Ivan in South Africa, a friend of Diane’s and an ANC activist who fought against apartheid…

Talking to a South African Activist

…worked with the laser cutter and 3D printer to create a Harriet Tubman stamp to perfect a twenty dollar bill…

2018-10-03_07-43-36

…and discussed memory and monument, working through James W. Loewen’s ideas in Lies Across America

2018-10-03_08-09-27

…and creating prototypes for potential monuments to be built on our college campus.

2018-10-03_07-41-21

But just a little bit.

Took the crocheted SCOBY mat home to dry it out, and kept it overnight in a 120° F oven on parchment paper to dry it out.

SCOBY Mat

The thicker side didn’t quite incorporate itself with the hemp fiber, owing I think to the fact that the crocheted piece was suspended slightly below the high tea/sugar mark.

Microcellulose and Cellulose

In some places though, it seems as though the SCOBY really integrated with the mat.

Texture

The finished piece has an interesting flexibility because of the crocheted core.

Light Emitting

I decided to try using SNO-SEAL, which is beeswax and some sort of solvent, to waterproof the mat. I melted some in an old pan on an outdoor stove, and plunged the SCOBY mat into it.

Structure

As I was turning off the flame, the pan caught fire, which was no big deal, and I extinguished it by putting a piece of metal over it. I didn’t realize, however that the mat itself was on fire, but was able to put it out quickly. I then placed the whole business on parchment paper and into the oven at 120° again for about 20 minutes, then buffed it out with some paper towels.

Beeswaxed

It definitely sheds water.

Our next experiments include creating magnetic SCOBY by incorporating iron filings into some fruit leather mush, and creating “leather” bracers for an upcoming fashion show.

Fiber Woven SCOBY

Decided that the crocheted SCOBY was ready for drying, so removed it from its vessel…

20180913_144457

…washed and rinsed it…

To Dry

…and set it out in the sun to dry.

Parchment Paper in the Sun

In some places, it’s really well integrated with the hemp twine mat, and so we’re curious to see how it all looks and acts, and what effect the hemp fibers have on the finished piece.

Ceulluse Integration

SCOBY Under the Microscope

Max (Chemistry professor and makerspace champion) has a nice oil immersion scope that hadn’t been used in years, so we fired it up, borrowed some oil, and looked at some of the SCOBY pellicle, both the mashed variety and the paper thin one.

Nicole Scopin'

The scope needs a good cleaning, but Jared, Nicole, and Brett (makerspace students and staff) were able to get a view into the microscopic world of kombucha. The images above were all shot with mobile phones through the eyepiece, but we’re excited to use one of the scopes in the Biology labs with the built-in cameras.

2018-09-05_07-24-26

Inspired by the way the fruit leather SCOBY catches the light, we decided to see about embedding LED in a batch of mush. Using the SCOBY from the kombucha of least resistance, we blended up a new batch.

SCOBY of Least Resistance

As the prior batch took so very long to dehydrate, we tried out a yogurt cheese maker, jamming it full of mush and letting it sit overnight to see about driving off as much liquid as possible before air or oven drying.

SCOBY Mush in a Yogurt Cheese Making Thing

A lot of kombucha collected in the bottom after 24 hours. Meanwhile, we prepared four LED, coating the posts in dialectric grease, and using multiple nested layers of heat shrink tubing in an effort to prevent the highly acidic SCOBY mush from corroding the LED legs.

LED for SCOBY

We embedded the LED into the mush, and packed it in all around them. Not sure if the material will capture the LED, or shrink in such a way that they will be easily pulled out, but we’re hoping for the former. After the material dries some, the hope is that it will be a coherent block, which can be removed from the vessel for additional drying.

SCOBYLED

The blended SCOBY fruit roll-up leather experiment is finally more or less dry. It took hours and hours in a 120 degree Fahrenheit oven before the water was driven off, and the resulting leather seems strong and beautifully semi-translucent.

Blended SCOBY Leather

Not sure what exactly we’ll do with it, other than maybe subdivide it for various experiments. Meanwhile, I took a look at the SCOBY net experiment, and was surprised to find that a nice pellicle had formed above the net, and that it had grown through the net at the edges.

SCOBY in a Mat

I decided to flip it over to see if another layer might grow on top, and then we’ll maybe press it flat to dry, encasing the hemp net between the layers of leather?

Flipped

For future experiments, it would probably be best to find a way to suspend the net right at the surface of the tea and sugar mixture, so that the pellicle becomes more integrated into the net. Maybe a purpose built, adjustable frame that can be moved up or down to account for liquid loss?